The purpose of this module is to show you how to delegate mandates to other users so they can perform selected functions you choose
- CustomerID installed
Overview of this lab
We will use CustomerID administrative interface to configure delegated role management using mandates. In a nutshell, these are the four main steps:
Part 1: Create Users
In order to create users:
Log in as Scott Long (SmartPlan Admin). This user was created during Lab 1.1
Enable adduser workflow. In order to do that, edit the following on eidm2.properties file:
eidm2.propertiescreateuser.workflows = adduser registration.1 = adduser registration.1.enabled = false registration.1.tupas.disabled = true registration.1.approval = false registration.1.methods = [ { "name" : "password.2", "mandatory" : "true", "visible" : "false", "default" : "true" } ] registration.1.userinfo.fields = firstname, surname, email, password registration.1.organizations = { "path" : "Users"} registration.1.summary.fields = firstname, surname, email- Restart Wildfly
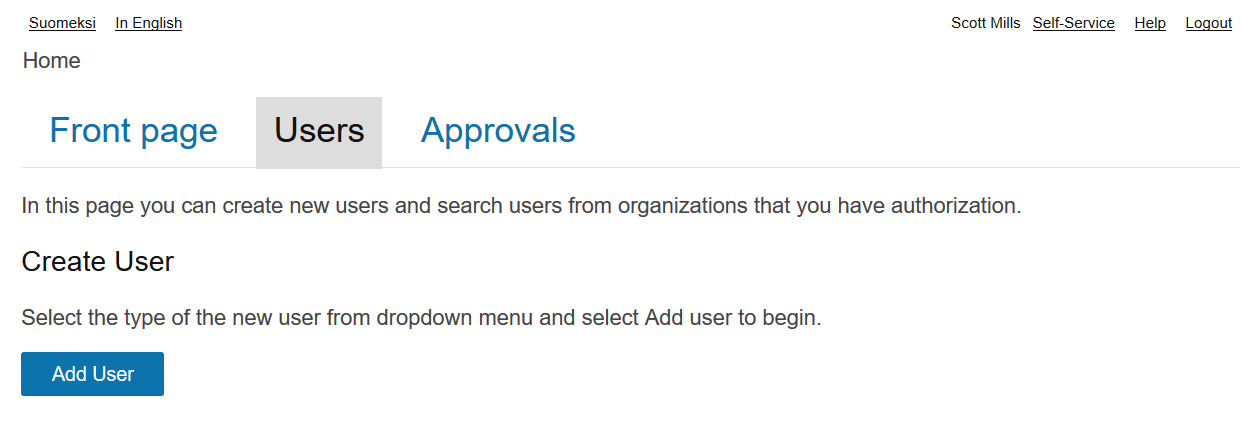
- Log in as Scott Long and open "Users" tab
- Now the button "Add User" should be visible. Click on it:
- Create Jeremy Mills user and give him contact person role for City Group Inc as shown on the following images. The password must contain both numbers and letters.
- In order to continue, on the next step I must select a role. Type the company name in the Search box.
- Now log in as Jeremy Mills to verify the user has been created.
Part 2: Create Service
The goal of this section is creating a new organization using the following values:
Technical Name | mysmartplan |
| Display Name | My SmartPlan |
| Organization Type | site |
| Service | true |
Do not use spaces in technical name.
- Log in to CustomerID as an administrator. From the "front page" you will see the button to create a new organization.
- Once you select "Create new organization," the next screen will be:
Part 3: Define Mandate
Ubisecure Identity Server uses roles and mandates. This is how roles look in the administration interface for My SmartPlan:
Step 1: Configure text description for roles
Customize text description for Visitor, member, owner by editing C:\Program Files\Ubisecure\customerid\application\custom\roles.properties file
# English

en.friendlyName.visitor = Visitor
en.description.visitor  = Visitor can view public information.

en.friendlyName.member = Member
en.description.member  = Member can read private information.

en.friendlyName.owner = Owner
en.description.owner  = Owner can write information and manage user rights.
This is how the interface looks after the changes (observe "Description" column):
Now it's time to understand how mandates work in real:
What is the difference between a role and a mandate?
Role
Examples:
| Mandate
Examples:
|
Mandates can be configured to require approval by a organization administrator. We will disable this for today.
Allowed roles must be defined in the custom\eidm2.properties configuration file.
general.admin.organization.users.includerolemembers = true

mandate.roles.allowed = owner,member,visitor

mandate.receiver.approval = false
Permissions control who can create, assign, read and delete mandates.
In our environment, we have added a custom role called mainuser. Rights must be given to the mainuser role for accessing mandates.
Add the following lines to the permissions.properties file.
# *************************************************************************************************
# **********  Mandate Permissions                                                        **********
# *************************************************************************************************

# Mandate read permission
# - This permission defines those users who are allowed to read mandate information concerning
#   received mandates in the admin service.
mandate.read = inh:OrganizationMainUser, inh:mainuser

# Mandate approval permission
# - This permission defines those users who are allowed to approve received mandates in the admin
#   service.
mandate.approve = inh:OrganizationMainUser, inh:mainuser

# Mandate removal permission
# - This permission defines those users who are allowed to remove either mandate actuators or the
#   received mandate in the admin service.
mandate.remove = inh:OrganizationMainUser, inh:mainuser

# Mandate creation permission
# - This permission defines those users who are allowed to create new mandates in the admin
#   service.
mandate.create = inh:OrganizationMainUser, inh:mainuser

# User mandate information read permission
# - This permission defines those users who are allowed to read the mandate information concerning
#   organization users in the admin service.
user.read.mandates = inh:OrganizationMainUser, inh:mainuser

# User mandate information removal permission
# - This permission defines those users who are allowed to remove mandates from organization users
#   in the admin service.
user.mandates.remove = inh:OrganizationMainUser, inh:mainuser
Restart the wildfly service for the changes to take effect.
Step 2: Create organization mandate
Create a mandate including the Online Service Member role.
- In the Administration interface, open "My SmartPlan" service.
- Click on "Mandates" tab.
- Select "New organization mandate"
- Set City Group Inc. as receiver of the mandate. Company ID: 2184053-5
- Choose role "Member" to be included in the mandate
- In the second step you will be able to customize the message
- Then a confirmation
- Finally you will see "Mandate invitation sent" at the top.
Step 3: Delegation
- Log in to My SmartPlan as Jeremy Mills
- Open City Group Mandates tab
- Even Jeremy must receive the role through delegation in order to use it
- All roles contained in the mandate are given


