Lab 3.1: Workflows with Backend Calls
The purpose of this lab is:
- Get familiar with backend queries used in CustomerID workflows
- CustomerID configured as the end of IAM Academy 4 - Day 2
Overview
Backend calls (a.k.a. backend queries) are commonplace and essential to unlock the power of CIAM. Ubisecure CustomerID is used by organisations to allow every person (customers and employees) create and manage their own identities. Today nearly every Internet service connects with third party services to enrich the customers' data.
Example: Buying a physical product on an online store
When you go to the shopping cart you fill in some details. Once you enter your delivery address, the ecommerce service will make a backend call to a third party service (e.g. Postal Service) to verify that the address is correct. If not correct, the online store will either pre-fill the right information or show you a warning so you correct the address. This avoids that your product is sent to an address that doesn't exist.
Backend calls on registration workflows
The same idea of backend calls occurs in registration workflows. In a user registration workflow, you can use a backend call to:
- Verify a person's identity
- Verify the validity of an organisation's identity
- Retrieve identity data and pre-fill it on the registration workflow
- etc.
Instructions
Now it's time to get familiar with some basics about backend calls. During lab 2.2 (IAM Academy 4), you already configured a self-registration workflow. This will be a similar workflow with the following changes:
a- Company number verification, and
b- The approval is automated (in lab 2.2 is done manually)
The diagram below shows the main steps on this lab.
Part 1: Install third party service VIES
In order to call third party service VIES, first you need to install Internet Information Services and ASP.NET.
Why installing IIS and ASP.NET?
Can't CustomerID call directly to VIES API?
In most real scenarios we need such proxy, in order to translate the data between the third party API and the CIAM system.
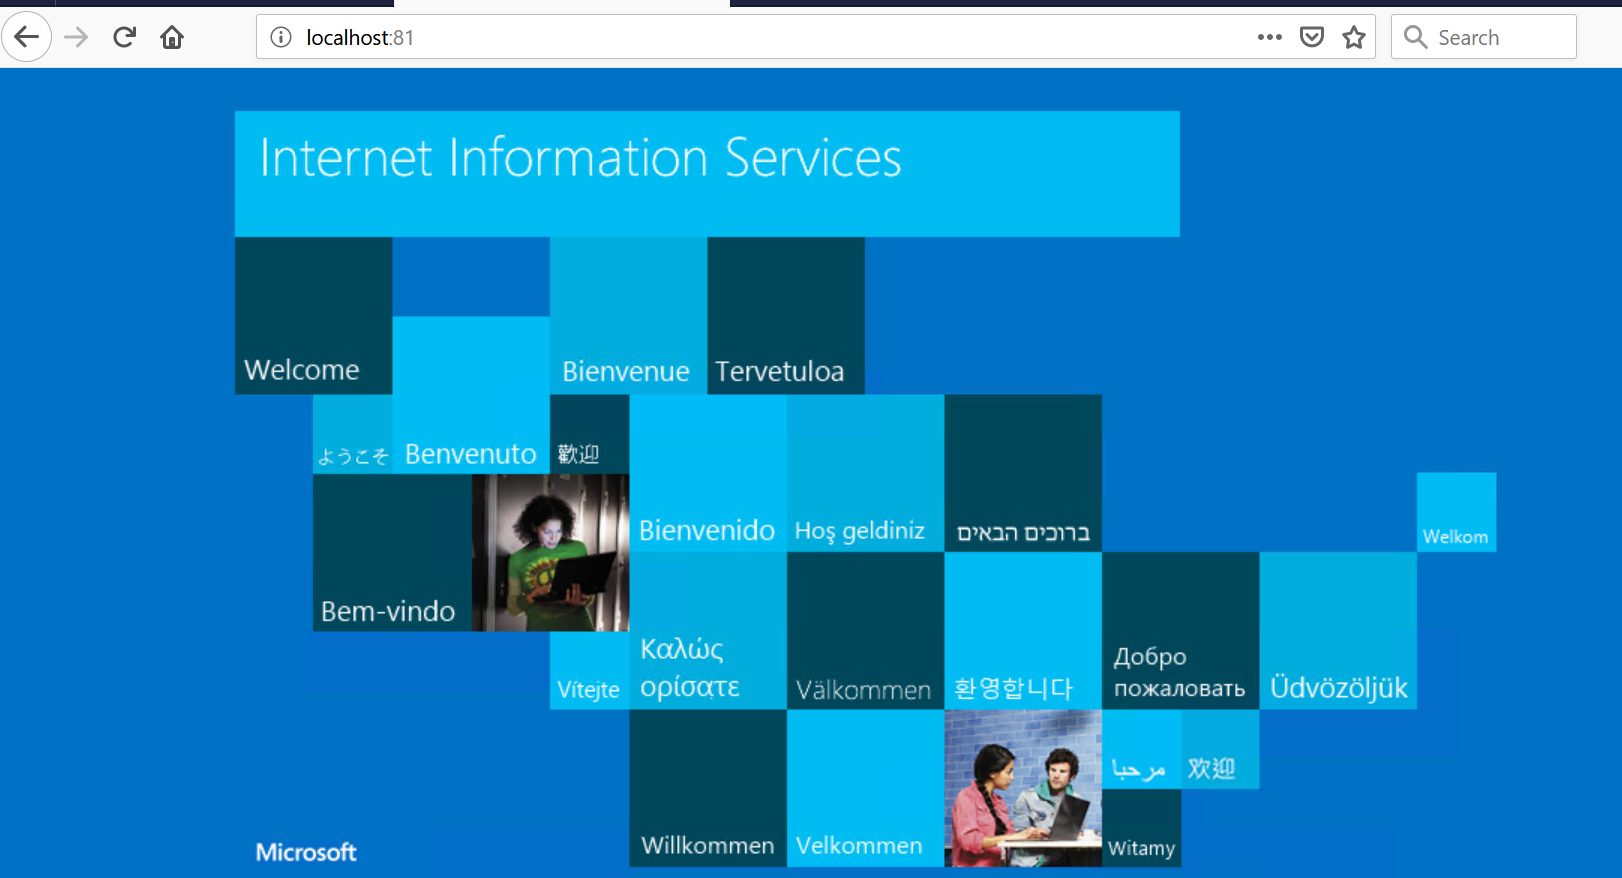
Step 1: Verify that Internet Information Services is installed and configured
- Internet Information Services has been pre-installed and the port has been set to 81.
- Open http://localhost:81/ on the browser and you will see:
Step 2: Set up sample application VIES
Now it's time to install the application that will process the backend calls.
VIES
VIES (VAT Information Exchange System) is an electronic mean of validating VAT-identification numbers of economic operators registered in the European Union for cross border transactions on goods or services. http://ec.europa.eu/taxation_customs/vies/
File queryvies.asp is a simple script that allows us to call VIES service, and obtain organisation name and registered postal address
Copy given file queryvies.asp to "C:\inetpub\wwwroot"
In order to verify that queryvies.asp works, open it on a browser adding valid parameters. For instance, http://localhost:81/queryvies.asp?country=FI&vat=17487214 will give the following output:

Part 2: Configure a self-registration workflow with backend calls
Now that the service is up and running, we can configure CustomerID. We will create a new self-registration workflow on CustomerID that will make backend calls to VIES service.
For more detailed instructions how to configure backend queries, read the documentation on Developer Portal:
Backend query configuration - CustomerID
Step 1: Create new workflow in CustomerID
- There are two files to edit in CustomerID configuration: backend.properties and eidm2.properties
Create backend.properties file on C:\Program Files\Ubisecure\customerid\application\custom
backend.properties## Example configurationforCustomerID backend connections usingdefaultprovider## Editthisfile to match your system's configuration. See Ubisecure CustomerID Configuration Manualfordetails##customerdata.input = {"customerid":"cid"# Value of field"customerid"is added to backend equest with name"cid"#customerdata.output = {"codeXXX":"customertype"} # Backend returns pair with a key"codeXXX",#thisis taken to customerid as"customertype"#customerdata.config = {"url":"https://hostname/backend/server/path", \# url of the backend system#"statuscode":"//status"\# XPath of status code in the response document#"statusmapping": {"OK":"OK","NOT_OK":"ERROR","DISALLOWED":"STOP"}, \#"message":"//msg"}# Xpath of an message, shown to user as is when defined# VIES / check VAT / see http://ec.europa.eu/taxation_customs/vies/# example http://localhost:81/queryvies.asp?country=FI&vat=234234234# https://login.smartplan.com:7443/eidm2/wf/register/euorganization# input required# Value of field"eurocompanyid"is added to backend request with name"vat"queryvies.input = {"user.country":"country","user.eurocompanyid":"vat"}# User attributes userorgname, orgaddress are updated from backend responsequeryvies.output = {"//*[local-name() = 'name']":"userorgname","//*[local-name() = 'address']":"orgaddress"}queryvies.config = { \"url":"http://localhost:81/queryvies.asp", \"statuscode":"//*[local-name() = 'valid']", \"defaultparameters": {"noparams":"dummy"}, \"statusmapping": {"true":"OK","false":"NOT_OK","DISALLOWED":"STOP"}, \"message":"//*[local-name() = 'valid']", \"timeout":"3000", \"langcode":"locale"\}Edit eidm2.properties according to backend.properties. Add the following section:
eidm2.properties# Backend queries exercise
registration.4= euorganization
registration.4.logo.key = org-registration
registration.4.enabled=true
registration.4.inviteonly =false
registration.4.tupas.disabled =true
registration.4.tupas.storessn =false
registration.4.email.confirmation=false
registration.4.approval =false
registration.4.password.enable=true
registration.4.password=
registration.4.password.method=
registration.4.mobile.confirmation =false
registration.4.methods = [ {"name":"password.2","mandatory":"true","visible":"false","default":"true"} ]
registration.4.methods.available =
registration.4.methods.required =
registration.4.userinfo.fields = {country, eurocompanyid}, {userorgname, orgaddress, firstname, surname, mobile, email, password, acceptTerms}
registration.4.userinfo.optional = userorgname, orgaddress
registration.4.userinfo.disabled = userorgname, orgaddress
registration.4.userinfo.backend =1:queryvies
registration.4.organizations= [ {"path":"Users"}, [ {"path":"${country}/${country}-${eurocompanyid}","organizationtype":"company","virtual":"true","name":"${userorgname}","storeattributes":"true"} ] ]
registration.4.roles = ["${country}/${country}-${eurocompanyid}/user"]
registration.4.roles.firstuser= ["${country}/${country}-${eurocompanyid}/mainuser"]
registration.4.summary.fields = country, eurocompanyid, userorgname, orgaddress, firstname, surname, mobile, emailNow edit C:\Program Files\Ubisecure\customerid\application\custom\messages_en.properties to customise the labels in both the registration workflow and self-service user interface. Add the following lines to messages_en.properties
user.eurocompanyid = VAT number
user.country = Country
user.userorgname= Organization Name
user.orgaddress = Registered Address
registration.euorganization.input.user.country.tooltip = Tooltip 1
registration.euorganization.input.user.eurocompanyid.tooltip = Tooltip 2
(Optional) If you wish, you can also edit the labels in Finnish. Below a starting point for the customisation. You need to edit configuration file C:\Program Files\Ubisecure\customerid\application\custom\messages_fi.properties
messages_fi.propertiesuser.eurocompanyid = VAT-numero
user.country = Maa
user.userorgname= Organisaatio
user.orgaddress = Osoite
Finally, restart Wildfly
Part 3: Verify the self-registration workflow with backend calls
- Once all configured, open self-registration link: https://login.smartplan.com:7443/eidm2/wf/register/euorganization
- Register yourself with real data of a EU-registered company. You can use the following data:
Country: FI
VAT number: 17487214
It corresponds to Ubisecure.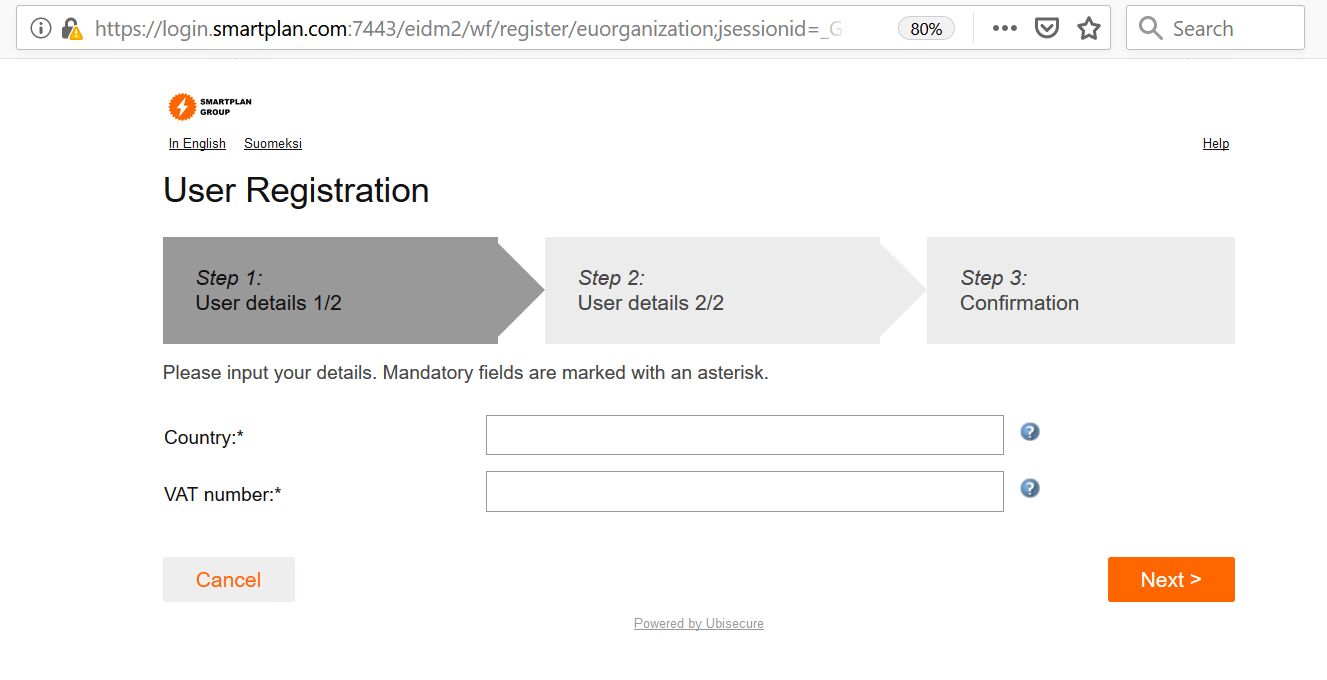
- If the information entered in step 1 is valid, the backend service will get more data about the company and will auto-fill fields "Organization Name" and "Registered Address" in step 2.
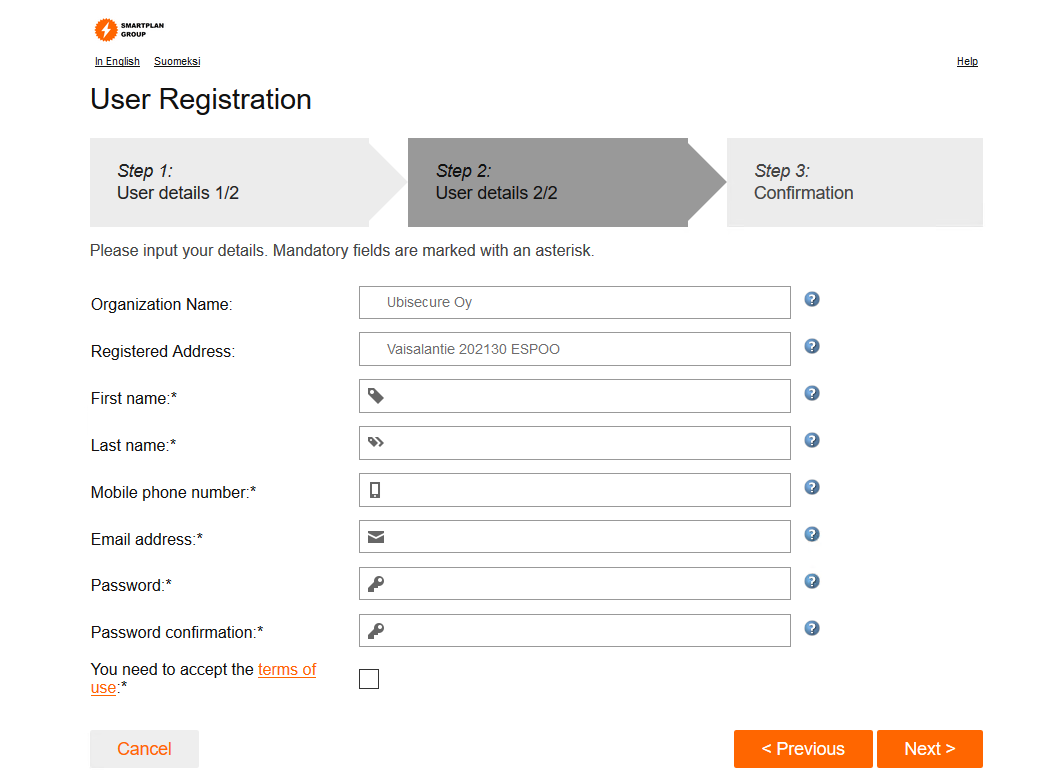
- Fill in the other fields in step 2. Enter a valid email address that you have access to, as you will receive an email notification.
- Log in to the URL you received in the email.
- Verify the organization your new user belongs to.
*** END OF EXERCISE ***
Additional Reference
Backend queries documentation on Developer Portal:
Backend query configuration - CustomerID