IDaaS Trial Access Management - Use only with the SSO Management Console
This Steplist document describes how you can add your web applications to the Ubisecure IDaaS Trial environment with SSO Management Console tool using OIDC (OpenID Connect) protocol. You can assign a different type of authentication methods, username/password or Google, to your applications and assign an authorization policy (to limit the attributes sent to the application during sign-in).
NOTE!!
IDaaS Trial contains two different access management tools to do the application integrations: Trial Console (designed for IDaaS Trial) and SSO Console. The preferred way is to use the Trial Console. SSO Console is a modified and restricted version of the access management tool used in the production deployments. You need to apply separate access rights for the SSO Console via the identity management self-service view.
NOTE!!
You need to have your own test application that supports OIDC protocol for this procedure.
You can Access the SSO Managment Console here: https://trial.idaas.ubisecure.com/ubilogin
Procedure
The procedure includes the following steps:
- Add the web application to the SSO Management
- Define the redirect URI
- Configure web application
- Activate the application and creating the new metadata file
- Add user group to the web application
- Add the authentication methods for the web Application
- Add the authorisation policy for the application
- Sign in to the web application
Step 1. Add the web application to the SSO Management
Sign in to the SSO Management tool with your Identity Management credentials. You have received the credentials during the IDaaS Trial registration process.
Home – <Your site name> (Note, the site is called “IDaaS 0079” in this example) – Applications – Click the New Application Button:
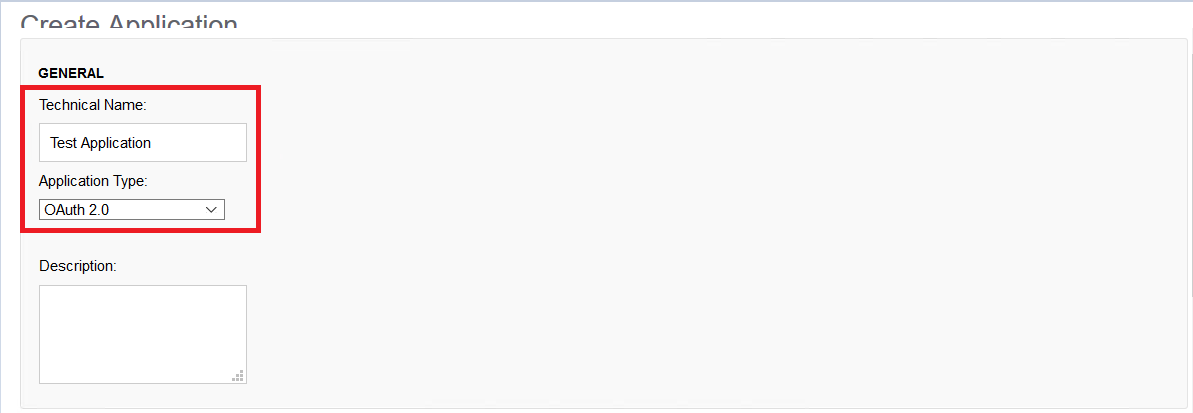
Application Type: Oauth2 (In practice this means OIDC)
Technical Name: Test Application
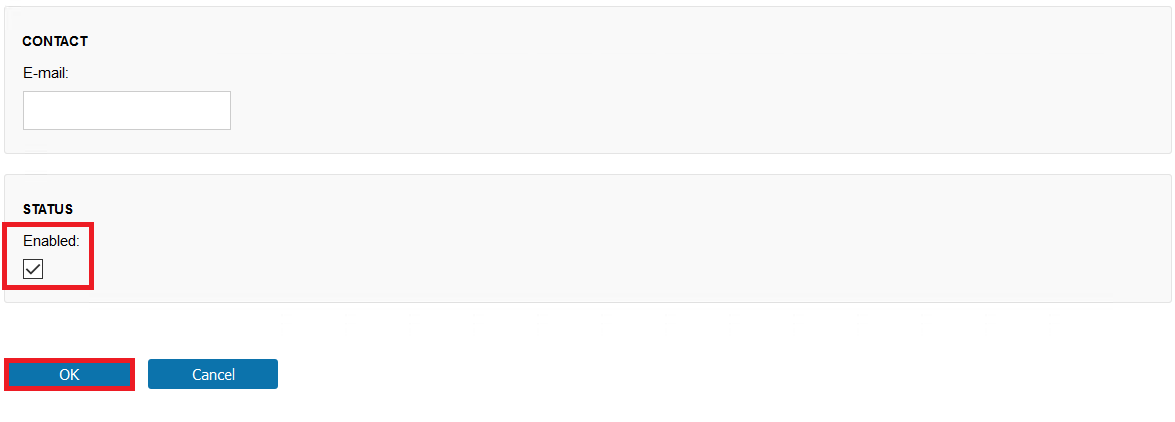
Tick the Enabled box
Click the OK Button

Step 2. Define the redirect URI
Write the return URI value of the Web Application to the SSO Management.
Home – <Your Site Name> (Note, the site is called “908bbe84-6f46-4766-b4d1-03527f42b434” in this example) – Applications – Test Application – Click the Upload Button.
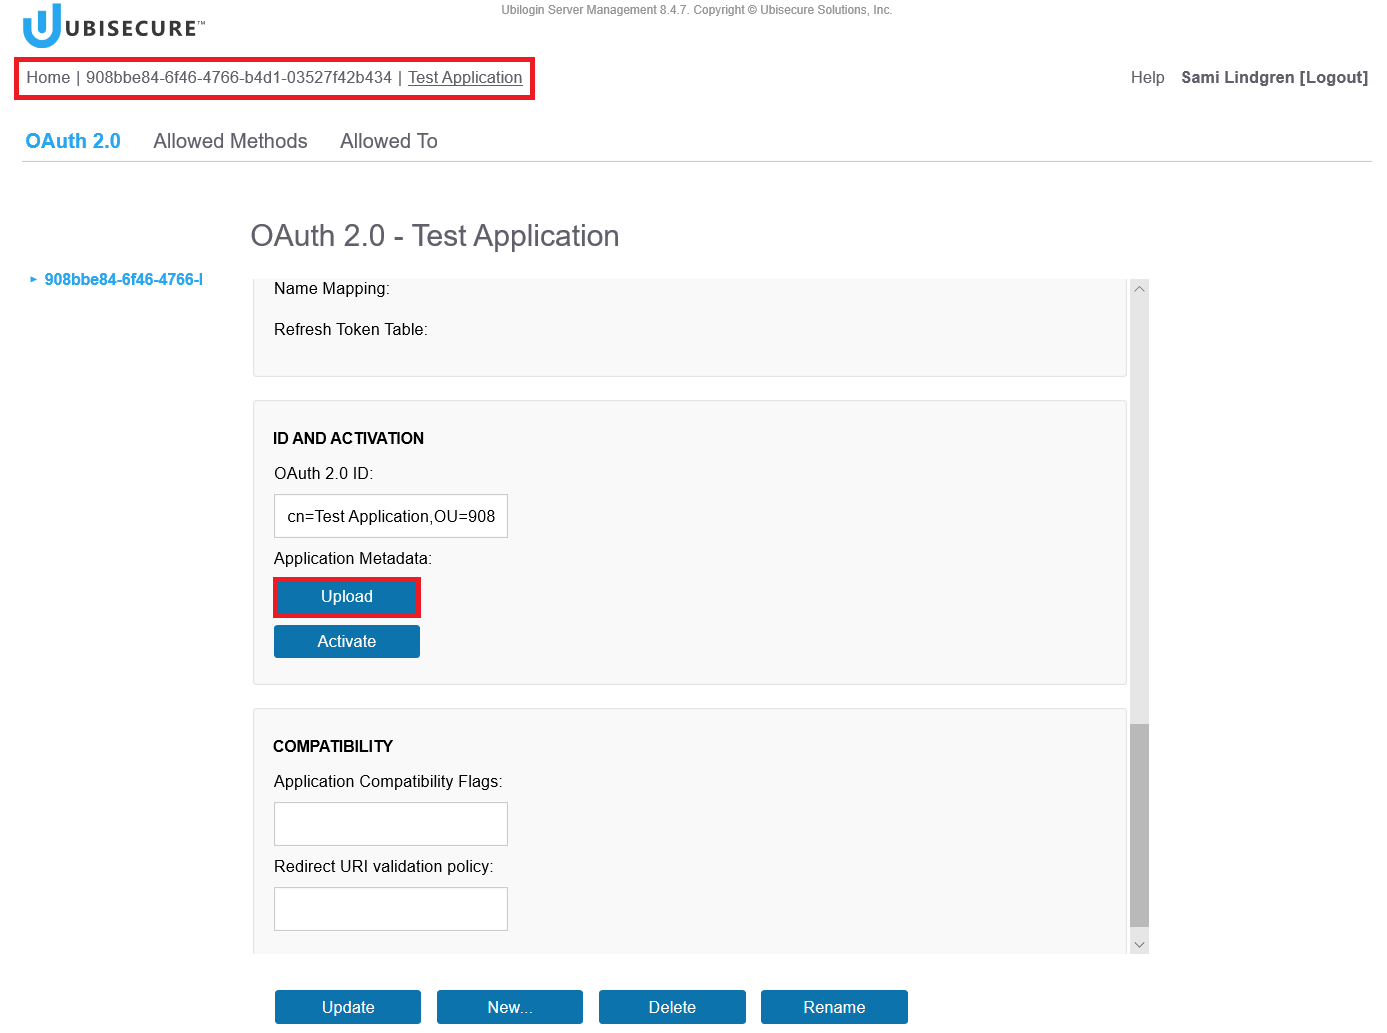
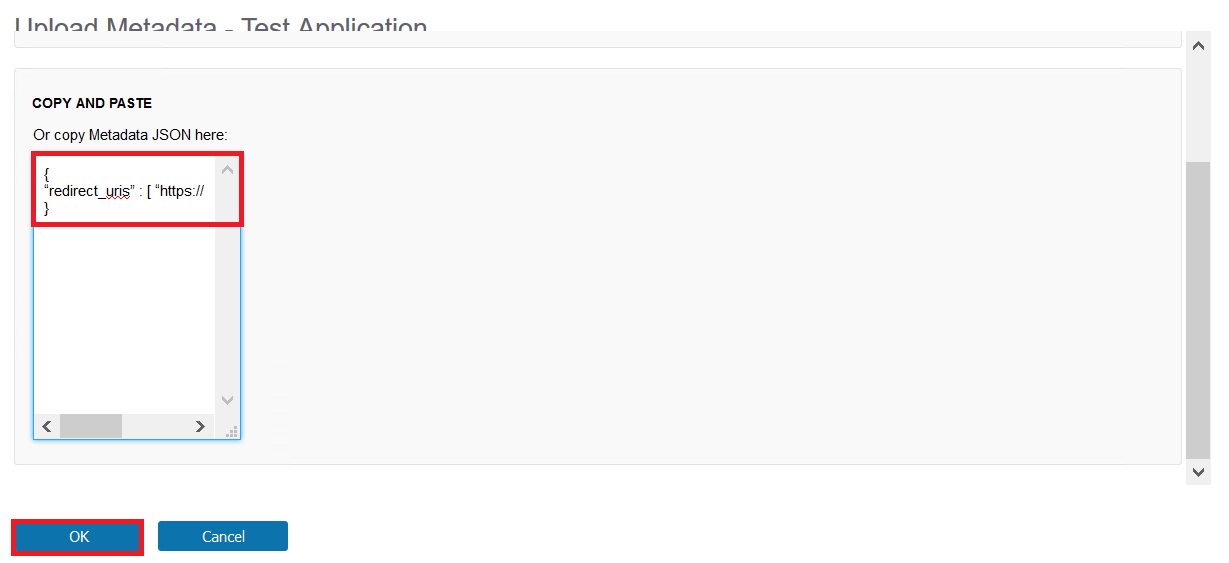
Write the redirect URI of your Web Application to the “Copy and Paste” field - Click the OK Button.
In the example below the redirect uri is “https://client1.ubidemo.com” (Note, this is used here as an example. You need to use the URL of your own test Application.)
{
"redirect_uris" : [ "https://client1.ubidemo.com/" ]
}
Step 3. Configure web application
Configure your web Application according to IdP configuration: https://trial.idaas.ubisecure.com/uas/.well-known/openid-configuration
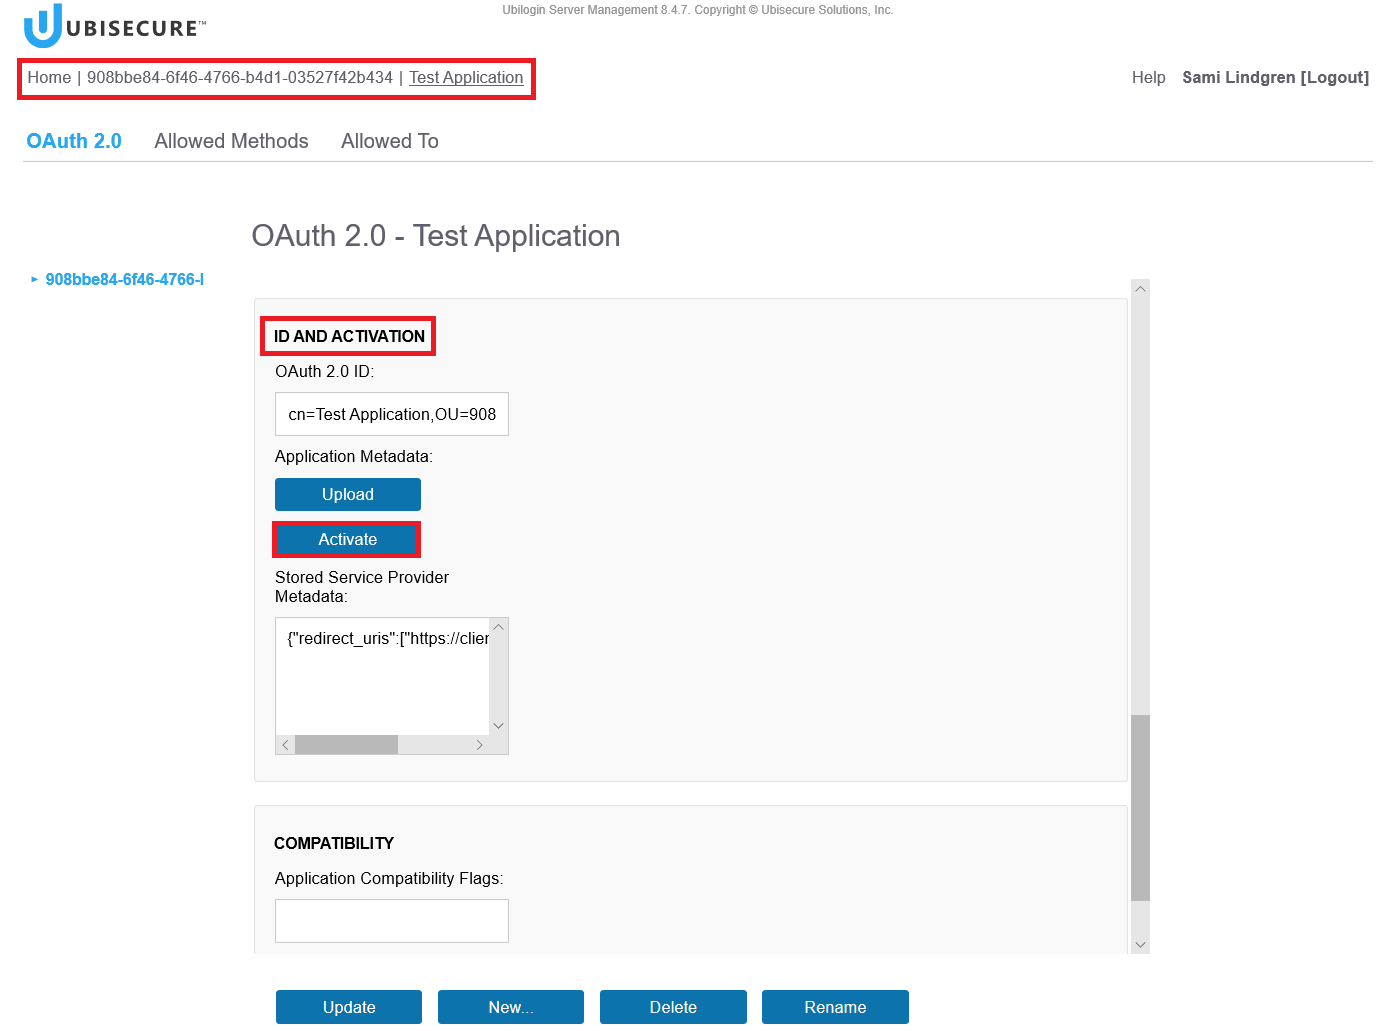
Step 4. Activate the application and create the metadata file
Create the web Application metadata file (containing the client id and client secret).
Home - <Your site name> (Note, the site is called “908bbe84-6f46-4766-b4d1-03527f42b434” in this example) - Applications - <your web application name> (Note, the application name is "Test Application" in this example) - Click the Activate button
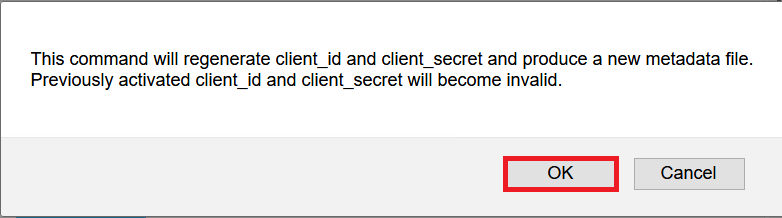
Note:
When you click the Activate button, the SSO management creates a metadata file for the Web Application and saves it under the Downloads folder.
Click the OK Button
Save the file and click "Open folder" button. Note, the view might be different depending on the browser you use.
![]()
Open the File in Notepad – Copy the client_secret and client_id values
![]()
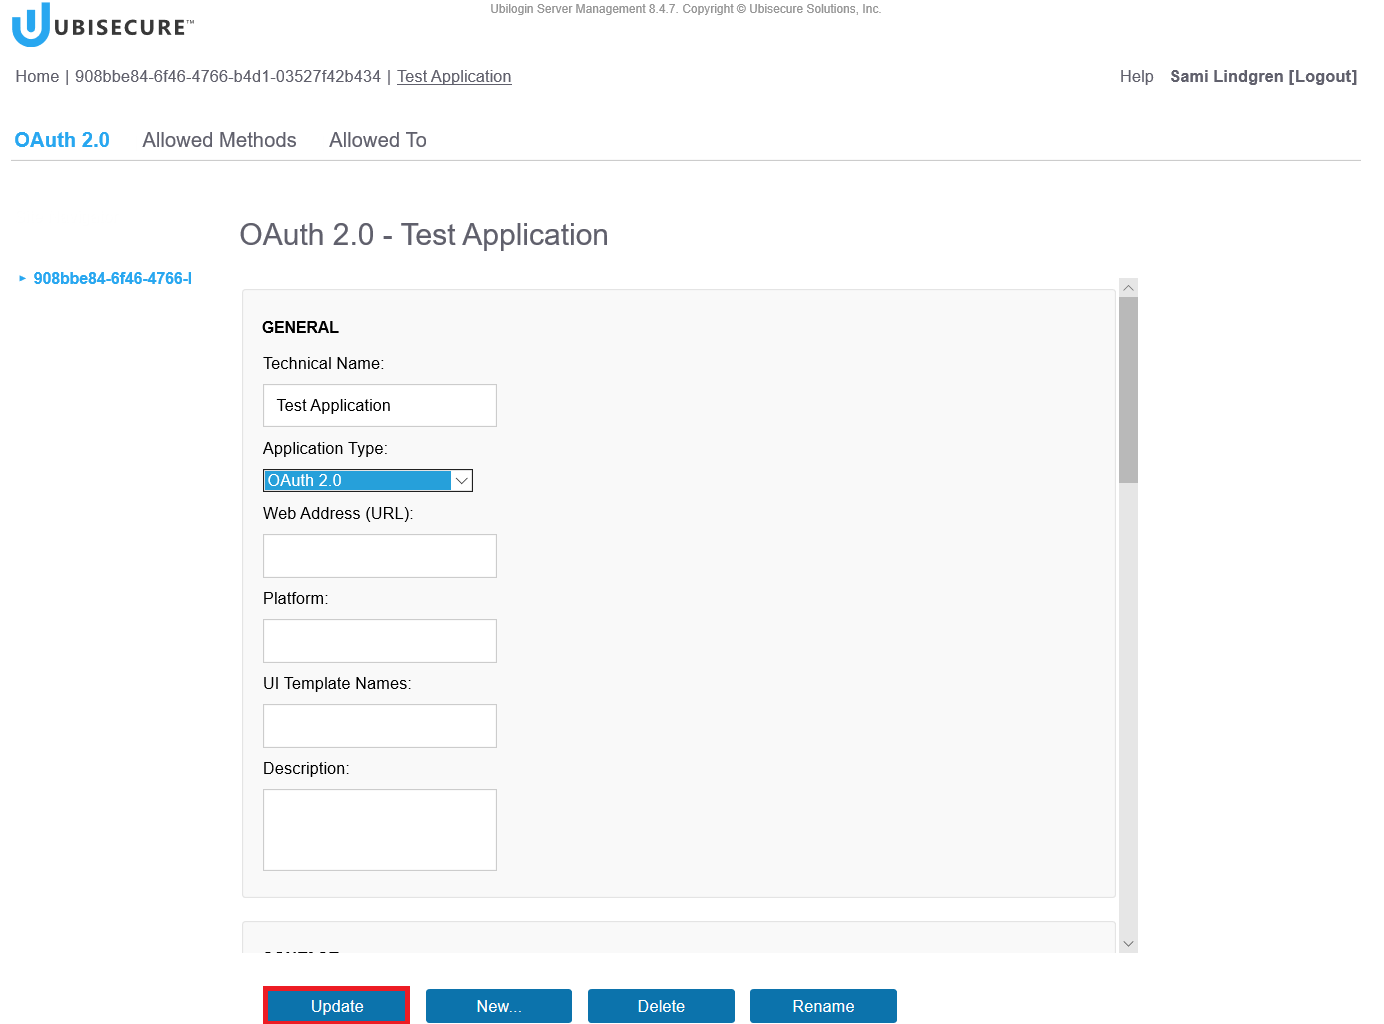
Paste the values to your own web application!
Click the Update button.
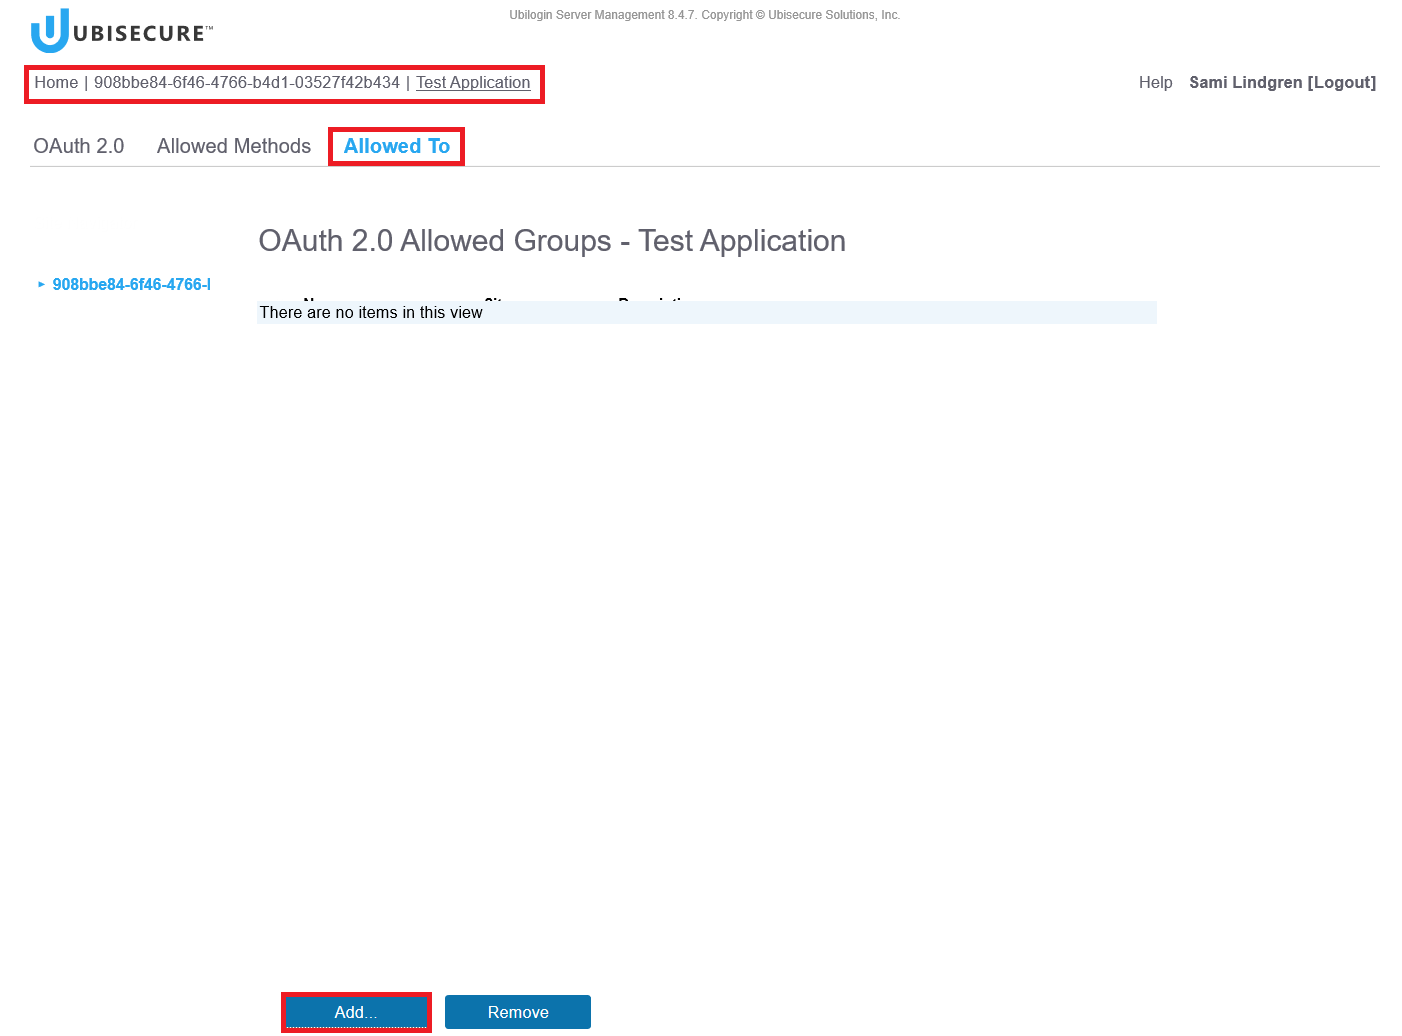
Step 5. Add user Group to the web application
Define that your users (Note, in this exmaple "IDaaS 0079" users) are allowed to access the web application.
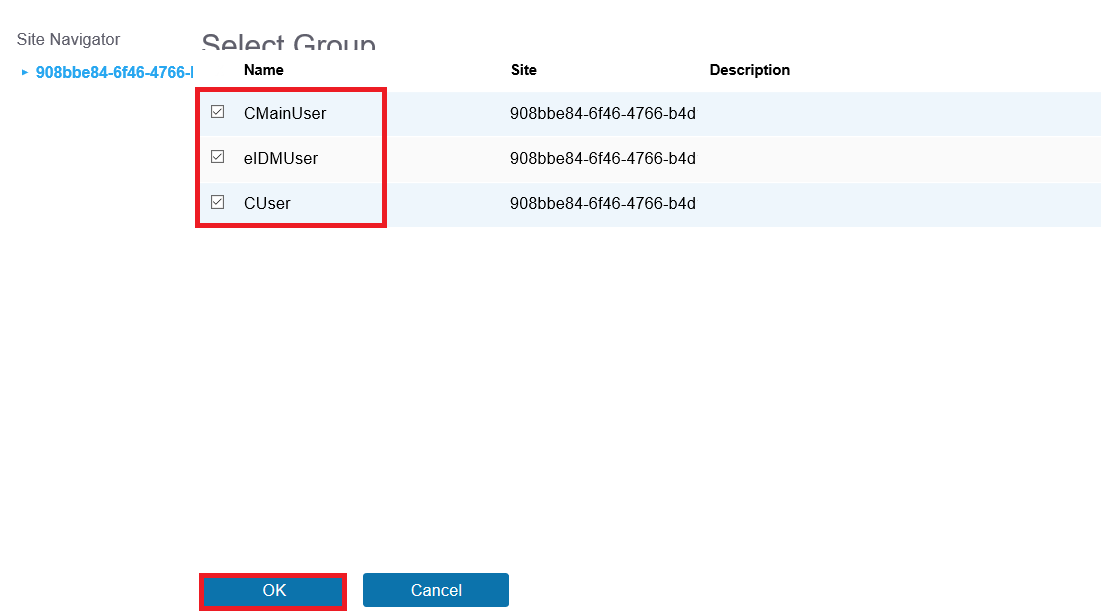
Allowed to – Click the Add Button.
Choose the groups and Click the OK Button.
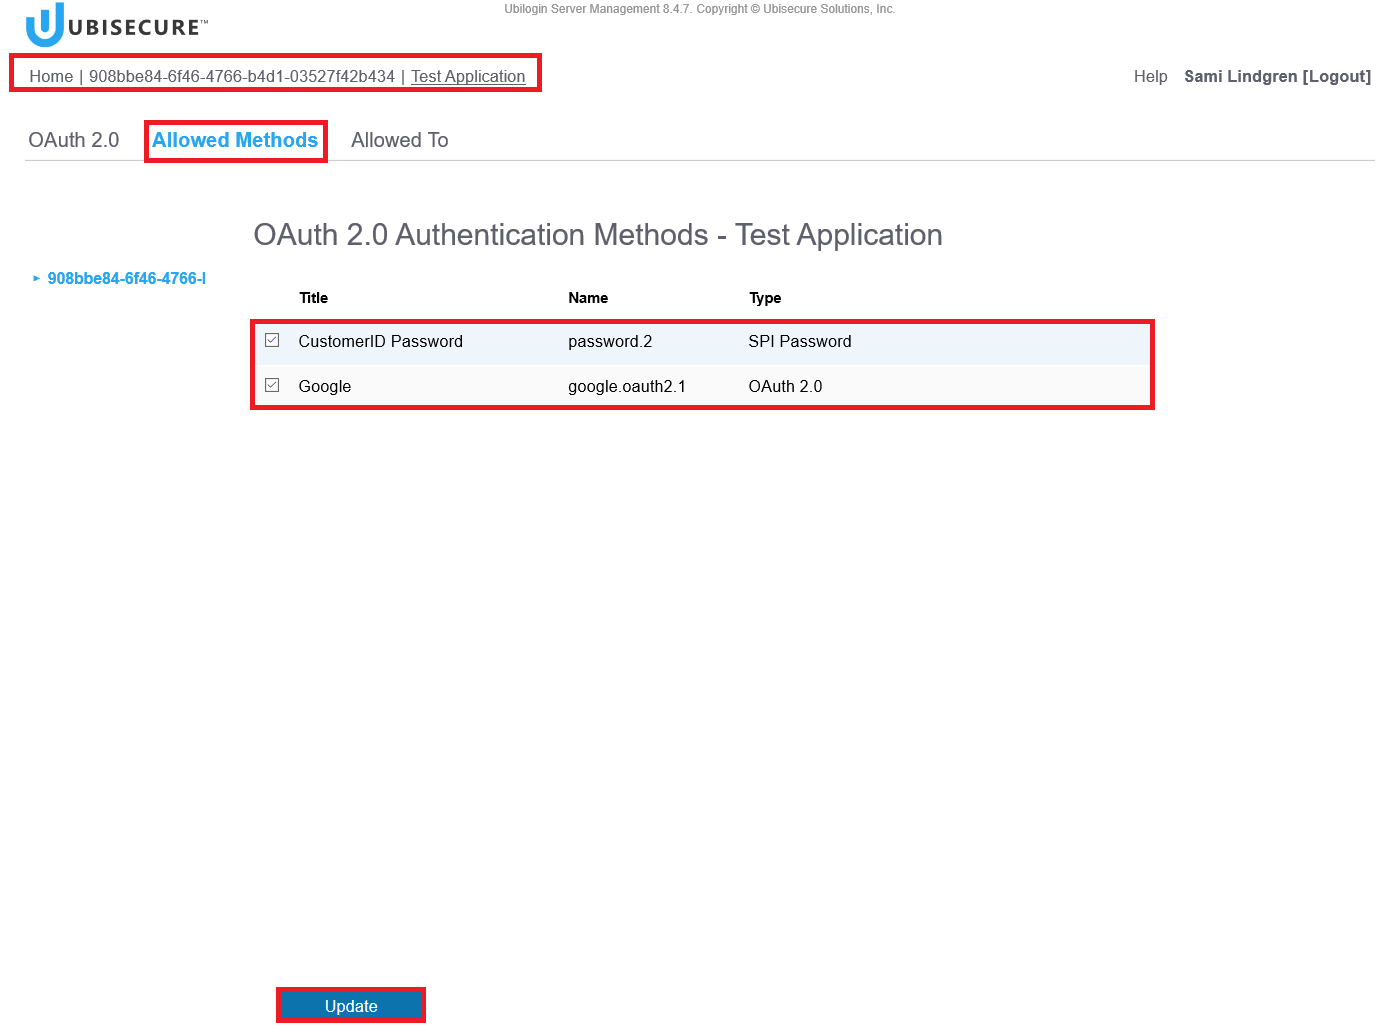
Step 6. Add the authentication methods for the web application
Choose the allowed authentication methods for your Web Application.
Allowed Methods – <choose the methods from the list> – Click the Update Button
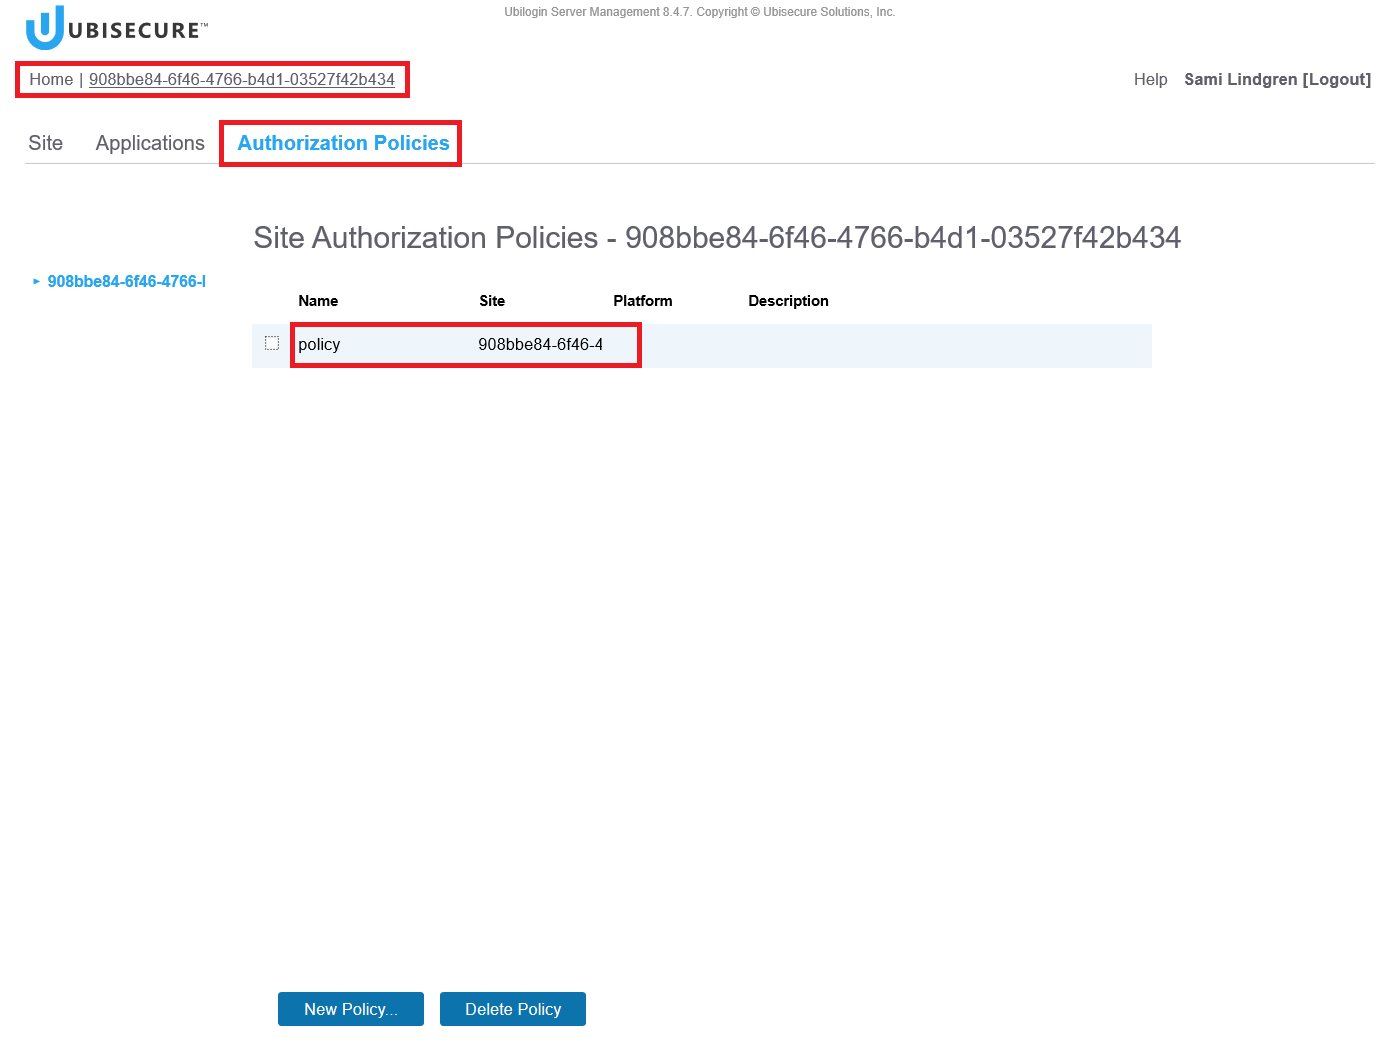
Step 7. Add the authorisation policy for the web application
Authorization policy is used to define what attributes the Identity Server sends to the Web Application (in this environment we use a predefined authorization policy called “Policy”).
Home – <Your site name> (Note, the site is called “908bbe84-6f46-4766-b4d1-03527f42b434” in this example) – Authorization Policies – Click the policy name “Policy”
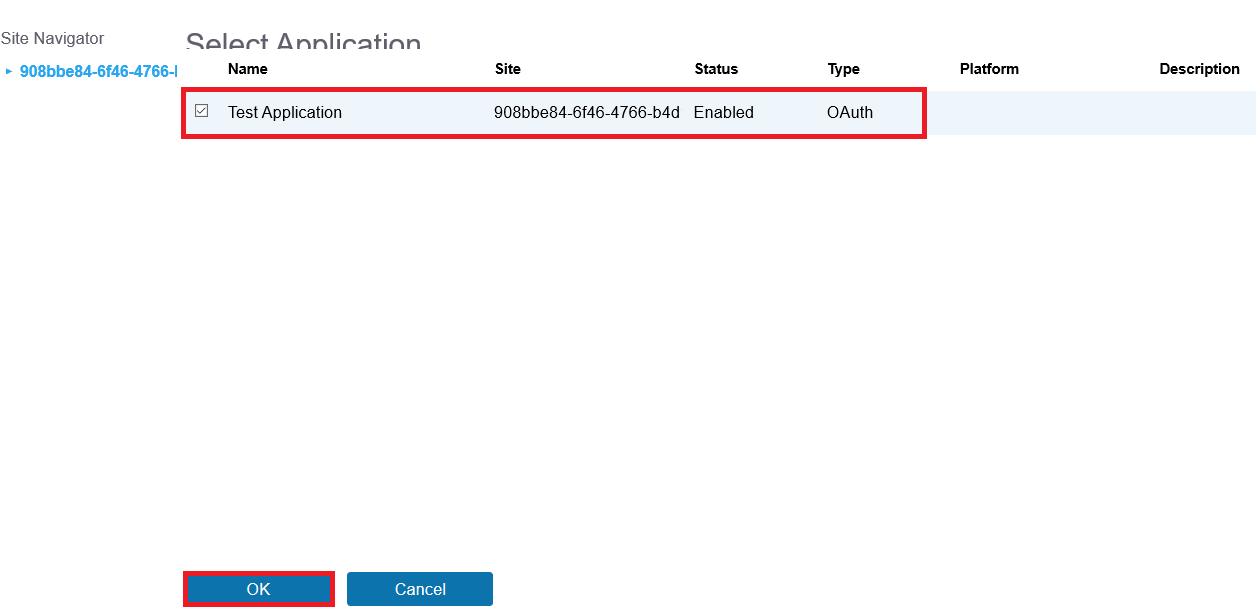
Applications – Click the Add Button
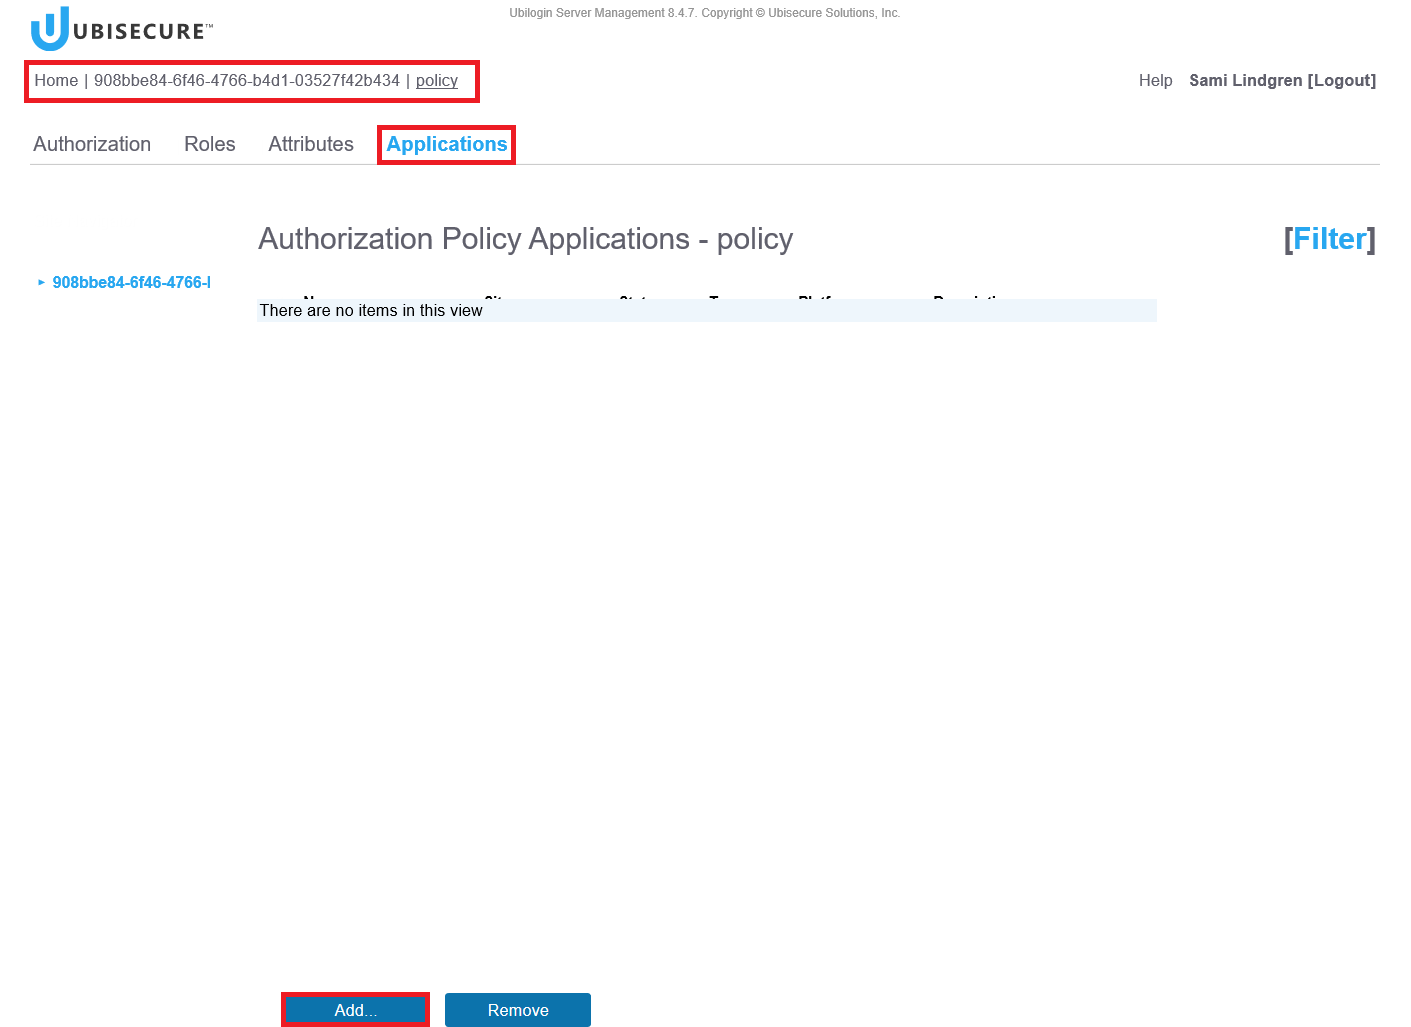
<Your Web Application> (Note, the application called “Test Application” in this example) – Click the OK Button
Step 8. Test log in to the web application
Access your web application's URL and test the log in.