How to verify current password before a user changes to new password
This article is relevant for applications that need to implement password change as an internal functionality, in addition to the password change functionality present in CustomerID self-service pages.
Use case
User is logged into the application and goes to "Change Password" functionality.
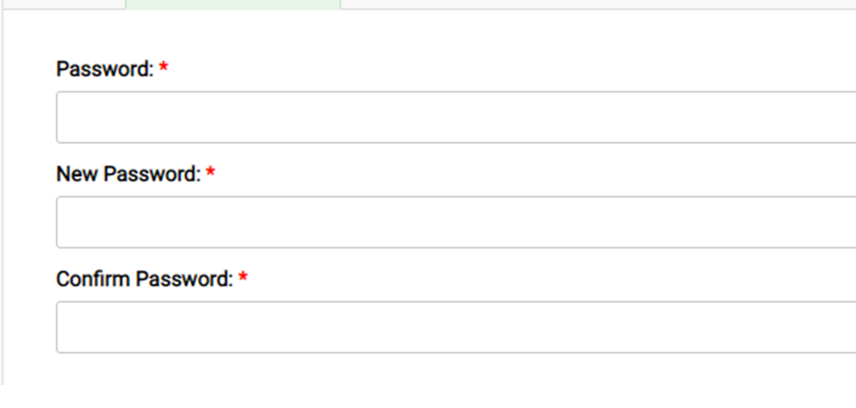
The application user interface typically prompts three fields before a "Save" button:
- Current password
- New password
- Confirm new password
For security reasons, the application must verify first that the "current password" the user inputs matches the password that is stored in the data repository.
Solution
The solution requires OAuth 2.0 Password grant.
For reference to documentation: Password grant - SSO
Step 1: Configure OAuth 2.0 Password grant
- On SSO Management Console create a new OAuth 2.0 client (application) and call it validate-current-password.
- The only allowed grant for this client is password. On "ID and Activation" press Upload and enter:
{"grant_types":["password"]}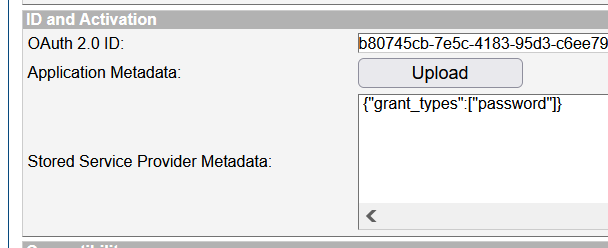
- Activate the application, so it will generate a client_id and a client_secret.
- Save those values.
Step 2: Call the APIs
To perform a password verification you need to make two API calls:
Call the token endpoint using the client_id, client_secret, enduser username and enduser password. Scope should be set to openid.
First command to get access token:
curl -X POST -u "myClientID:clientSecret" -d "grant_type=password&username=jdoe&password=changeit" https://example.com/uas/oauth2/tokenIf you get an id_token then the password was correct
Now you should still verify that the subject matches the current user changing the password. If the password is wrong, the token request will fail. Call the introspection endpoint with the command below, specifying client_id, client_secret and the access token received with the previous API call.
Command to call introspection endpoint:
curl -X POST -u "myClientID:clientSecret" -d "token=eyJjdHkiOiJKV1QiLCJhbGciOiJkaXIiLCJlbmMiOiJBMTI4Q0JDLUhTMjU2IiwiemlwIjoiREVGIiwiaXNzIjoiYjgwNzQ1Y2ItN2U1Yy00MTgzLTk1ZDMtYzZlZTc5YzJlMDE0In0..71HtG8utJIbm57TUk1Gdgg.4jGK2D5lpCiwla5JhSKtecb9yf1ewo9-JH6BL6rZJfav_-9a5d1d1B0HeyLOzk3nY_FU25idDTuFGvMngGDRK3vkQjZsb3AM7KB_t3iGxdvtc-Abdg4tiOwadGEuKZEszjr9lOMwGtR6fCtbU1P4mZifTGoyrhZnw1JhsW-2rswoHGtdoUXYkmx8UOSmdzMPZC41ZY1NZyFQ8Zhb-2OtWqJGuiTWpkpRe5tuoxqjqRD07rBH8lex3gZPmlzKuIxyqPO09I-CxbuTOOGLhWB75bqHD9nUvtu650Svnodp1nAb3aTFinYSH7Ho0w-NwUxE6kJtPwhnF76KDTHWE8-RnA.ngQEpxZfdNPsNLX75P64Kg" https://example.com/uas/oauth2/introspection
The output of the second call should show you the username and/or email (depending on the authorisation policy configured). With this you have verified that the right user has entered the right current password.
After this is implemented on your application, it will be ready to update any new user's password in the data repository.