Contents
Introduction
This page is a guide for configuring SAML 2.0 application integration in Ubisecure SSO.
This page does not explain how to create an application metadata or how to generate SAML requests. There are some open source toolkits available such as https://www.samltool.com/online_tools.php that can be used to generate and validate SAML requests and metadata.
Also it is good to understand what requests application’s SAML plug-in supports. Good to keep in mind that Ubisecure provides a plug-in SAML SP for Java application as well if needed.
SAML 2.0 Application Creation and Metadata Activation
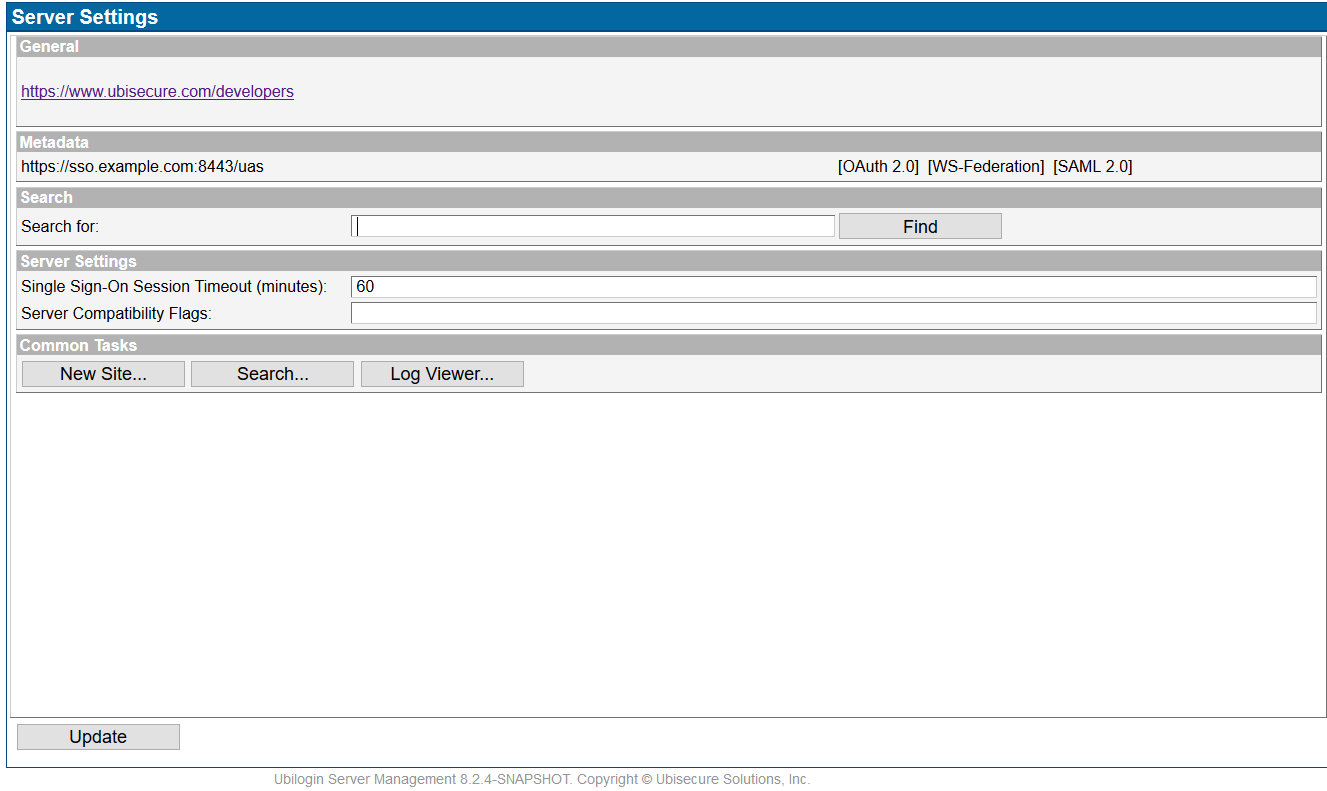
Log in into Ubisecure SSO and follow the steps below to complete the task. You can obtain the SSO metadata file or link, from the [SAML 2.0], in the image in step 1 below. This information, either the metadata file or the link, to the application integrator.
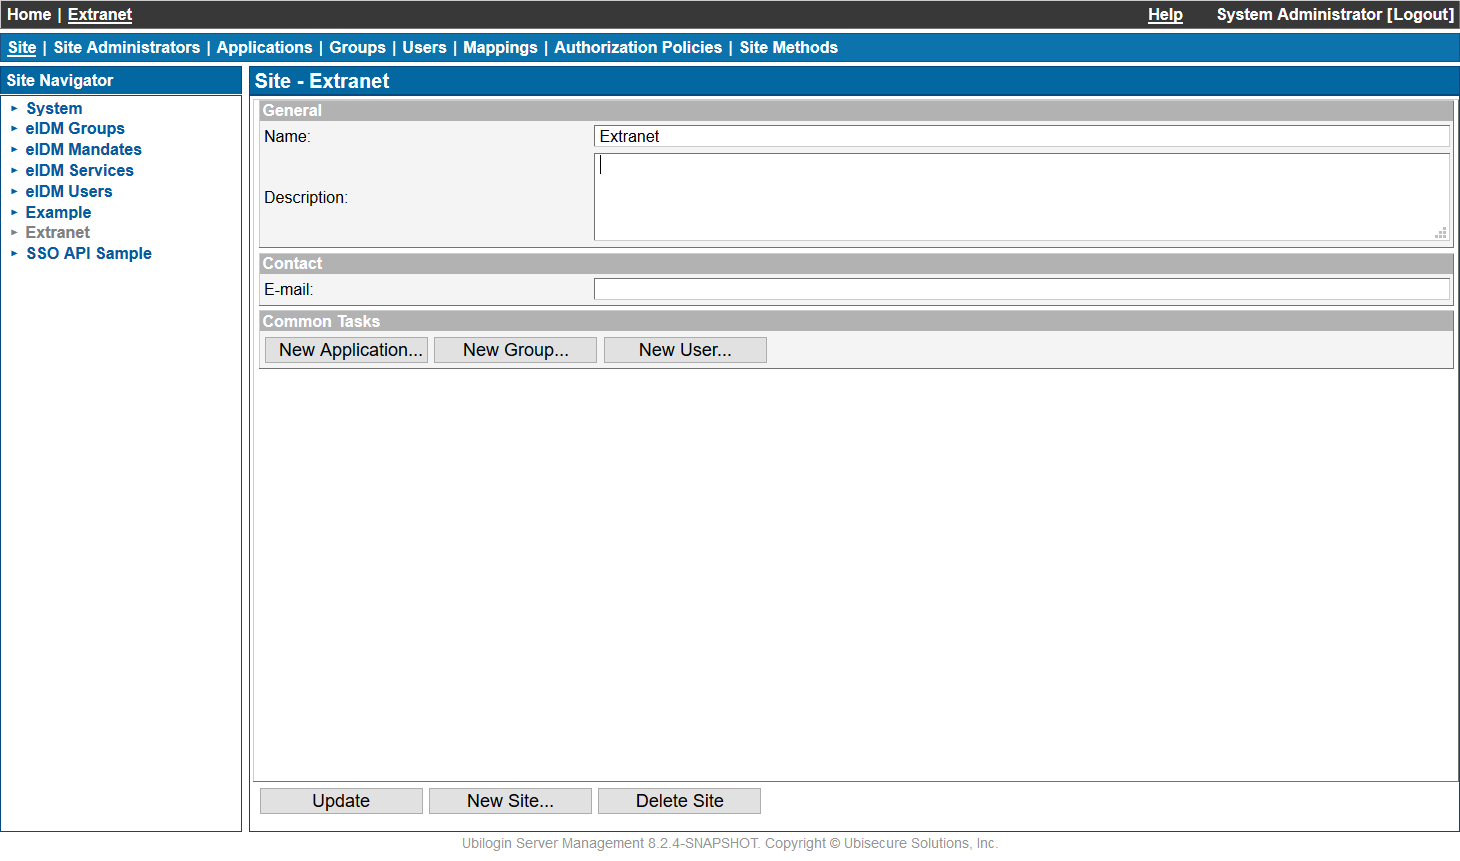
Start the configuration by creating a new site. Give a name to the site. E.g. ‘Extranet’. You may have several applications in this site
Create a new application by clicking on “New Application…”
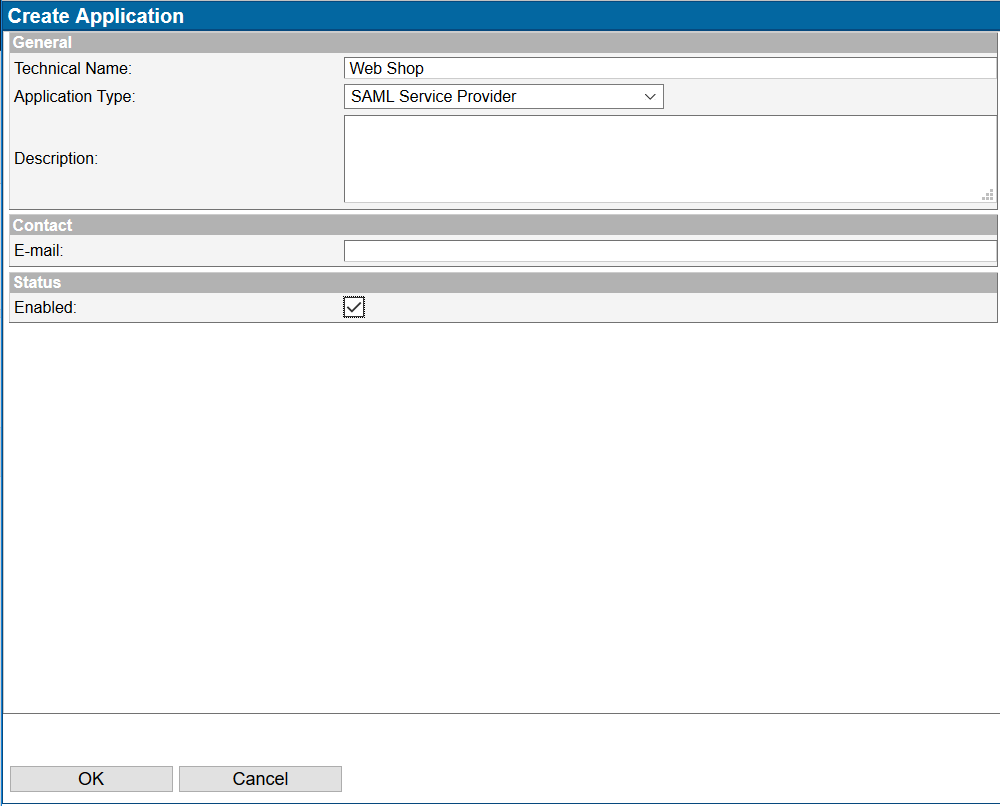
Name it e.g. ‘Web Shop’, select Application type as ‘SAML Service Provider’ and check the ‘Enable’ check box. Click ‘OK’
Activate the web application’s Metadata, either by uploading the xml file, or by pasting the content for the xml file
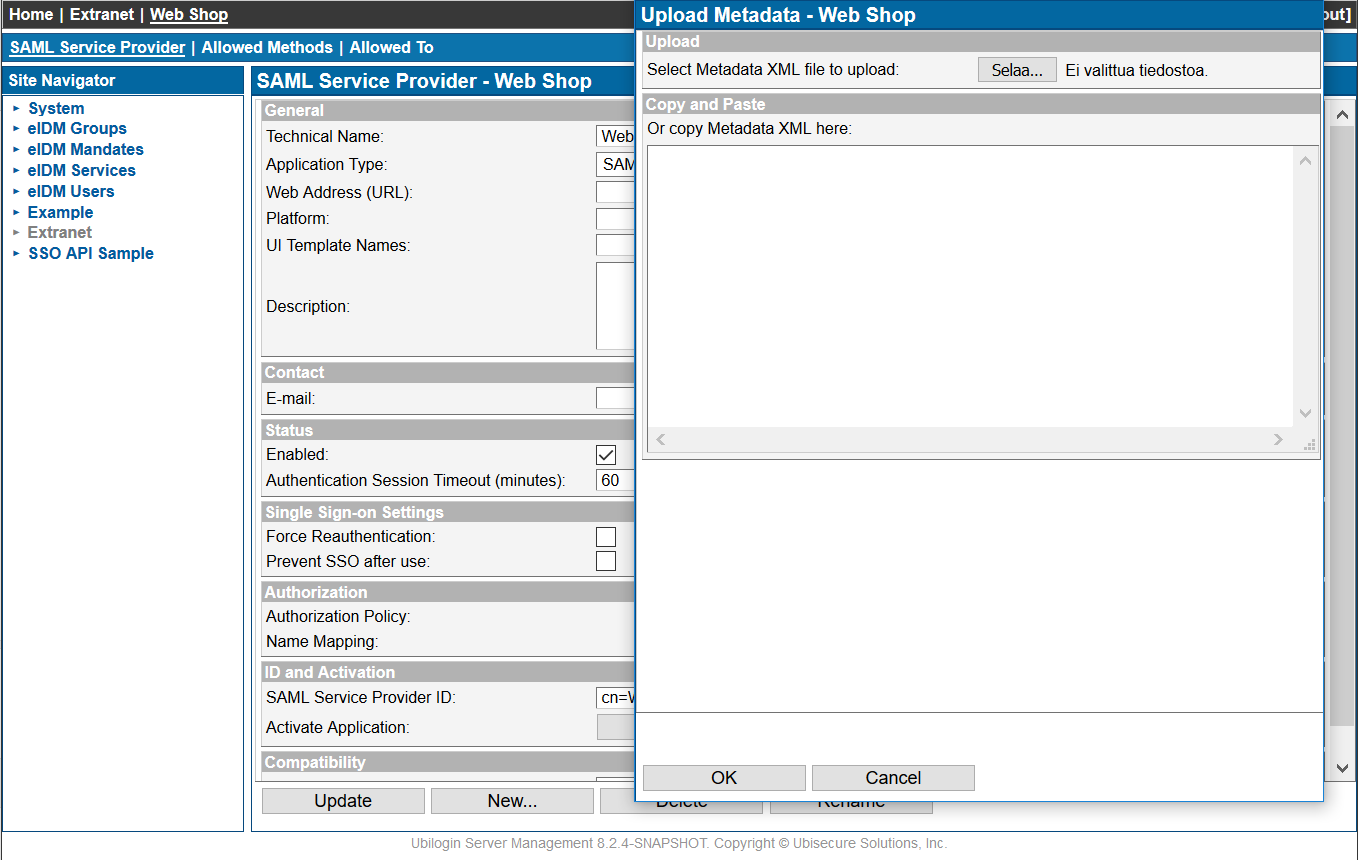
Click ‘Update’ to save the configuration to finalize the metadata activation
Creating Authorization Policy
Next, we will create an authorization policy for the site and add it to the application’s agent. Go to the site level (Extranet), and select ‘Authorization’ –tab. Click ‘New Policy…’ and select ‘CustomerID password’. From now on all these methods added at the site level are available for activation for the applications in this Site
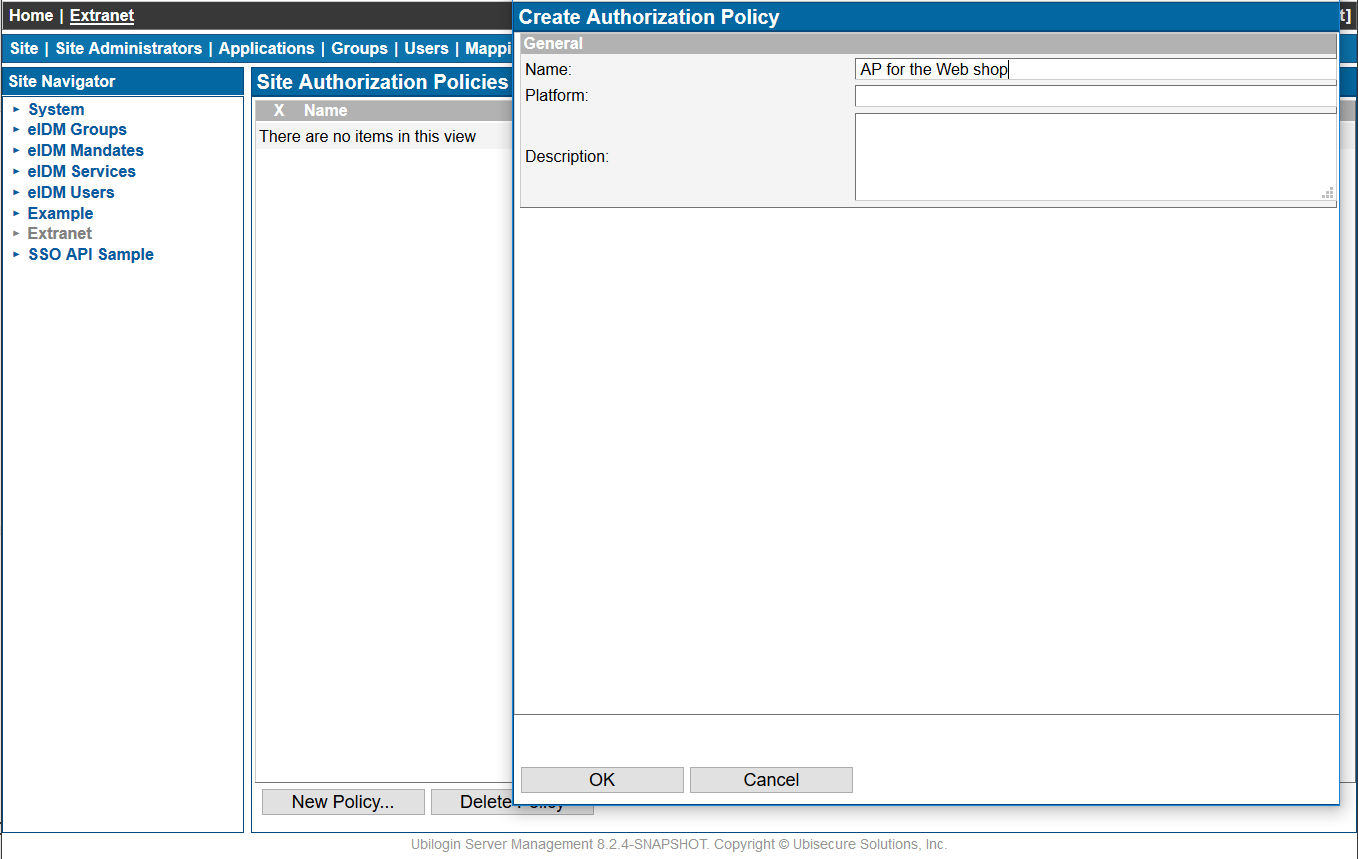
Go to the ‘Authorization’ –tab now, and create a new policy e.g. ‘AP for the Web Shop’. Click ‘OK’. Next, go to ‘Attributes’ –tab to add the attributes which are forwarded to the application
Attributes can be added to the Application’s Authorization Policy.

Click ‘Add…’ and select the Application to use this authorization policy. Click ‘OK’

Adding Authentication Method
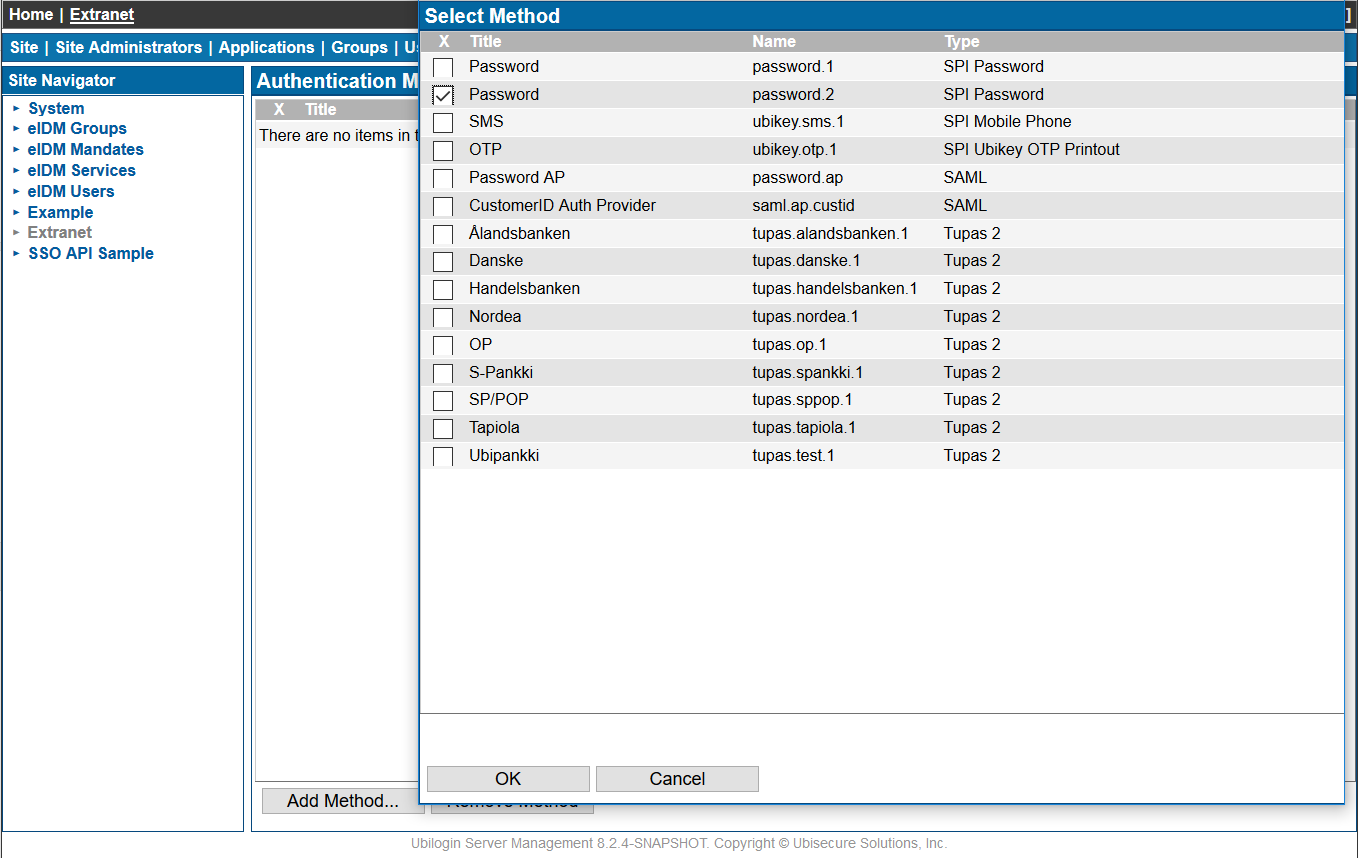
Next will add the authentication method to the site and activate it to the ‘Web Shop’ -application. Select ‘Extranet’ –site and ‘Site Methods’ –tab.
Enable the authentication method for the ‘Extranet’ -site by checking the check box in front of the method and click ‘OK’. Finally, press ‘Update’ -button below once the method has been added to the site
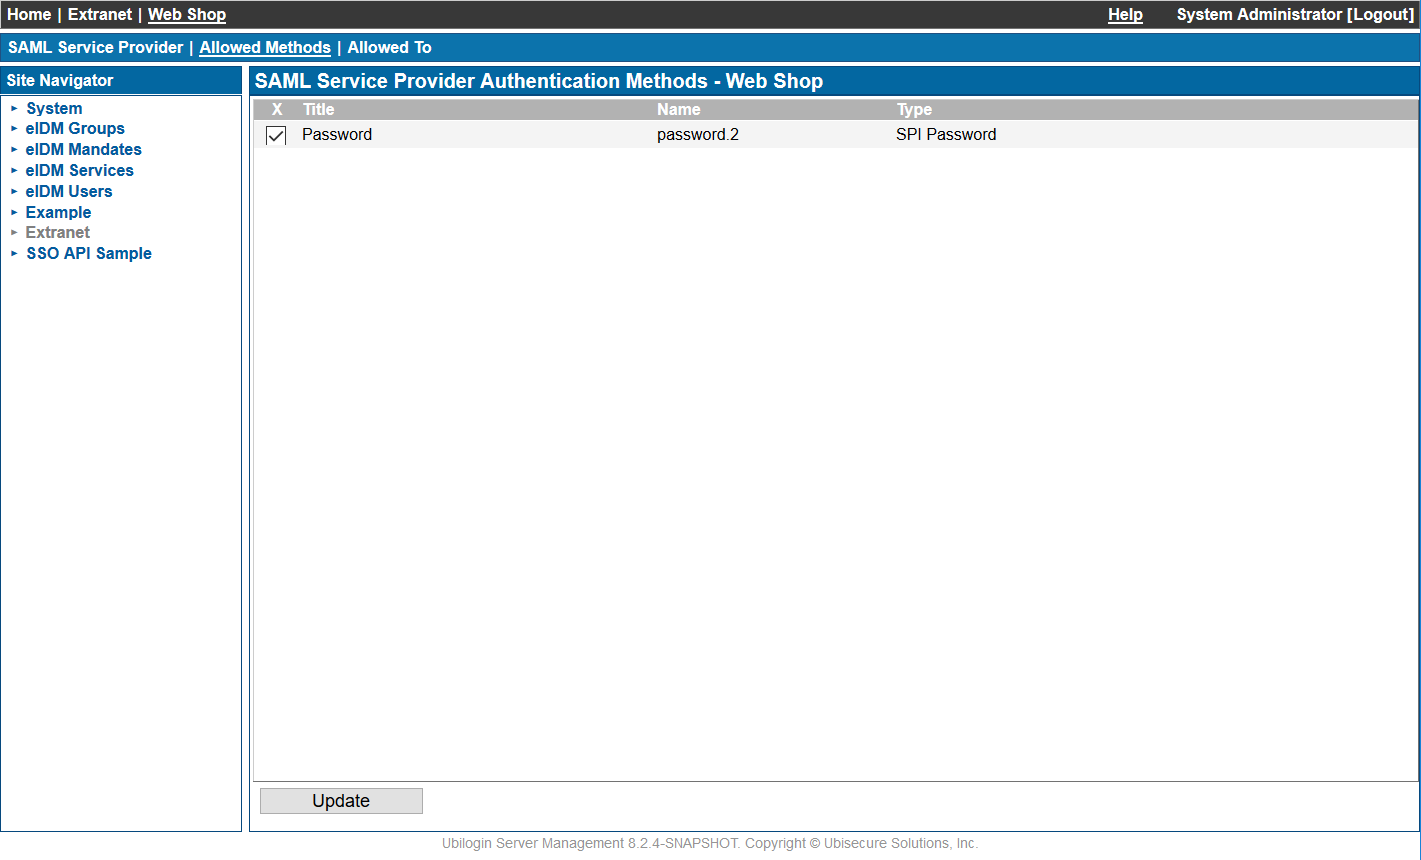
Assign the method to the ‘Web Shop’ –application by selecting the ‘Applications’ -tab in the site. Select the application by clicking on it and select ‘Allowed Methods’ –tab
Select the authentication method and click ‘Update…’
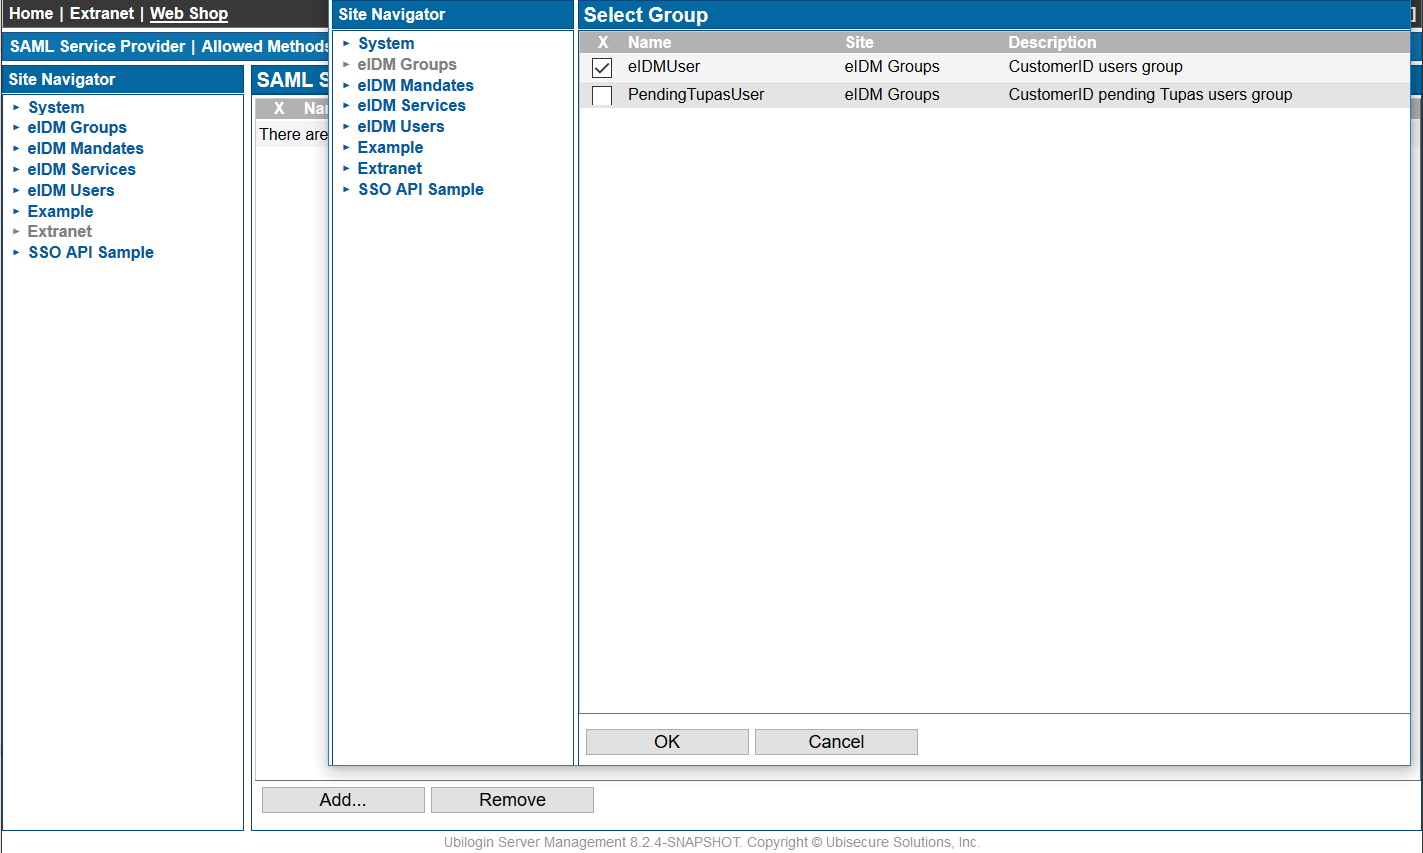
Click ‘Add…’ and select eIDMUser group (all users in CustomerID) to use this application and click ‘OK’.
Now the Web Shop application is integrated with Ubisecure SSO using SAML 2.0.
Next, pass the Ubisecure SSO metadata information to the application development if you haven’t done so.