AD LDS installation steps (nodes 1 and 2) - SSO
Windows Server 2016/2019
AD LDS Installation (node 1 and node 2)
Install AD LDS in Windows Server on both nodes:
- Start Server Manager
- Start Add Roles and Features Wizard by clicking Add roles and features and proceed as follows:
- (Pass the Before you begin step → Next)
- Select Role-based or feature-based installation → Next
- Select the server you are configuring from the server pool → Next
- Select Active Directory Lightweight Directory Services→ Add features that are required for Active Directory Lightweight Directory Services? → Add Features → Next
- Keep the .NET Framework <n.n> Features selection → Next → Next → Next → Install
|
|---|
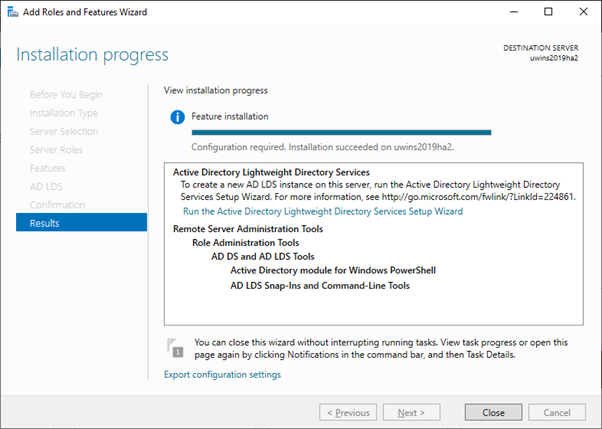
| Figure 1. AD LDS installation successfully completed. |
Create Service Account (node 1 and node 2)
Create ubilogindirectory user account on both nodes. Use the same password on both nodes. After you have created the user change its account type to Administrator or add it as a member of Administrators group with Windows in-built tools.
Use e.g. the following procedure in Windows Server 2019:
- Open Windows Settings → Click Accounts → Click Other users on the left pane → Click Add someone else to this PC → Local Users and Groups (
lusrmgr) is opened With
lusrmgrselect Users on the left pane → Click More Actions → Select New User...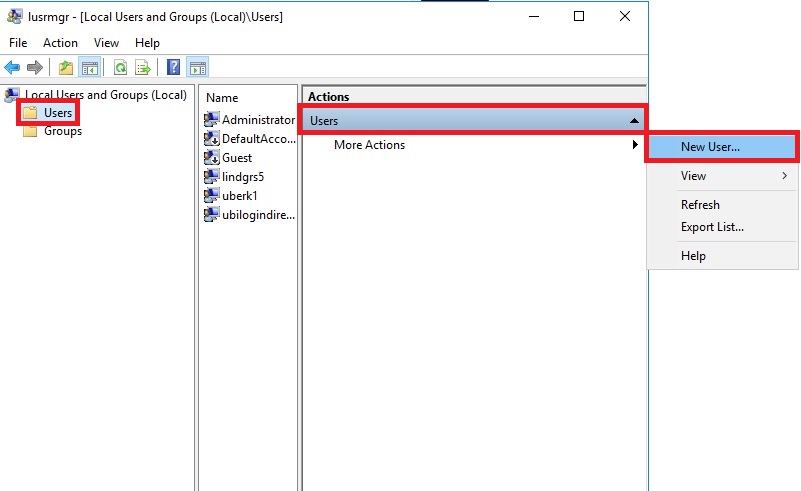
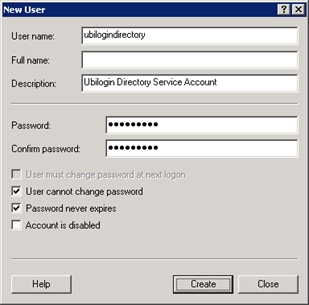
Figure 2. Start creating a new user. - Enter user information:
- User name:
ubilogindirectory - Description: Ubilogin Directory Service Account
- Password/Confirm password:
<password> - Deselect User must change password at next logon
- Select User cannot change password and Password never expires
Click Create

Figure 3. Enter user information.
- User name:
Windows Server 2008 R2
AD LDS Installation (node 1 and node 2)
Install AD LDS in Windows Server 2008 R2 on both nodes using the Server Manager as instructed for a newer Windows Server version above.
Create Service Account (node 1 and node 2)
Create ubilogindirectory user account on both nodes. Use the same password on both nodes. After you have created the user change its account type to Administrator or add it as a member of Administrators group with Windows in-built tools.
Do the following:
- Start Computer Management and select System Tools → Local Users and Groups → Users
- Select from menu Action a New User…
- Create a service account with the user name
ubilogindirectoryas instructed for a newer Windows Server version above and click Create.
|
|---|
| Figure 4. Enter user information with an older Windows version. |