Lab 2.2: CustomerID Workflow Configuration
- Keith Uber
- Former user (Deleted)
- Former user (Deleted)
The purpose of this module is to demonstrate configuration of two workflows:
- Workflow for inviting users into the system
- Self-registration workflow for registering organisations and users
- SSO and CustomerID installed
Overview
- Identity verification with a strong authentication method (e.g. national or bank authentication)
- Customer relationship verification by a CRM system query
- Verification of basic user information (e.g. phone number)
- Approval of service terms
- Activating a strong authentication method, such as SMS or one time password (OTP) printout
- Confirmation of e-mail address
- Automated or administrative approval by an administrator or assigned process owner
Instructions
In this lab we will configure two workflows:
- Role invitation workflow
- User self-registration workflow
Part 1: Role Invitation Workflow
roleinvite.registration = roleinvite
ui.role.invite.userinfo.fields = firstname, surname, mobile
roleinvite.receiver.approval = false

registration.2 = roleinvite
registration.2.enabled = true
registration.2.inviteonly = true
registration.2.tupas.disabled = true
registration.2.email.confirmation = false
registration.2.approval = false
registration.2.methods = [ { "name" : "password.2", "mandatory" : "true", "visible" : "false", "default" : "true" } ]
registration.2.mobile.confirmation = true
registration.2.userinfo.fields = firstname, surname, mobile, password, acceptTerms
registration.2.summary.fields = firstname, surname, mobile, email
registration.2.organizations = { "path" : "Users" }
Restart Wildlfly.
In Lab 1.6 the administrator created a new user and added all attributes and roles. Now we demonstrate the role invitation, which is the preferred way to create new user accounts.
Log in as Jeremy Mills

Select organisation "City Group" and then "roles"
Tick in "Representative" type of role, and in "Action" select "Invite users to role."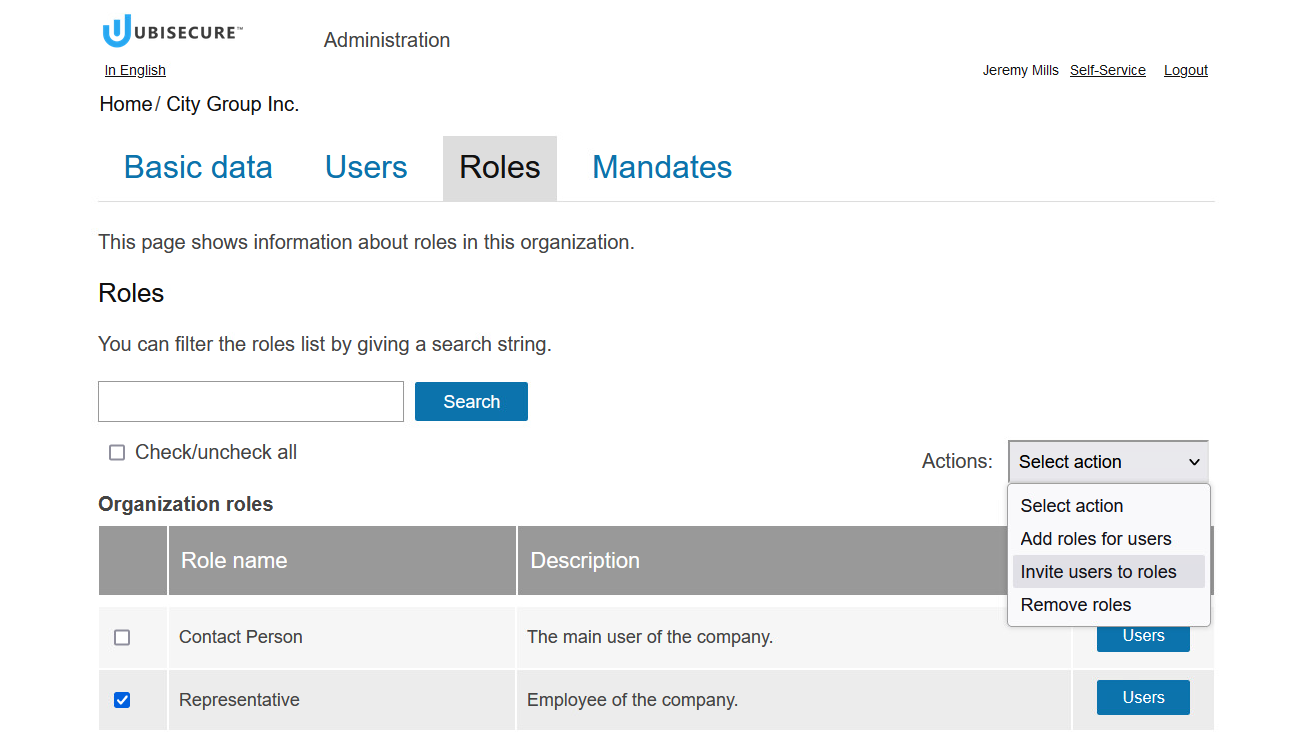
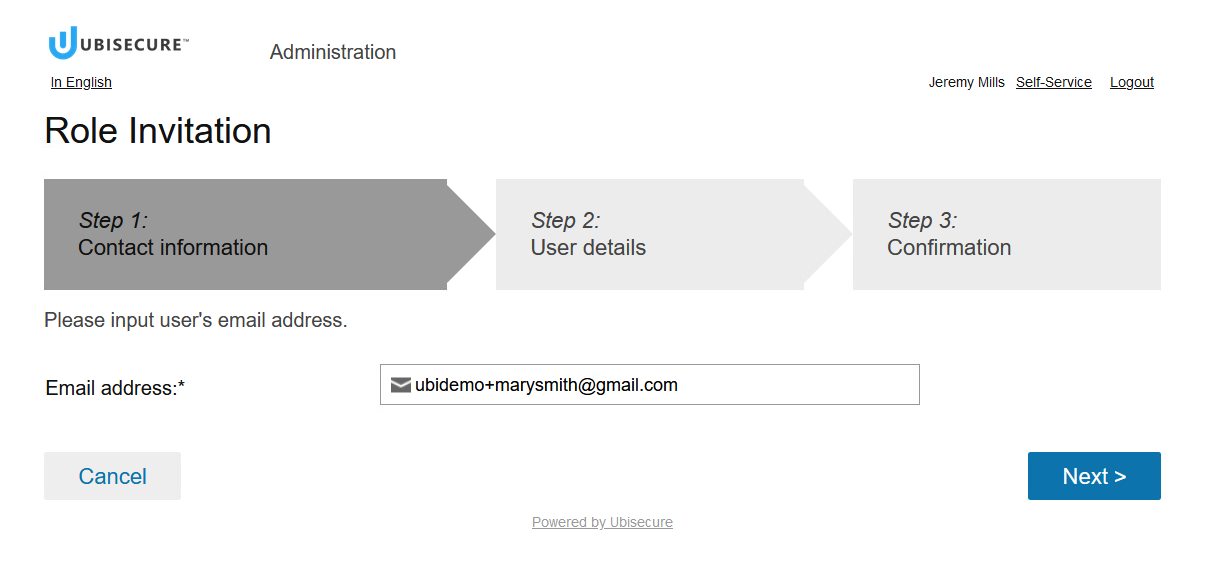
That will show you the role invitation workflow. Write your email (or some real personal email you have access to) and click "Next"
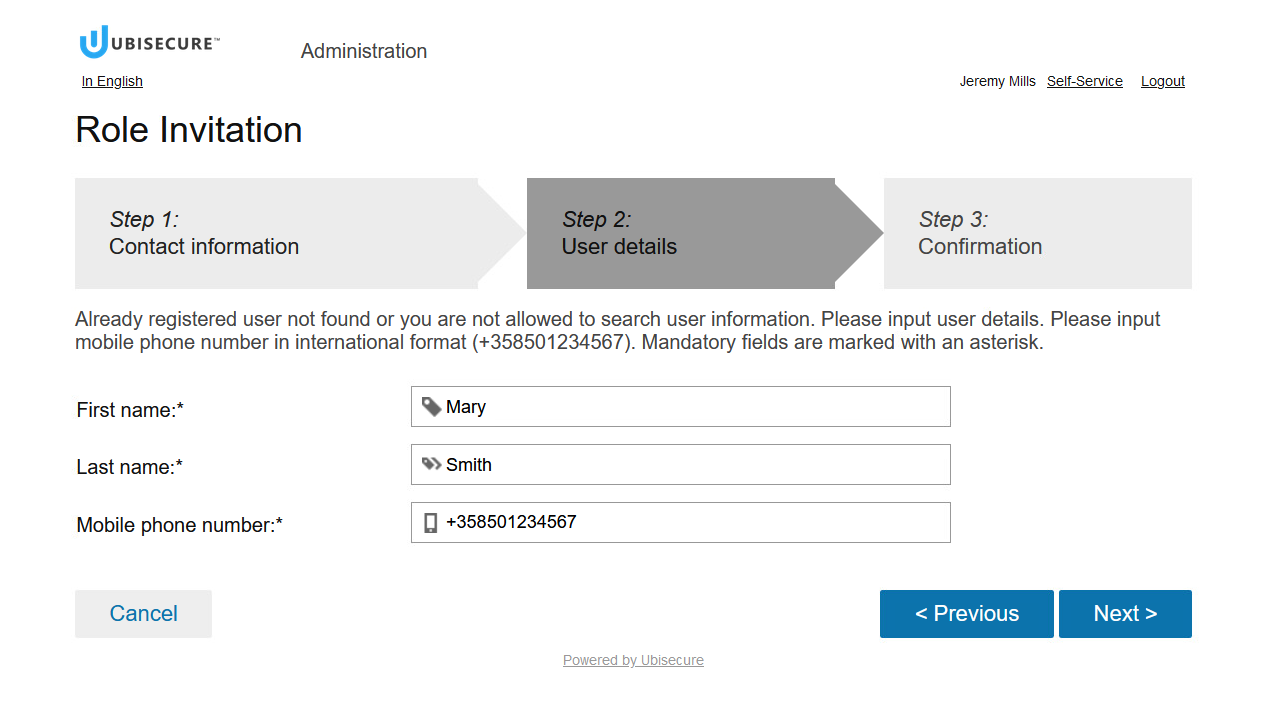
Write the firstname, lastname and your own phone number.
Write a message and click the Confirm button: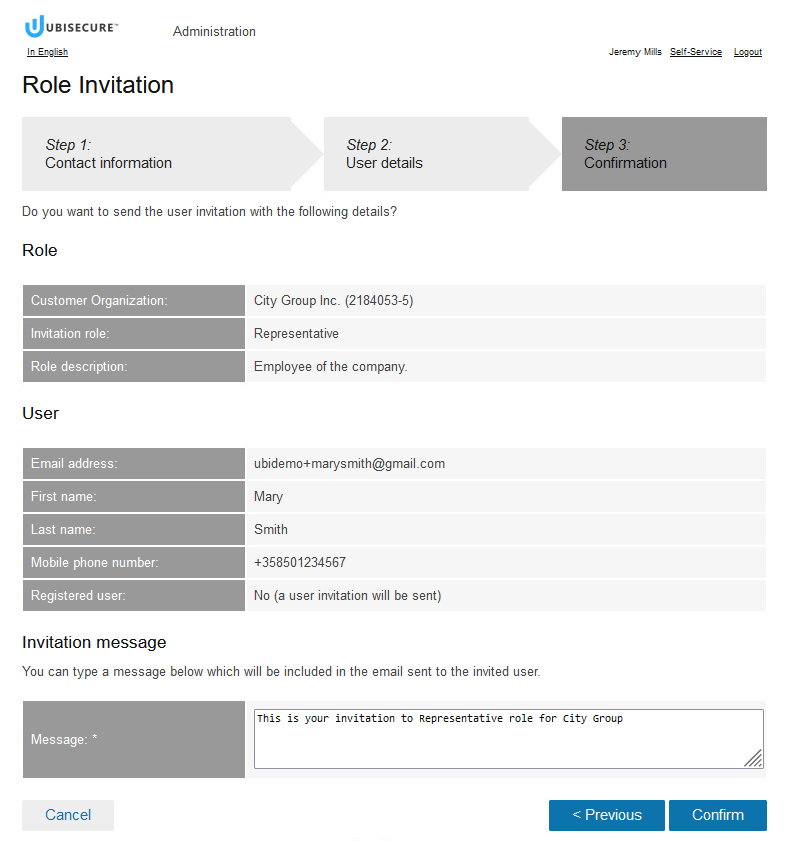
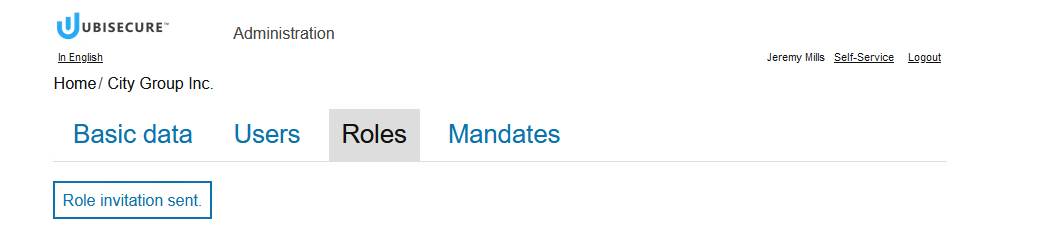
Then you see this:
Now logout from My SmartPlan and open your mailbox. You will receive an email invitation.
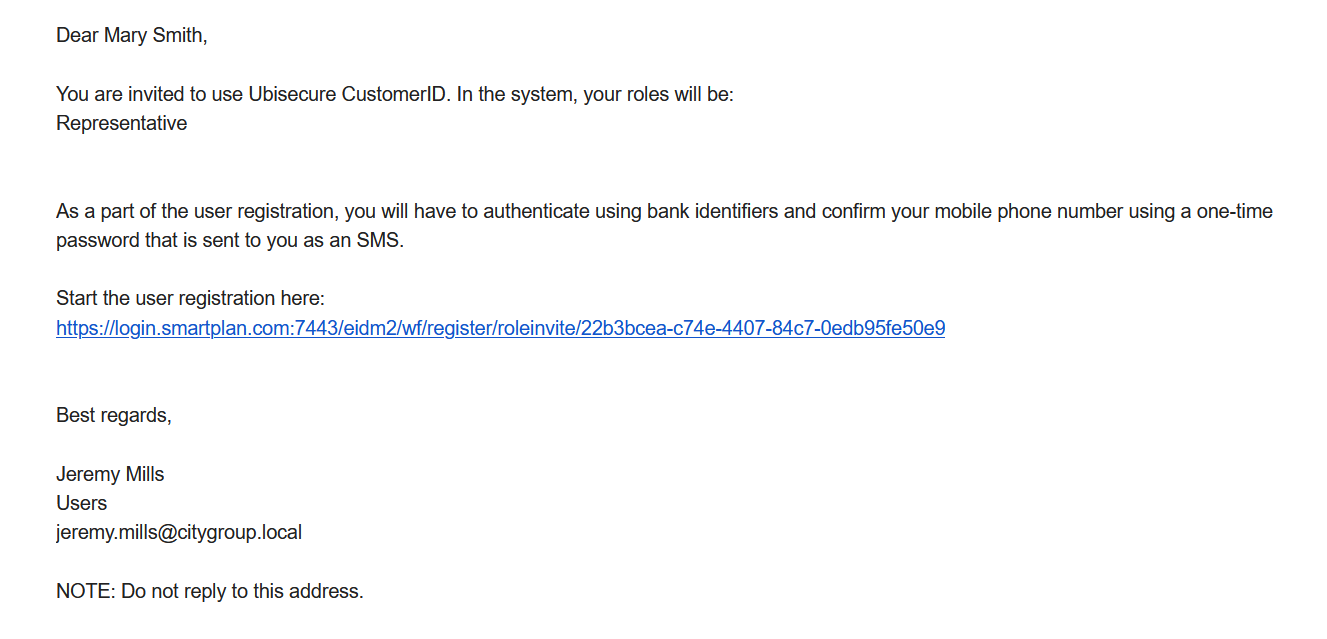
Click on the link and you will see this:
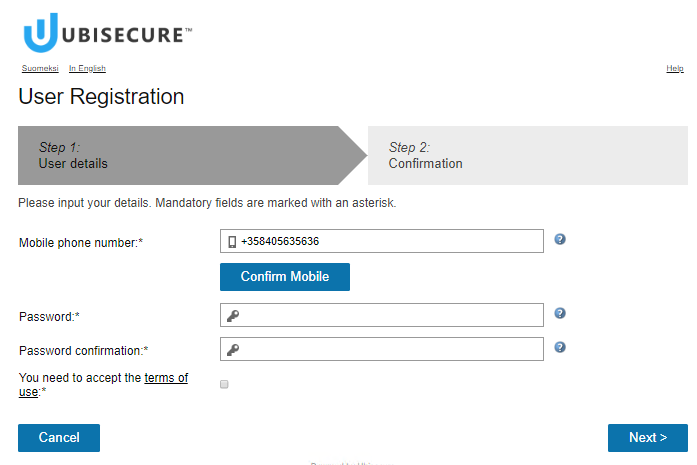
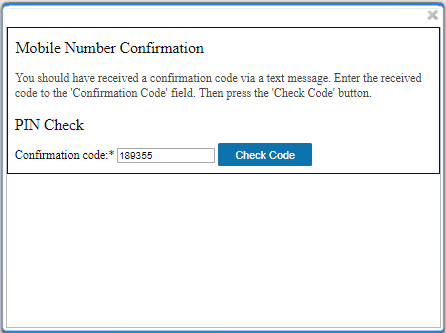
First, click "Confirm Mobile" and input the code you get in your phone
Fill in your password and accept the user terms. Click "Next" and you will see the confirmation step. Click the Confirm buttom.
That's how it shows next:
At this point your user account has been created. No approval is needed, you can log in to SmartPlan Application or your self-service page.
Take note of the email and password as you will use this new user account in later exercises.
Part 2: User Self-Registration Workflow
- Finnish Company Business ID input (e.g. 2184053-5 is CityGroup's Company ID)
- User details input (no email or mobile phone number verification)
- Manual approval by an administrative user
- First user will receive Contact Person role from the company-organisation
Do the following changes in the configuration files:
admin.approval.workflow.smeorganization = SME Organization
user.tupasname = Name from bank
registerWizard.inputuser.summary = Please input your details. Mandatory fields are marked with an asterisk.
registration.3 = smeorganization
registration.3.logo.key = org-registration
registration.3.enabled = true
registration.3.newuseronly = true
registration.3.inviteonly = false
registration.3.tupas.disabled = true
registration.3.email.disabled = true
registration.3.approval = true
registration.3.methods = [ { "name" : "password.2", "mandatory" : "true", "visible" : "false", "default" : "true" } ]
registration.3.mobile.confirmation = false
registration.3.userinfo.fields = {acceptTerms}, {companyid}, {firstname, surname, mobile, email, password}
registration.3.userinfo.optional = mobile
registration.3.organizations = [ { "path" : "${companyid}", "organizationtype" : "company", "virtual" : "false" } ]
registration.3.roles = [ "${companyid}/user" ]
registration.3.roles.firstuser = [ "${companyid}/mainuser" ]
registration.3.summary.fields = companyid, firstname, surname, mobile, email
Restart Wildfly
Create a User with the following details:
First name:*: | Karl |
| Last name:*: | Kearnes |
| Mobile phone number: | Enter a real but unique telephone number (Optional). |
| Email address:*: | karl@kokomedia.local |
| Company ID | 9404545-2 |
| Password:* | Qwerty1234 |
| Password confirmation:* | Qwerty1234 |
| The terms of use:* |
The user can initiate the registration from the URL https://login.smartplan.com:7443/eidm2/wf/register/smeorganization
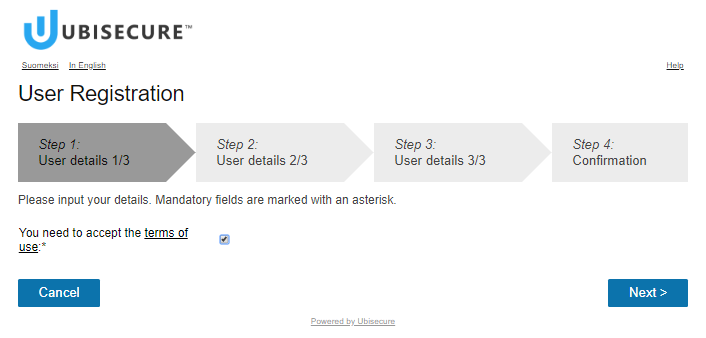
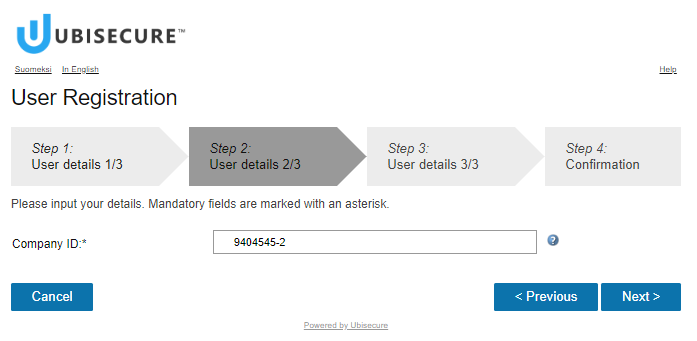
This configuration will create the following steps. Accept the terms and click the Next button.
Input the Company ID:
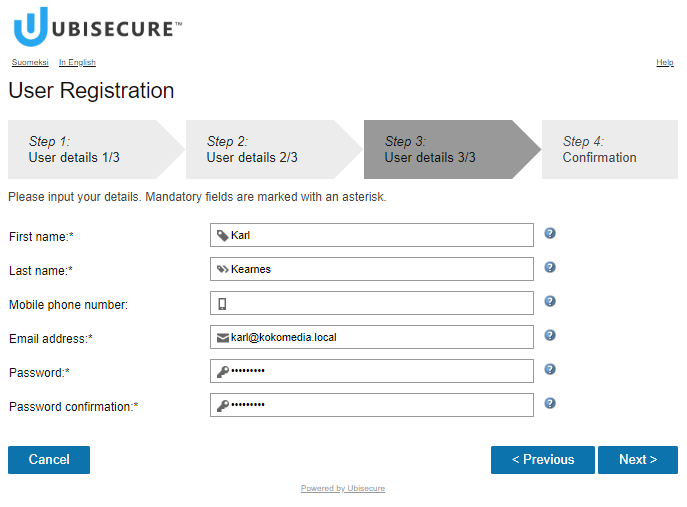
Fill in the user details:
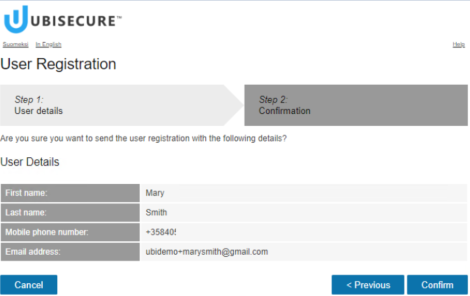
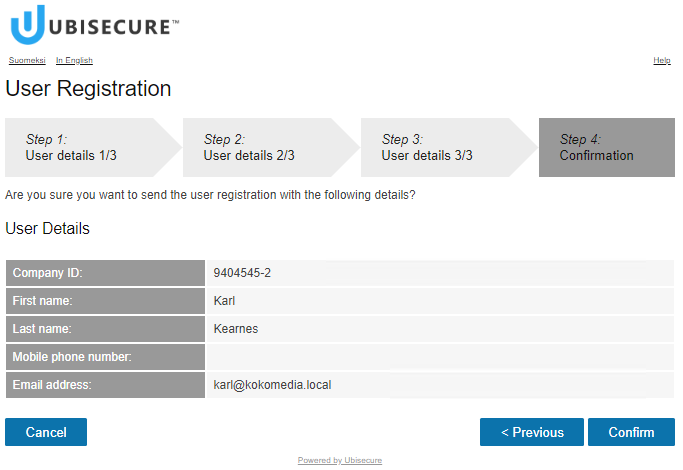
Confirm the user details.
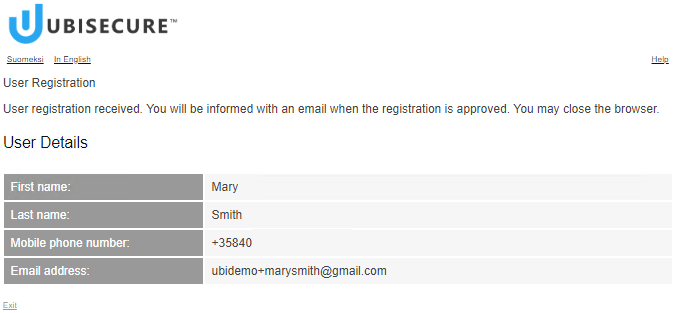
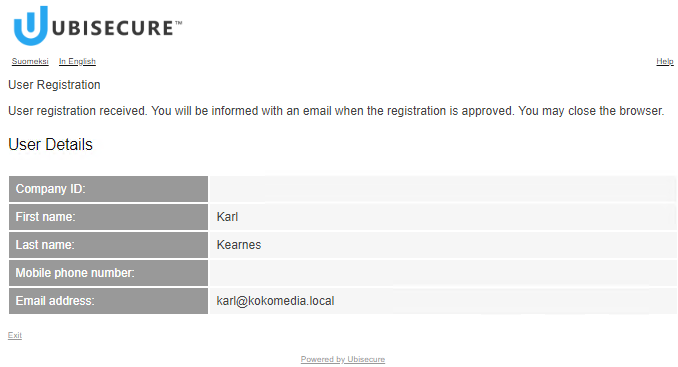
This page acknowledges the registration:
Manual approval by administrative user
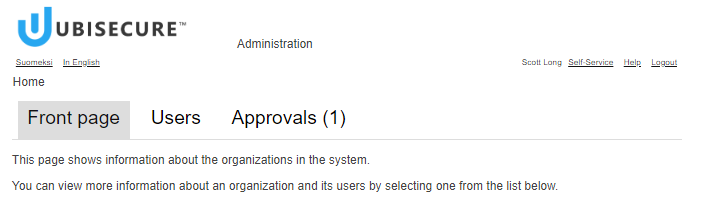
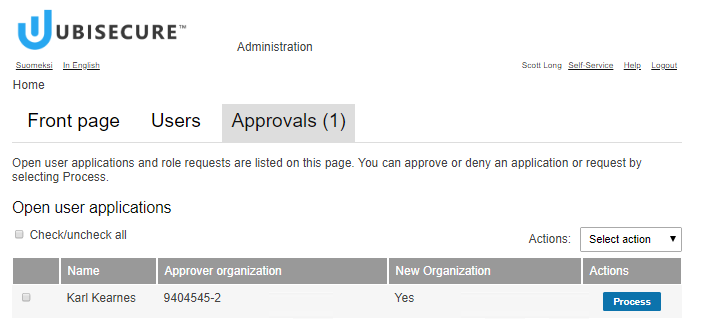
Now log in as Scott Long in the administrative interface. An approval will be waiting for the admin user:
Click on "Approvals" tab:
A request can be modified before approval.
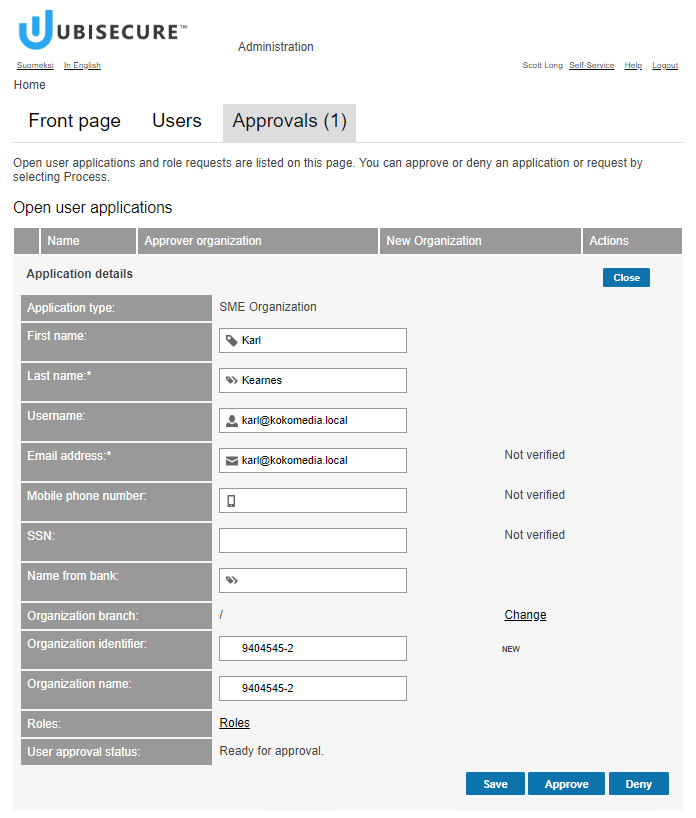
Now approve the request to enable the account.
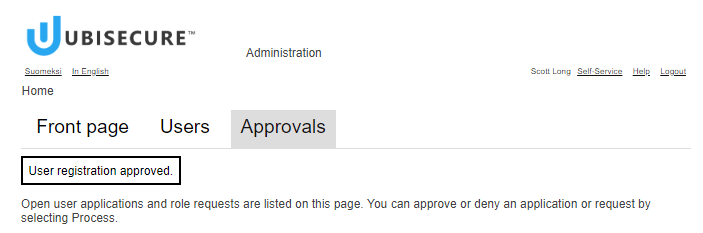
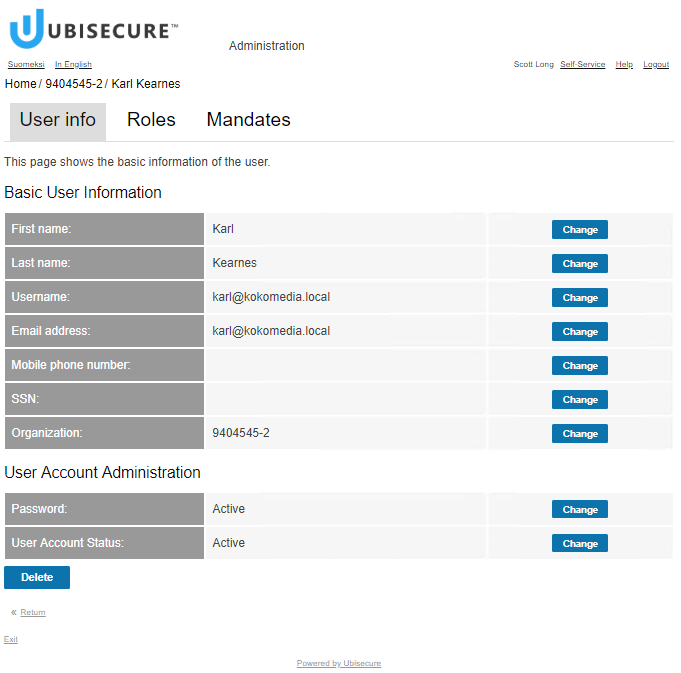
The new organisation will be created:
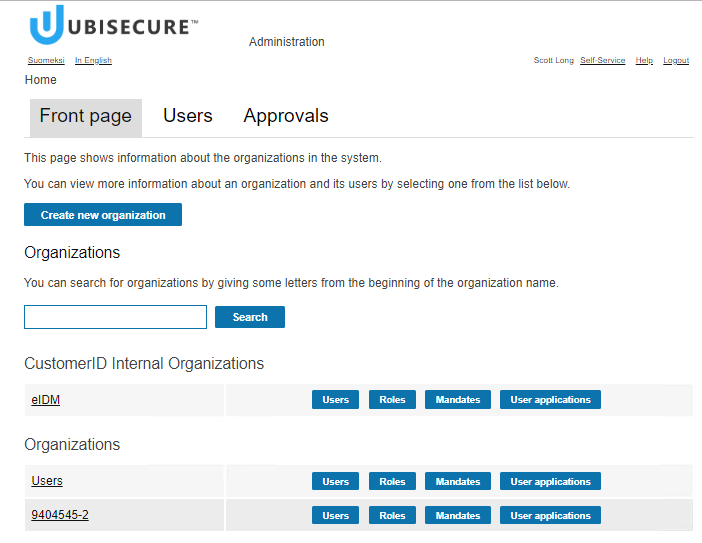
In the new organisation you will see one user:
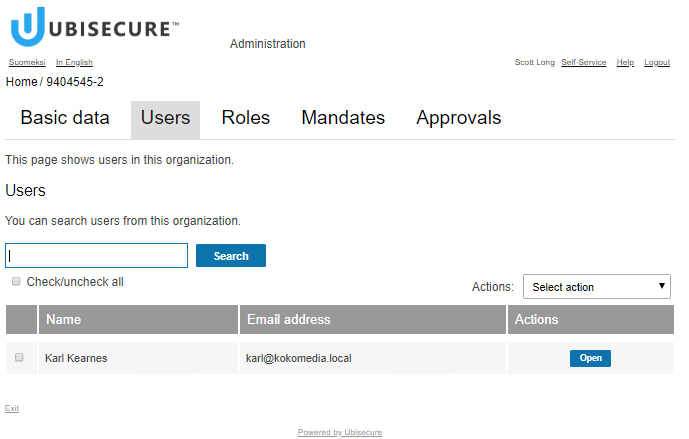
Click "Open" and you will see more information about the user: