/
Configure Google login via OAuth2
Configure Google login via OAuth2
- Former user (Deleted)
- Sami Lindgren
- Risto Peltomäki
Owned by Former user (Deleted)
You will use this article when you need to configure Google login as an authentication method (using OAuth2).
Step-by-step guide
- Log in to https://console.developers.google.com/ with a Google account.
- Create a new project.
If this is the very first project you create with this Google account, you will see the page below. Press the button "CREATE"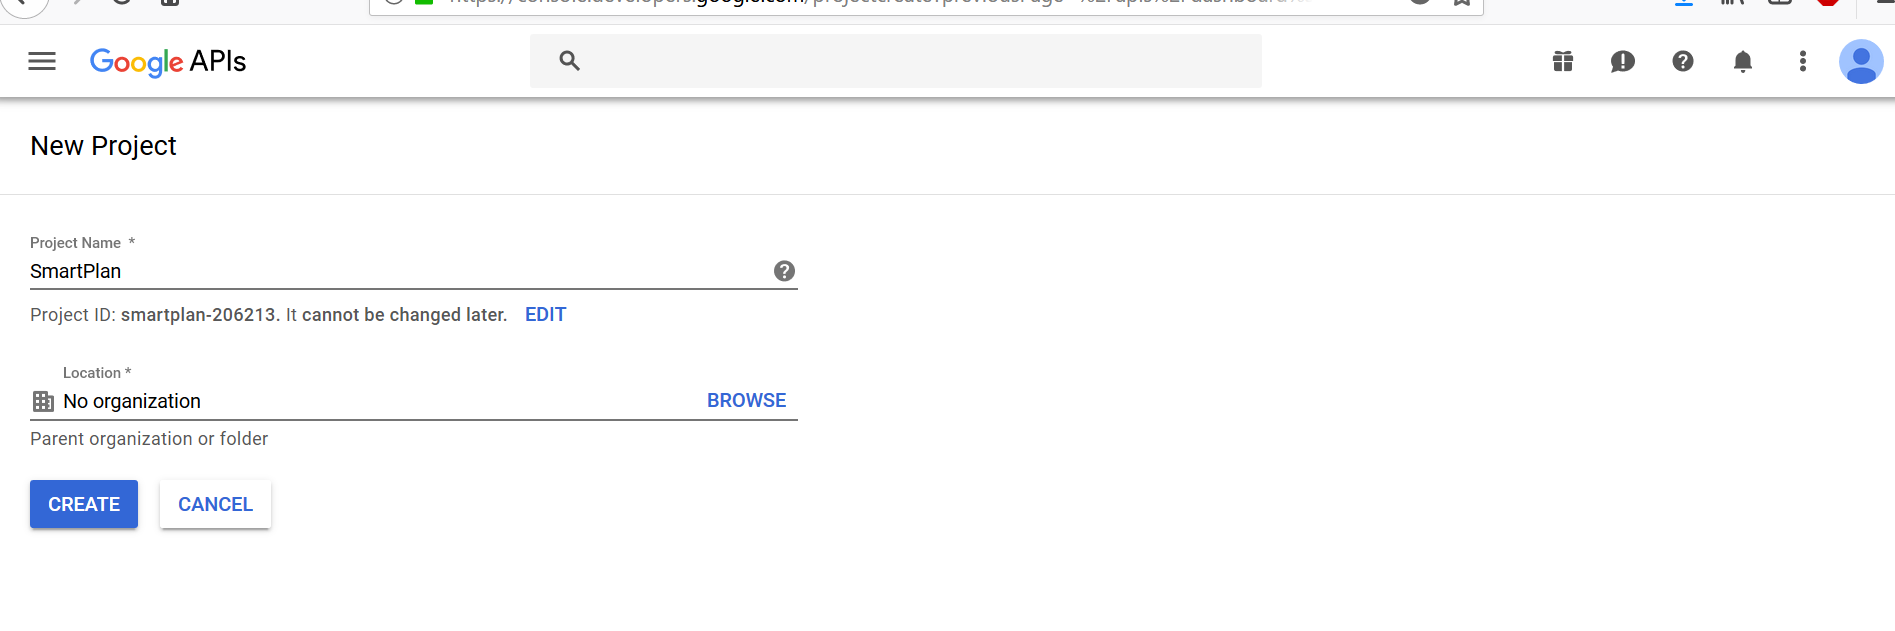
If you already have projects with your Google account, first find "Google APIs" at the top left of the page, and then click on the project name that is just on the right.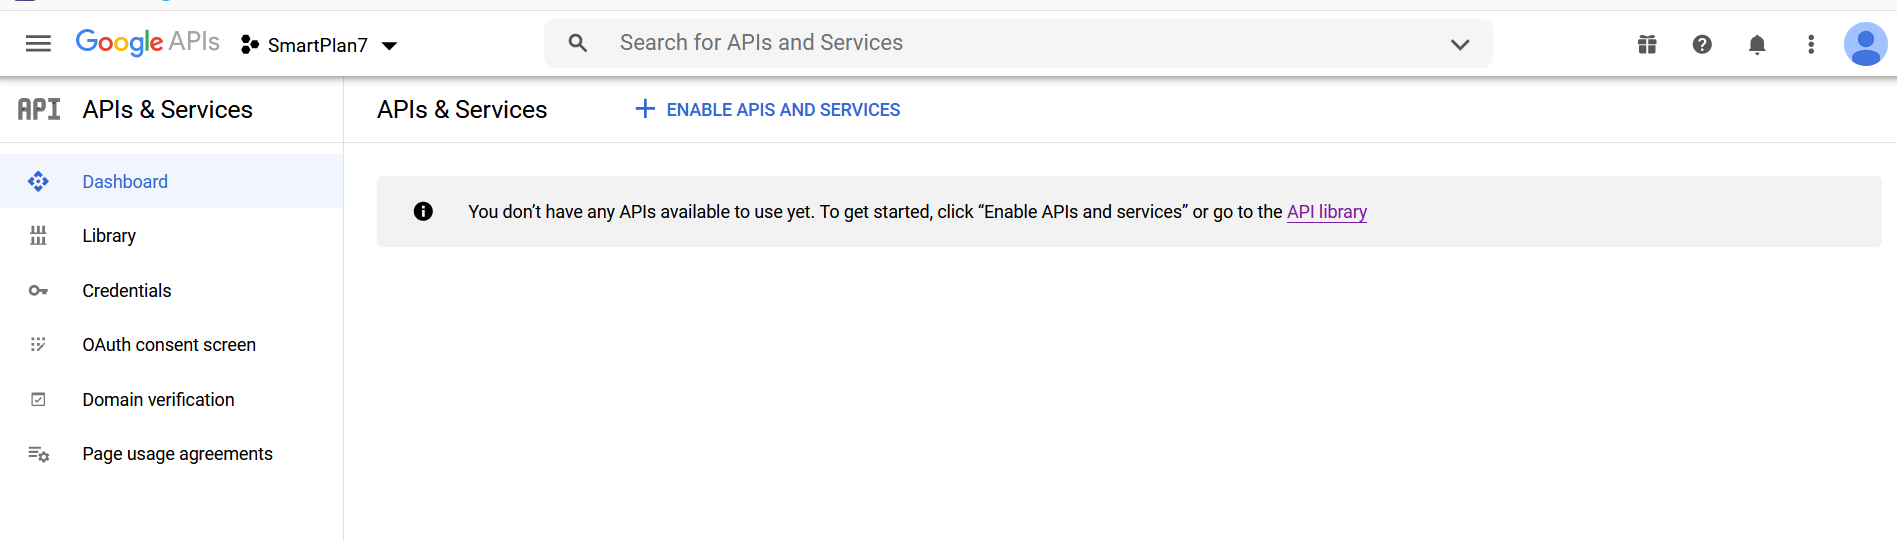
Then you will see the button "NEW PROJECT"
- Fill in "Project name" box with a name, for instance "SmartPlan." Then press button "CREATE."
- Now your project has been created.
- Once created, select your project and choose "Credentials" on the left menu.
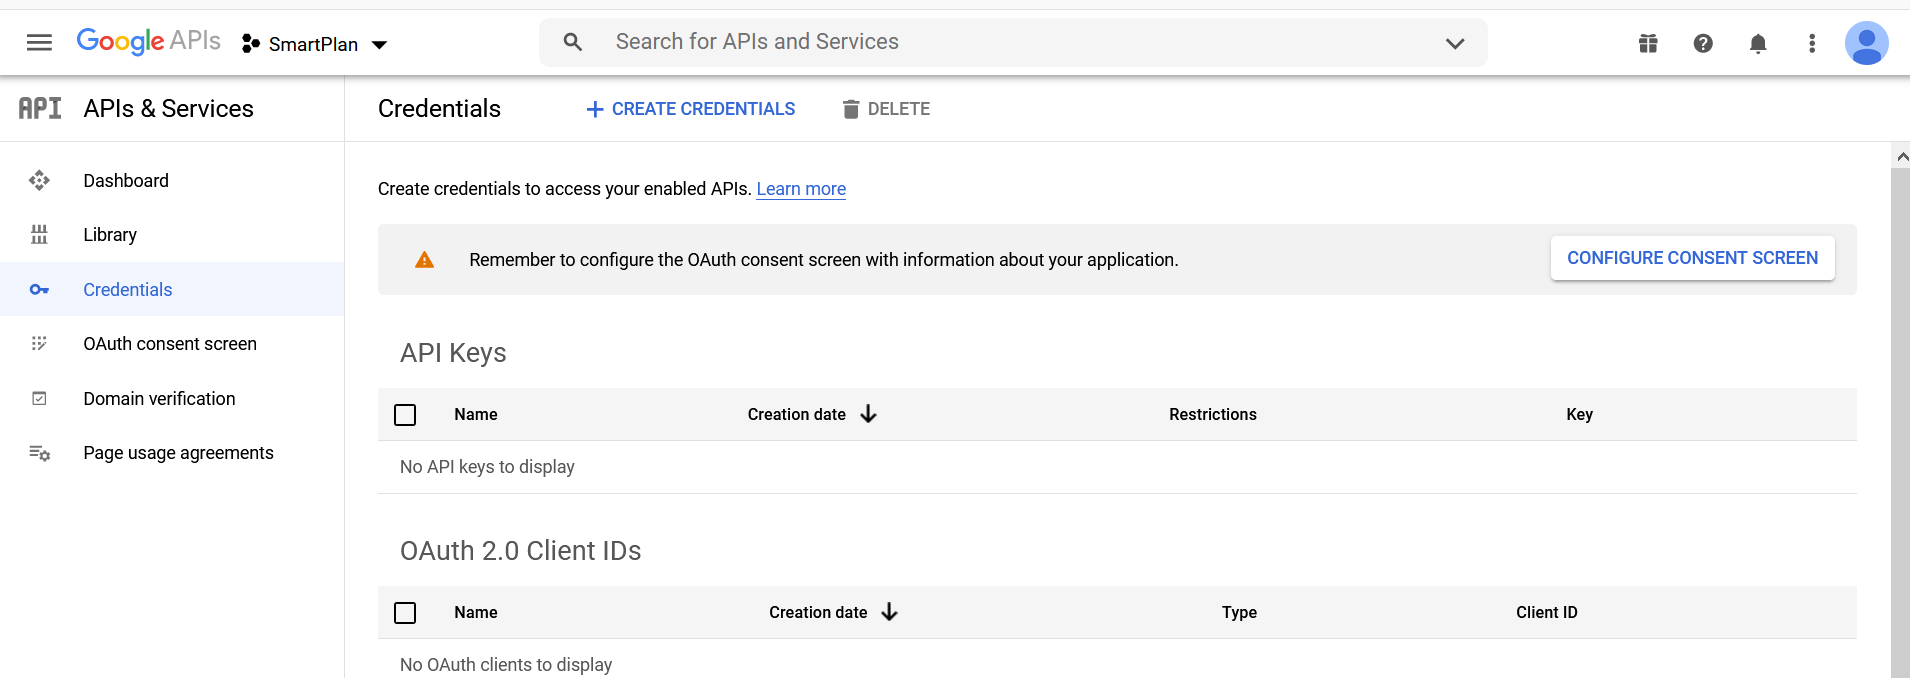
- Before you create credentials, you will see the warning "Remember to configure the OAuth consent screen with information about your application." Press the button "CONFIGURE CONSENT SCREEN."
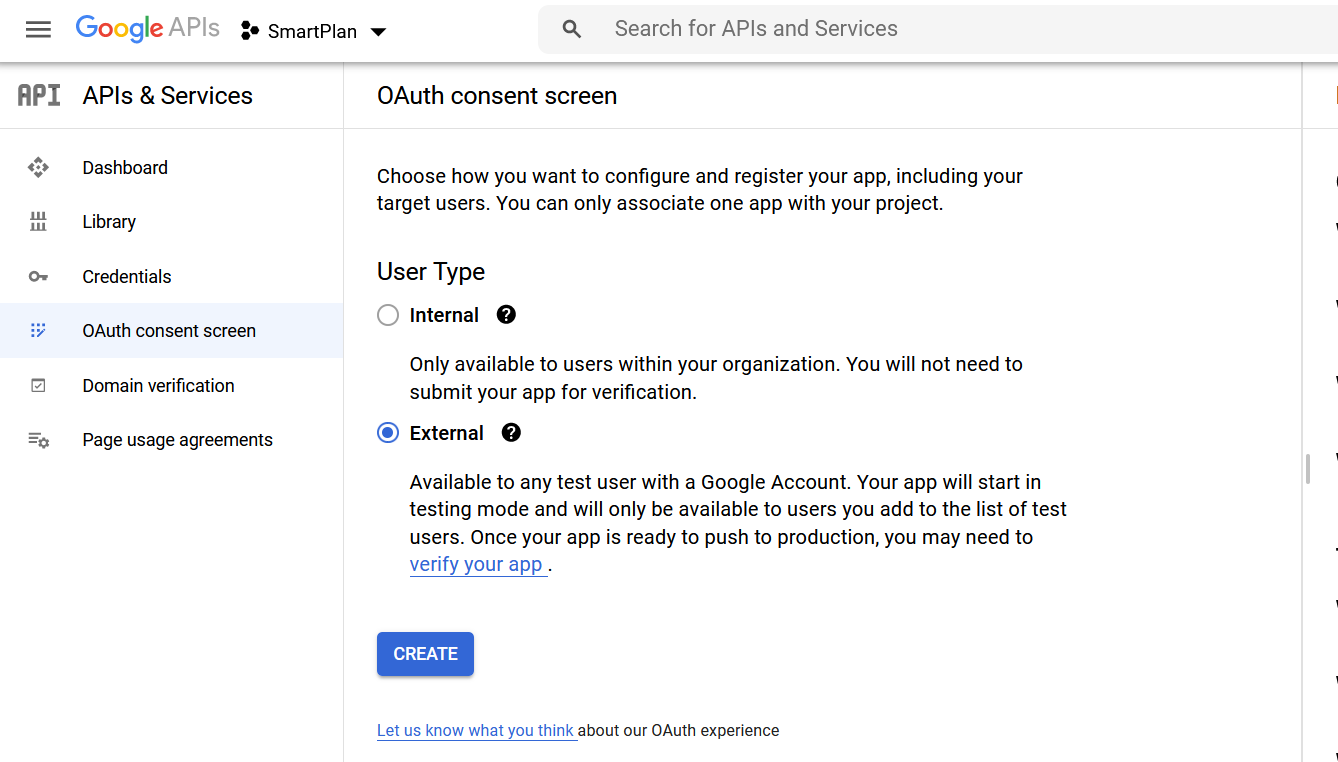
- Choose External and press "CREATE"
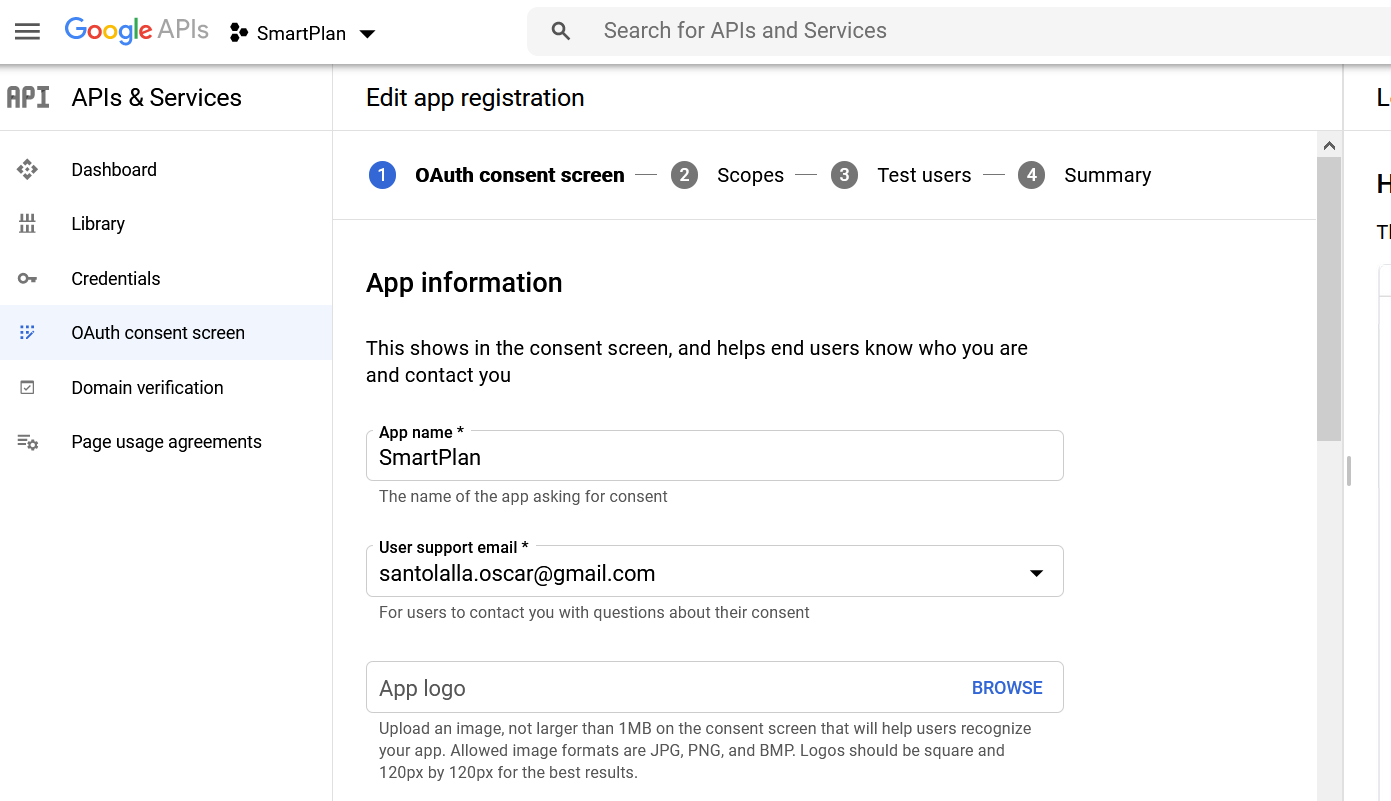
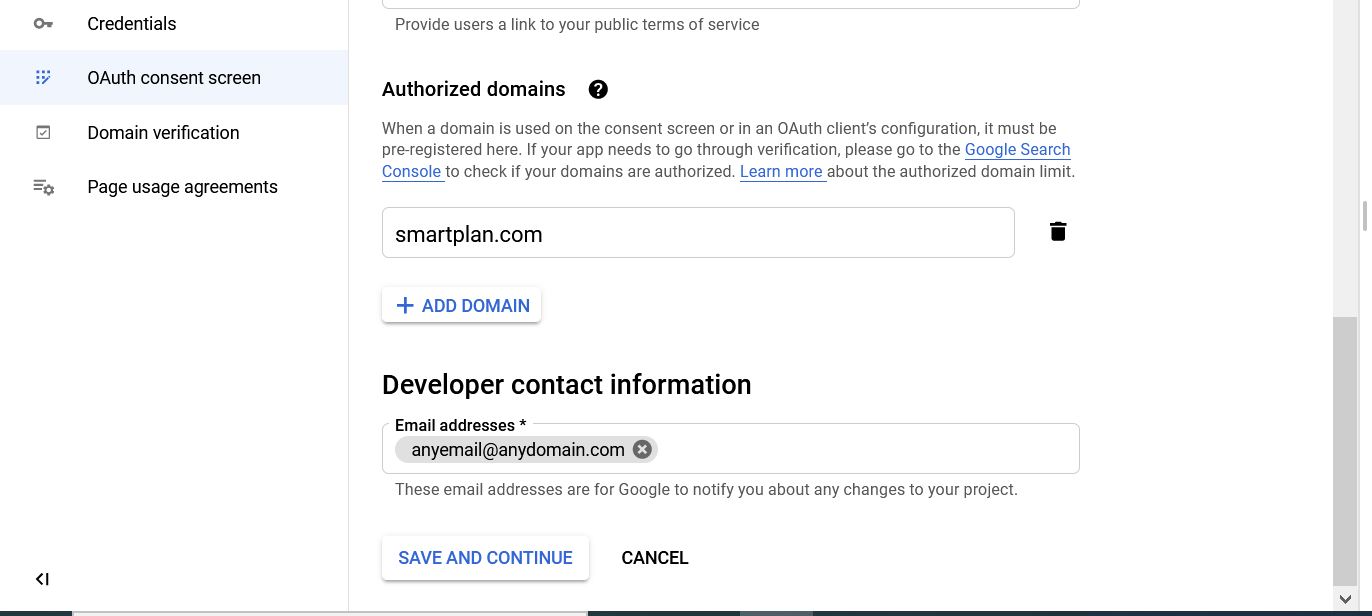
- In the next step fill in at least the App name, User support email. Then scroll down to also add your domain (e.g. smartplan.com) to "Authorized Domains."
- Next add any email on "Developer contact information." Finally, press "Save and Continue"
- Continue with "Save and Continue" until the end.
- Once the OAuth consent screen is configured, click "Credentials" on the left menu.
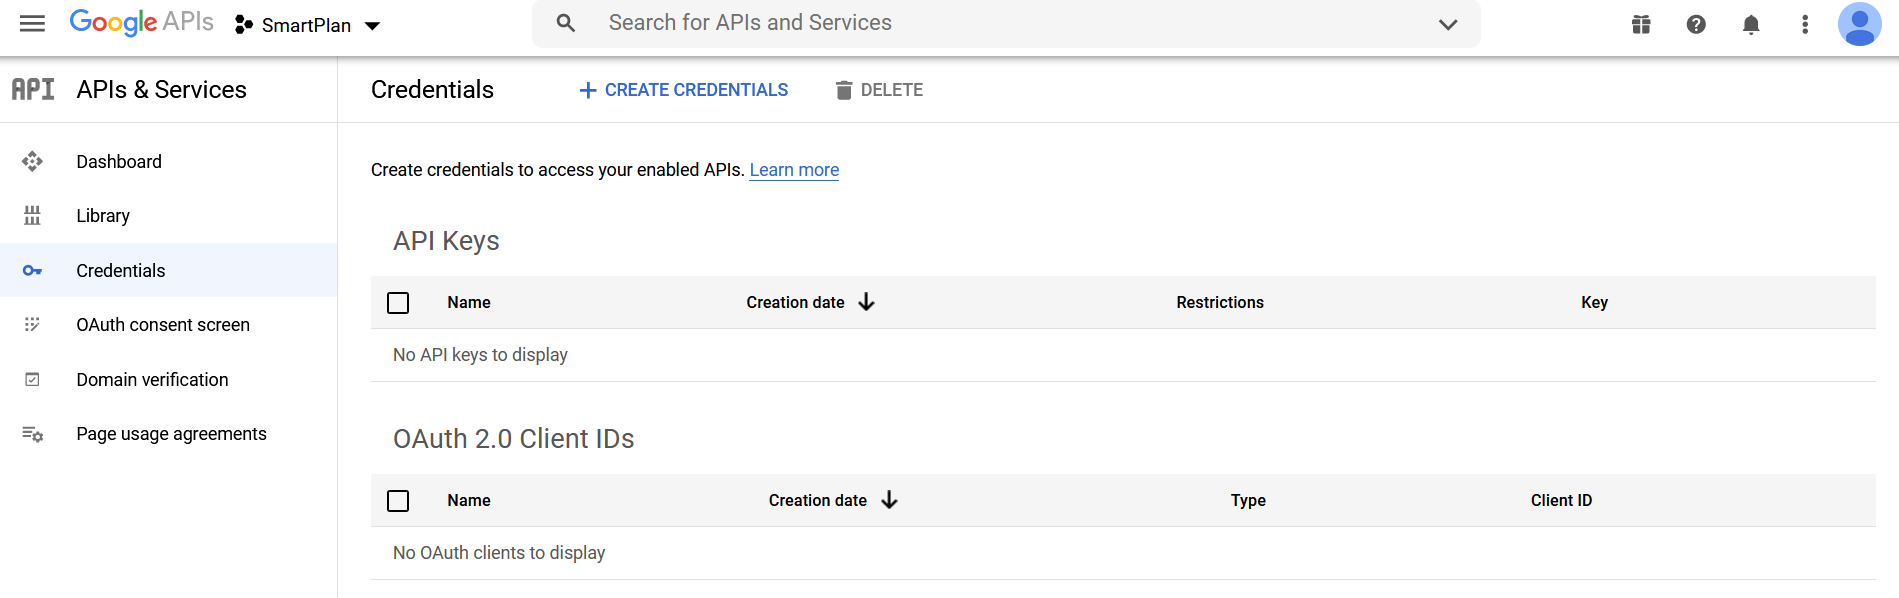
- Next click the button "Create credentials" and choose "OAuth client ID"

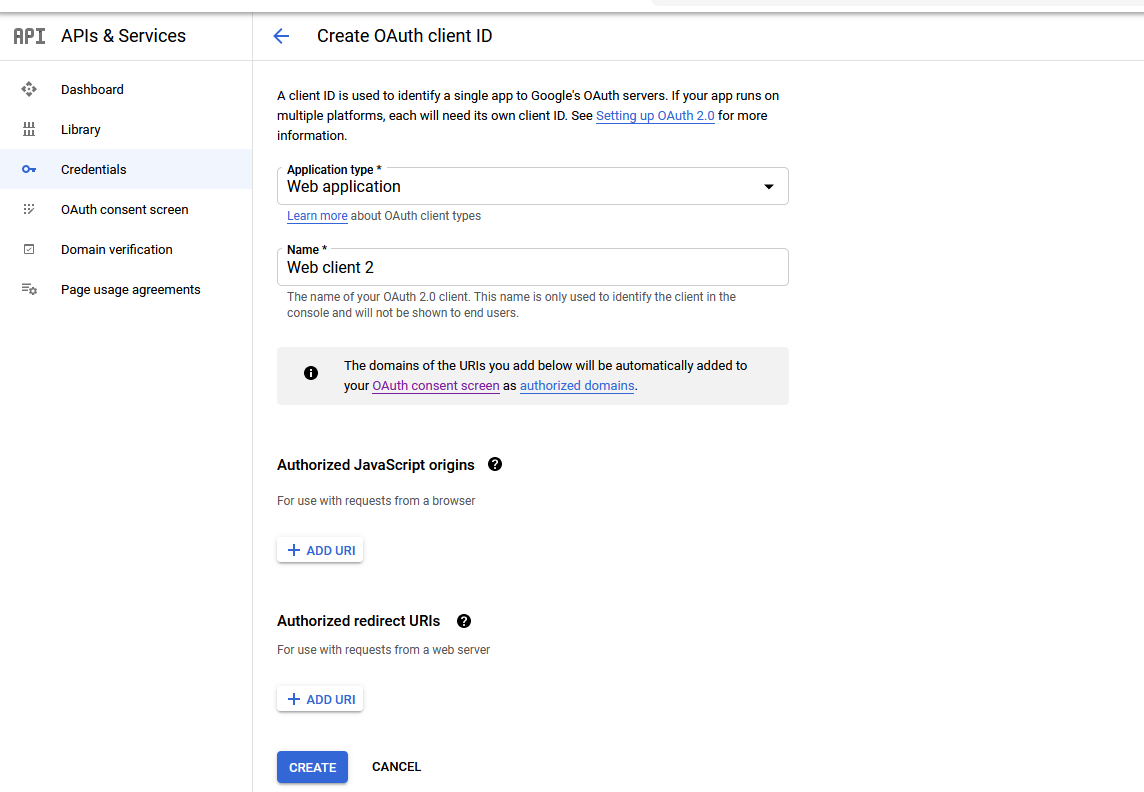
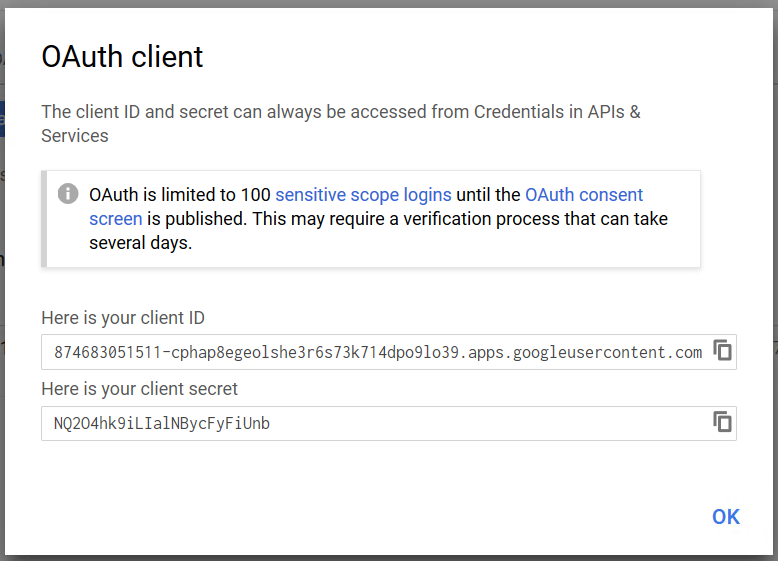
- Choose "Web application" as application type and press "CREATE" button.
- You will see your client ID and your client secret in a screen like this:
- The next step is to configure these parameters in SSO Management Console. From Home, select the tab "Global Method Settings" and then click "New Method" at the bottom of the page:
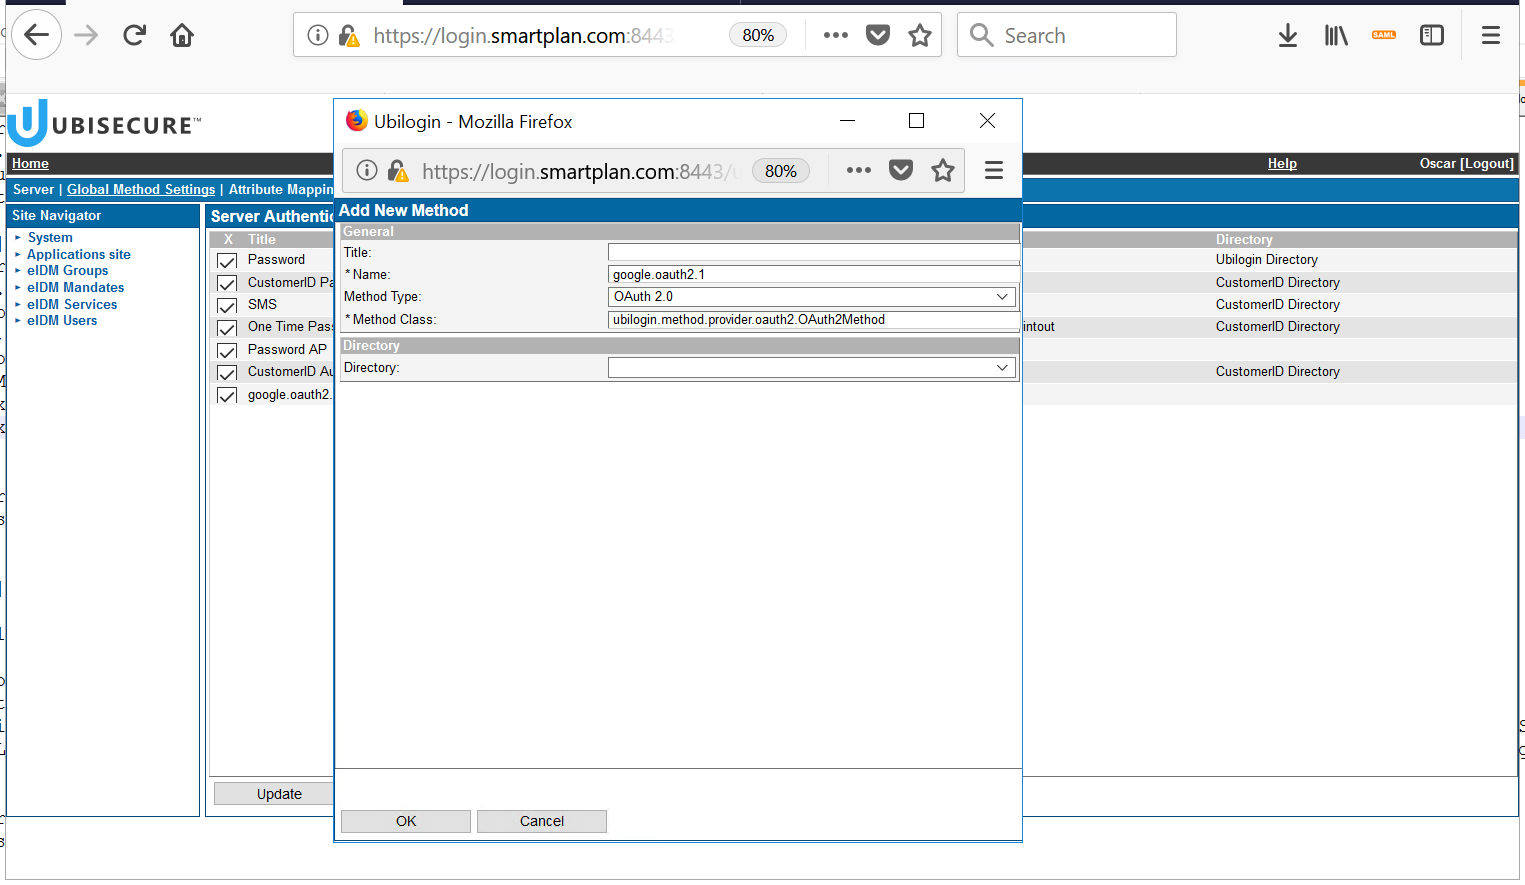
- Choose OAuth 2.0 as method type. The method class will auto-fill and you don't have to edit it.
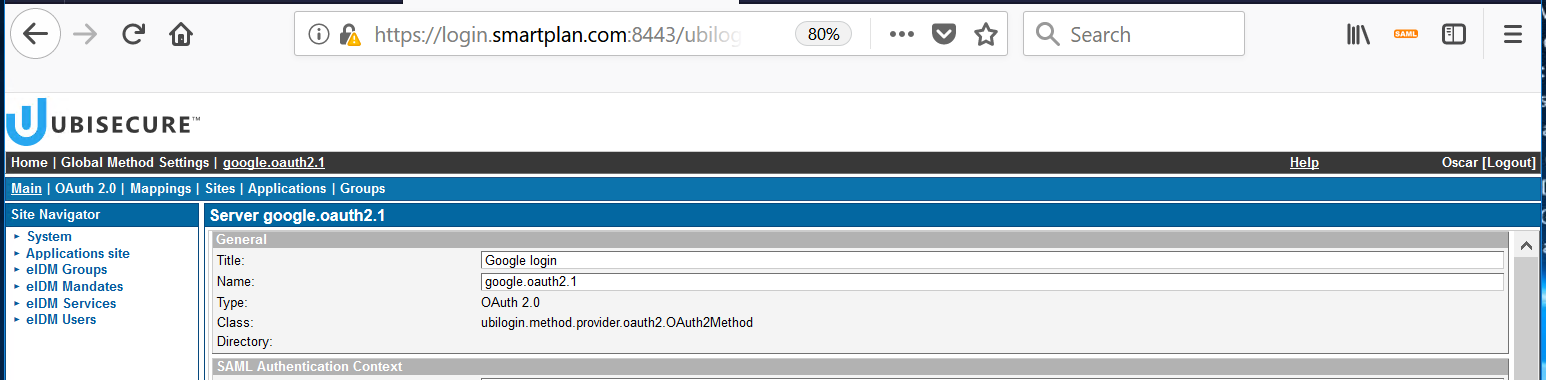
Choose a method name, for instance google.oauth2.1 (the dot and number "1" at the end is used to enumerate similar methods you will configure in the future) - Press "OK" and the method will be created. Select the "OAuth 2.0" tab and edit the fields with the information of your Project. OAuth2.0 endpoints for Google (and other services) are available in this page.
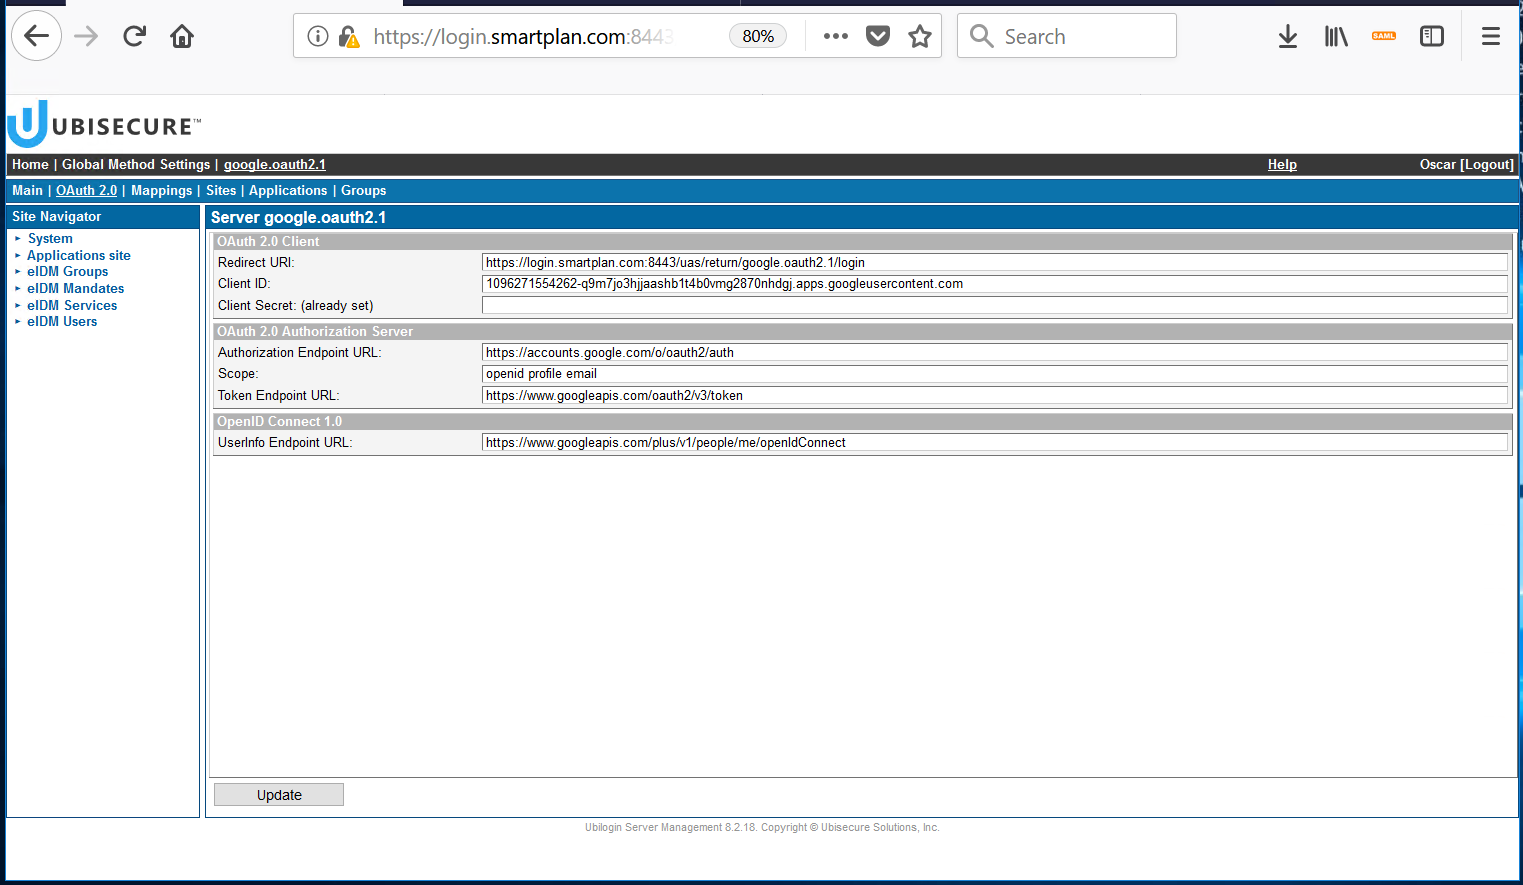
Once all the fields are filled in, press "Update". The Client Secret will be hidden from view once set. - Go back to "Main" tab, tick "Enabled" box, and press "Update"
- Copy the redirect URI from the Redirect URI field in the OAuth 2.0 tab
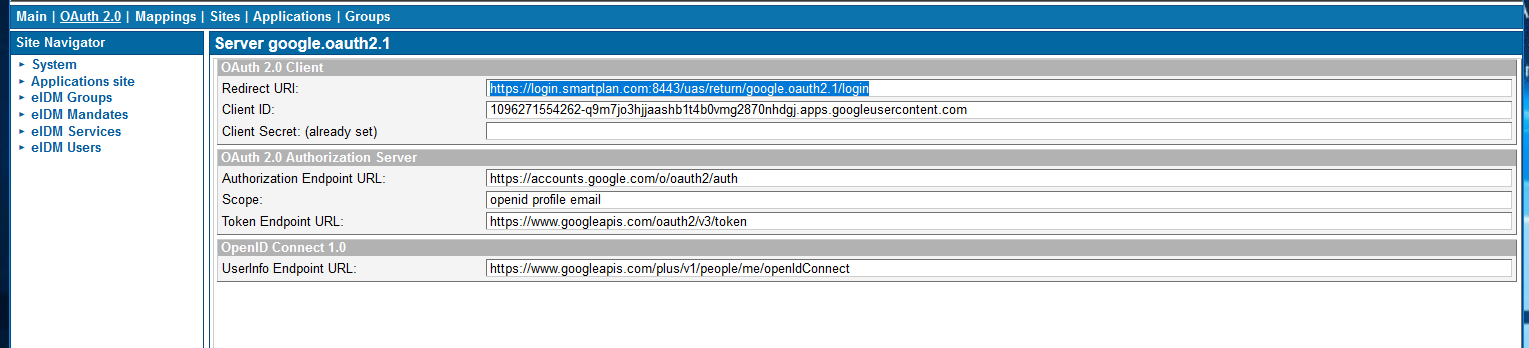
and paste it to the list of authorized redirect URIs in Google API console (First, go to "Credentials" and select the web client):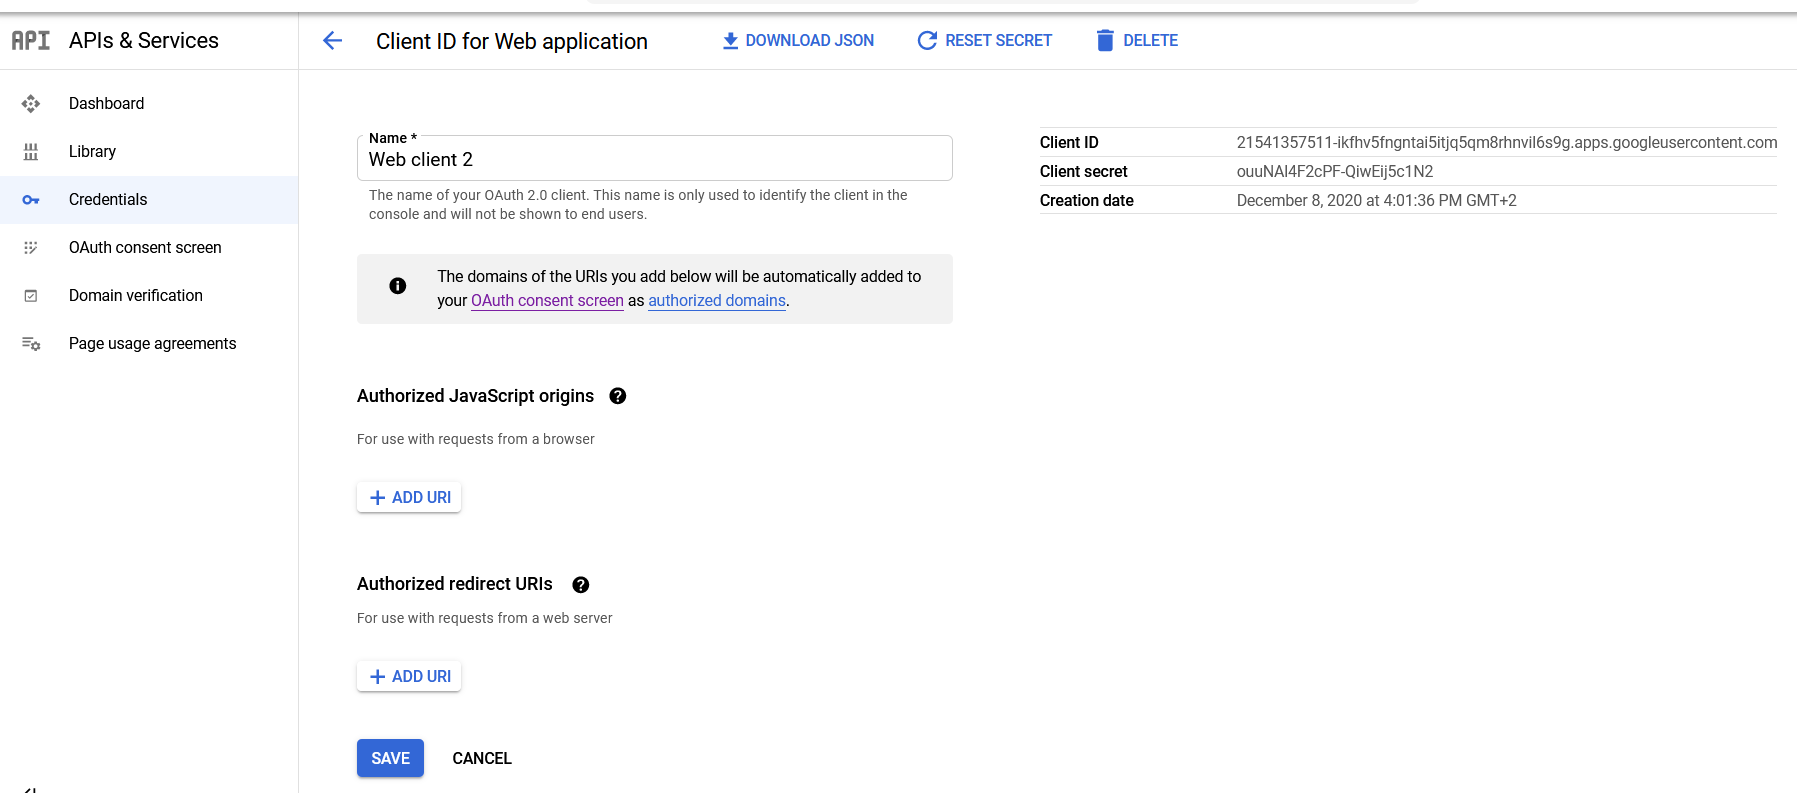
- Save.
- From now on, you must configure an application to use the newly created method.
- In this how-to article, we will connect to Sample SAML application.
- New authentication methods must be expressly enabled before use on a site by site basis. You must enable the authentication method on the site where it will be used. Choose the site where the target application is configured from the Site Navigator and open the Site Methods tab. Choose Add Method... and select the google.oauth2.1 method.
You can verify this is correct also from the google.oauth2.1 method view. Select tab "Home - Global Methods Settings - google.oauth2.1 - Sites" to see which sites the google.oauth2.1 authentication method has been enabled for.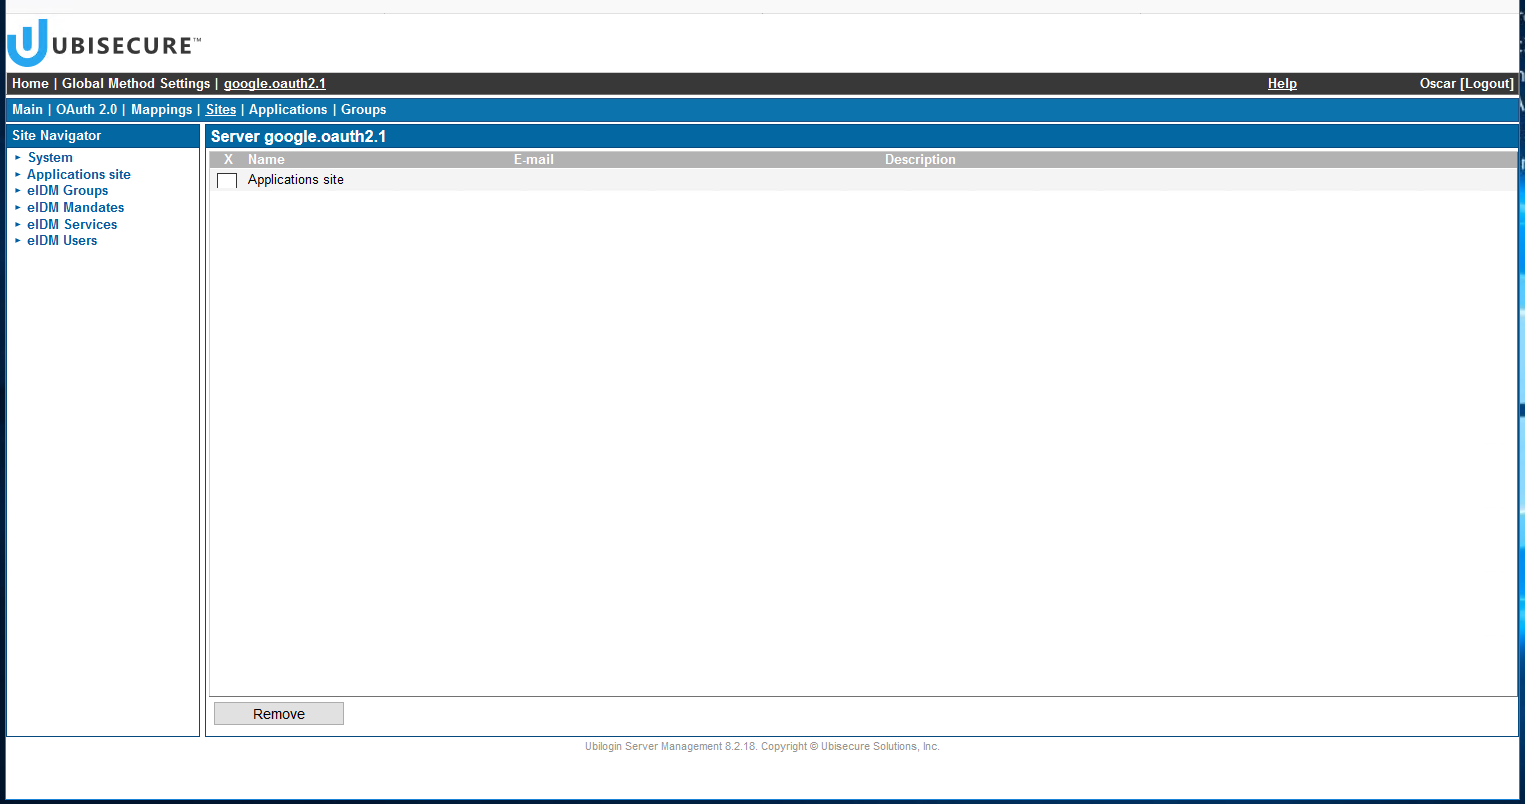
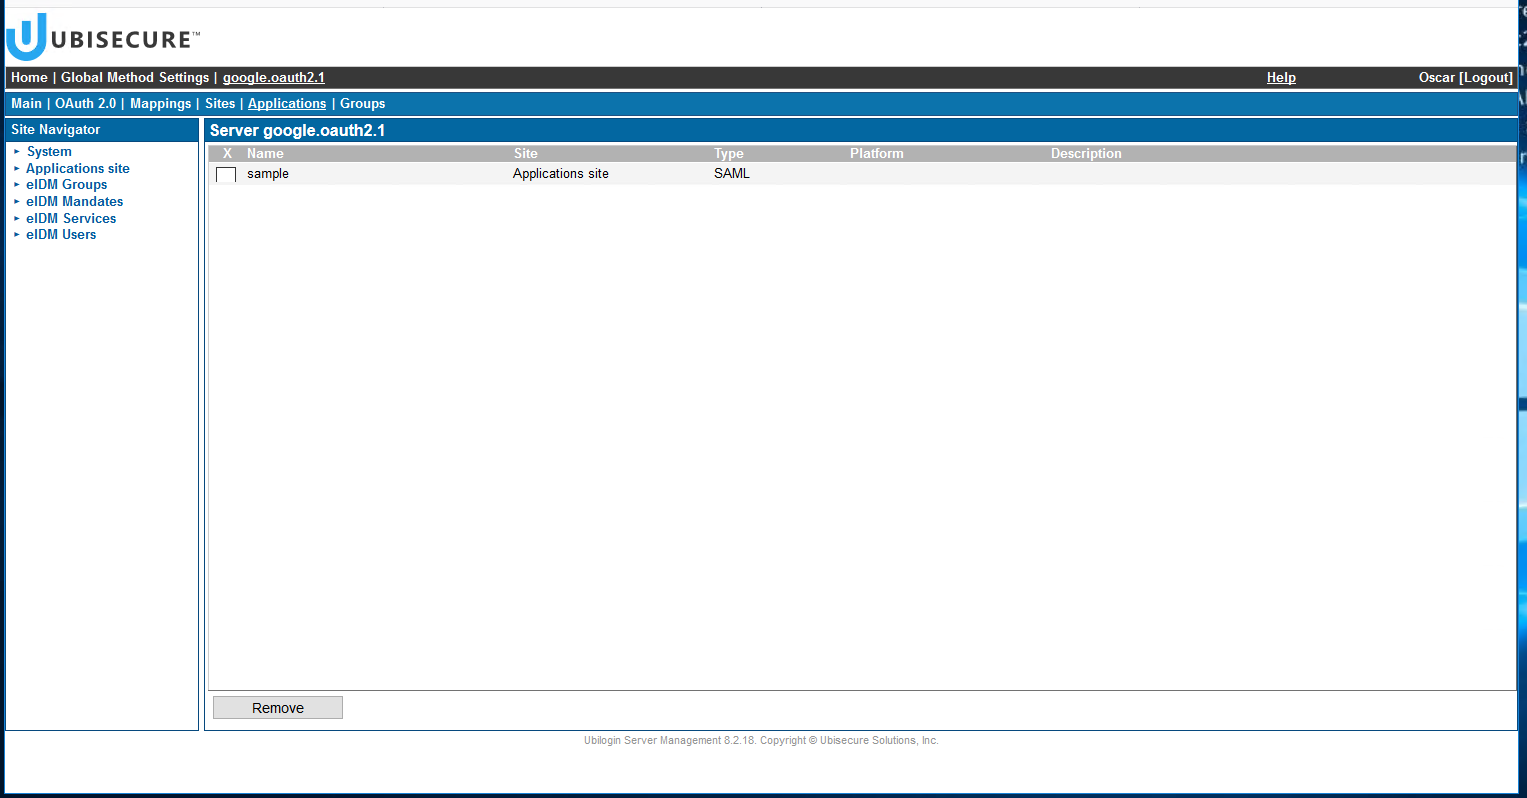
- Then in tab "Applications" add the application (sample, in this case).
- For access control, we will create a dynamic group called "google login users" where membership is based on the authentication method used to login. In the site view, choose Groups, New Group..., enter the name "google login users", and select the authentication method google.oauth2.1 from the Allowed Methods tab.
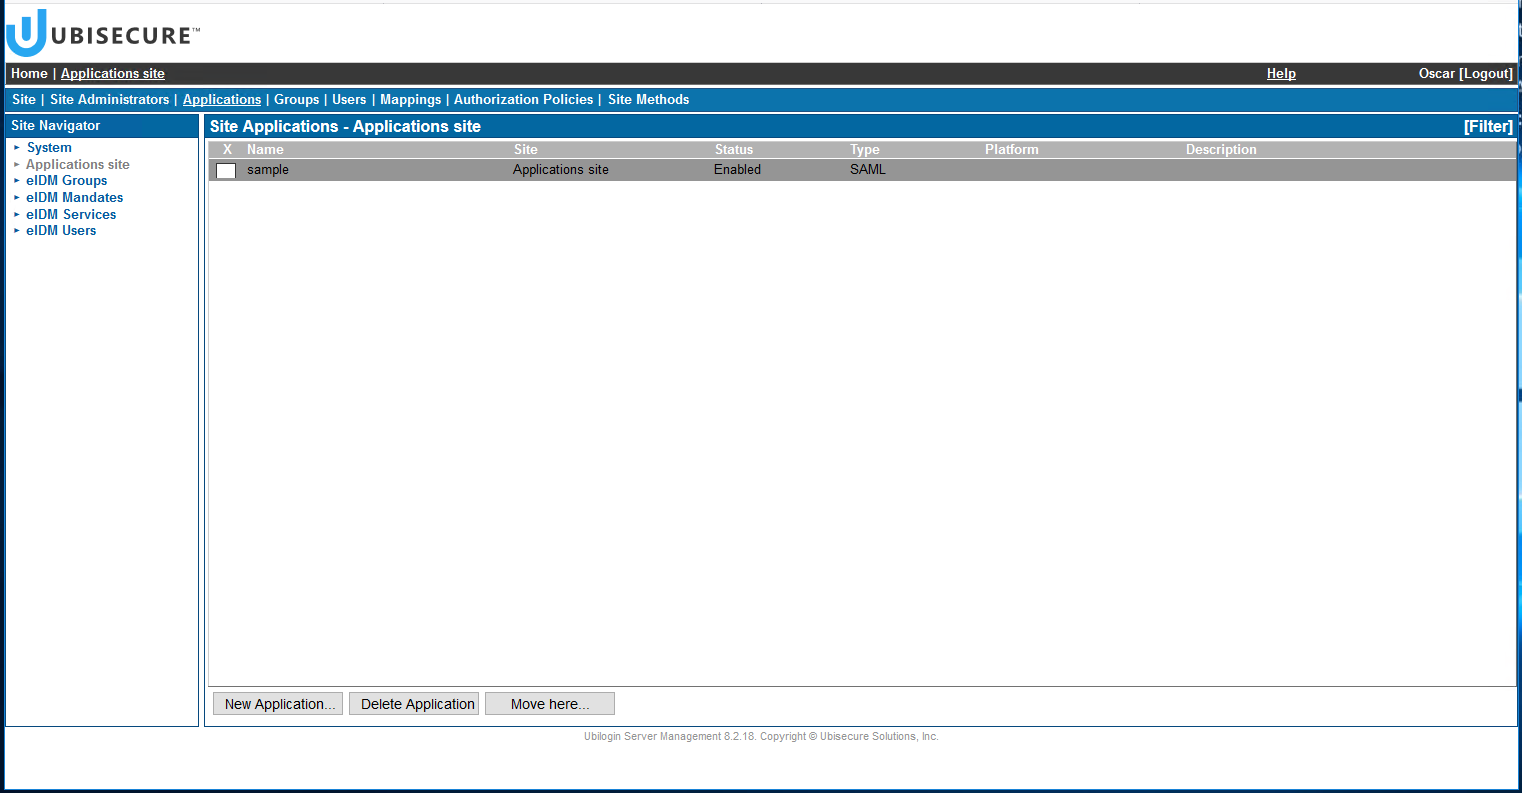
- Now it's time to configure your application. On the site navigator, select the site where your application is located (e.g. Applications site), go to tab "Application" and click on your application (e.g. sample).
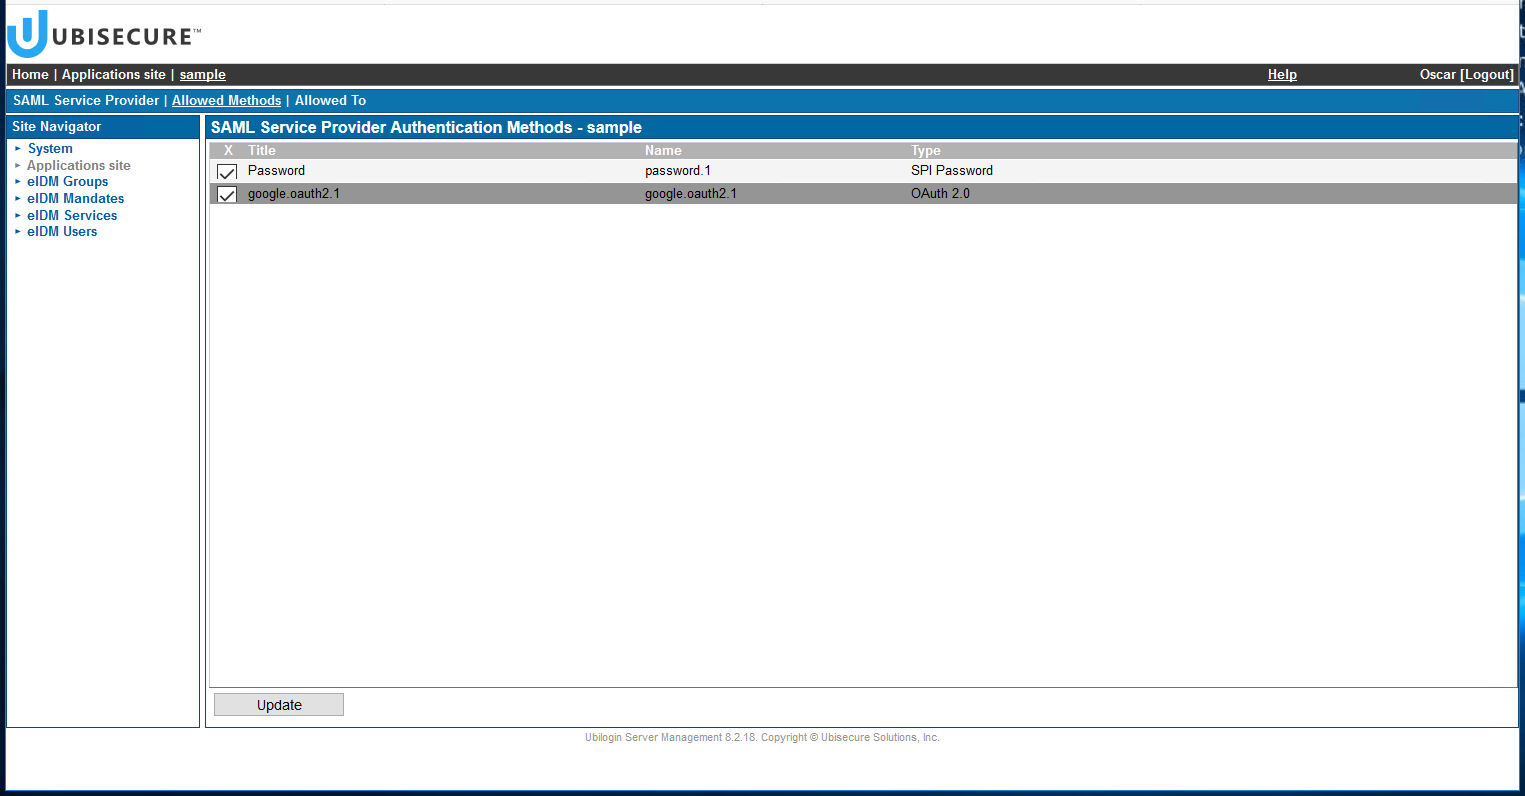
- In "Allowed methods" tab, enable Google authentication method (google.oauth2.1) and press "Update."
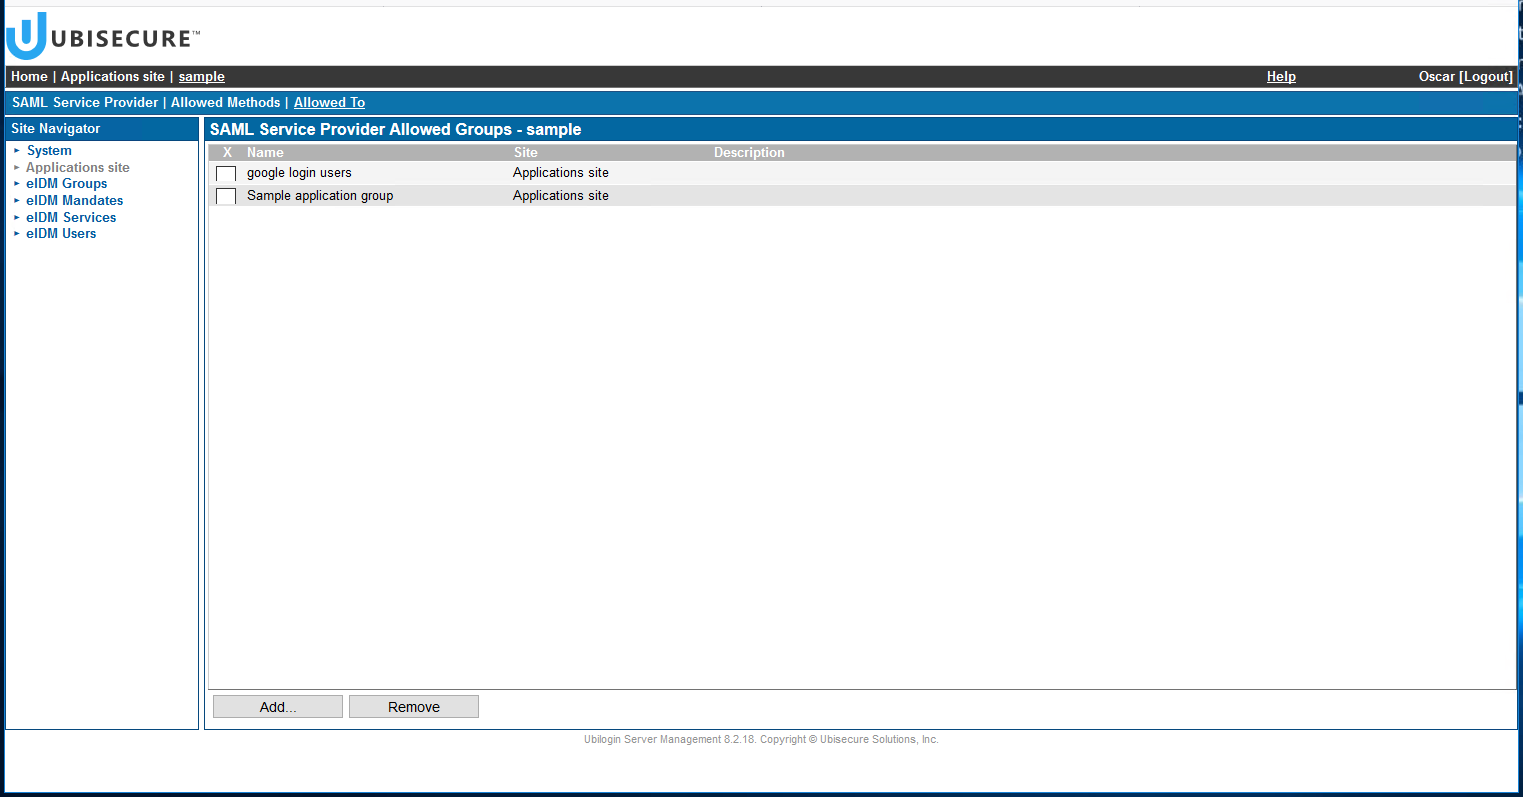
- In "Allowed To" tab, add the group of users that are allowed to access the application (e.g. google login users).
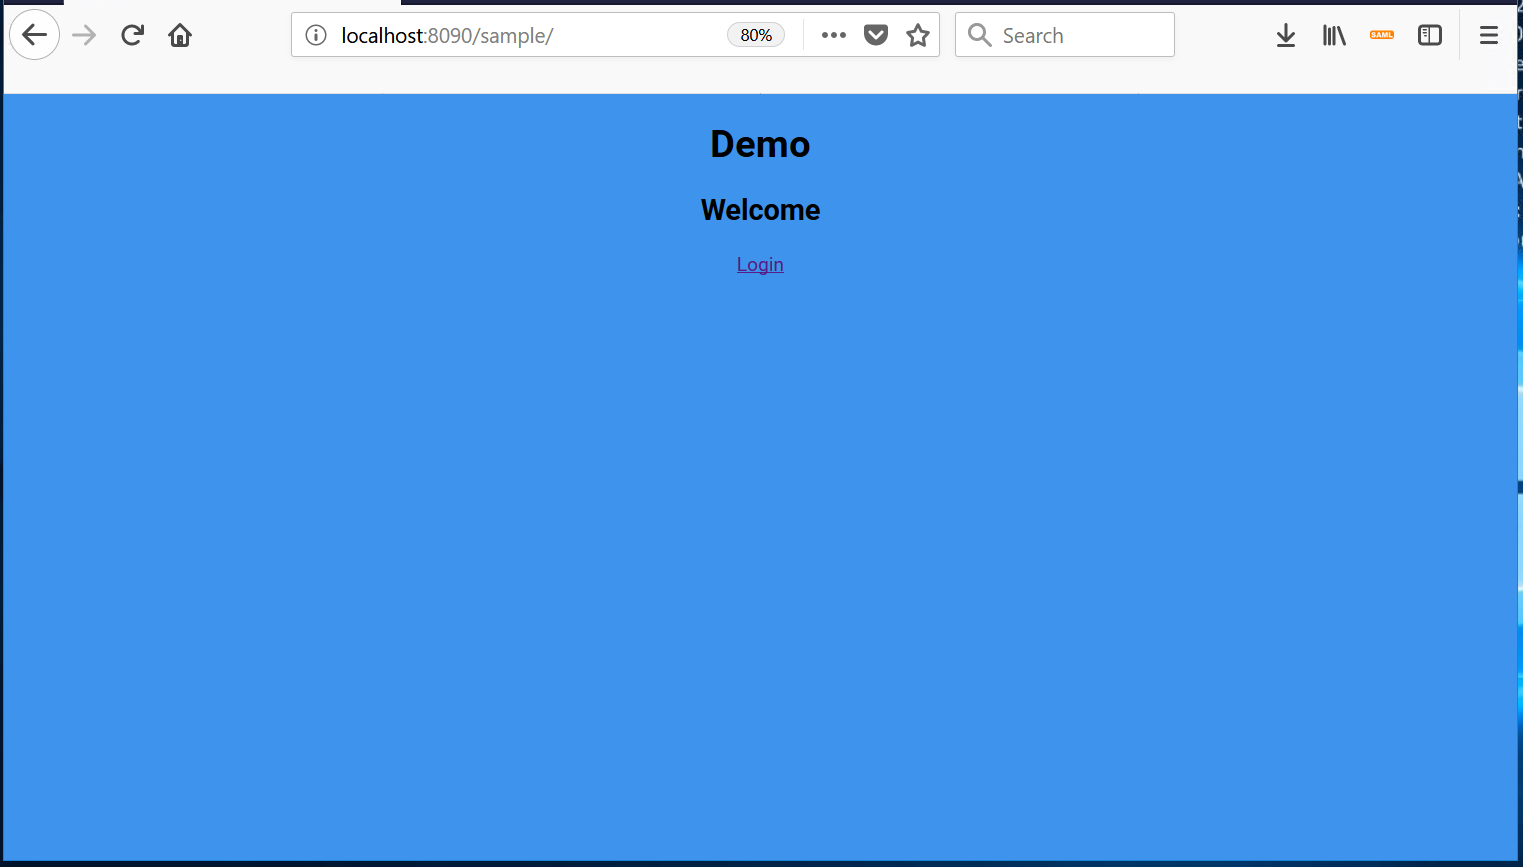
- Now the configuration is done and a Google user should be able to log in to sample application (or any application you wish to).
- Open the application in a new browser tab. Depending how you installed your sample application, the URL should be similar to: http://localhost:8090/sample/
- When you press login, a Ubisecure login page will prompt:
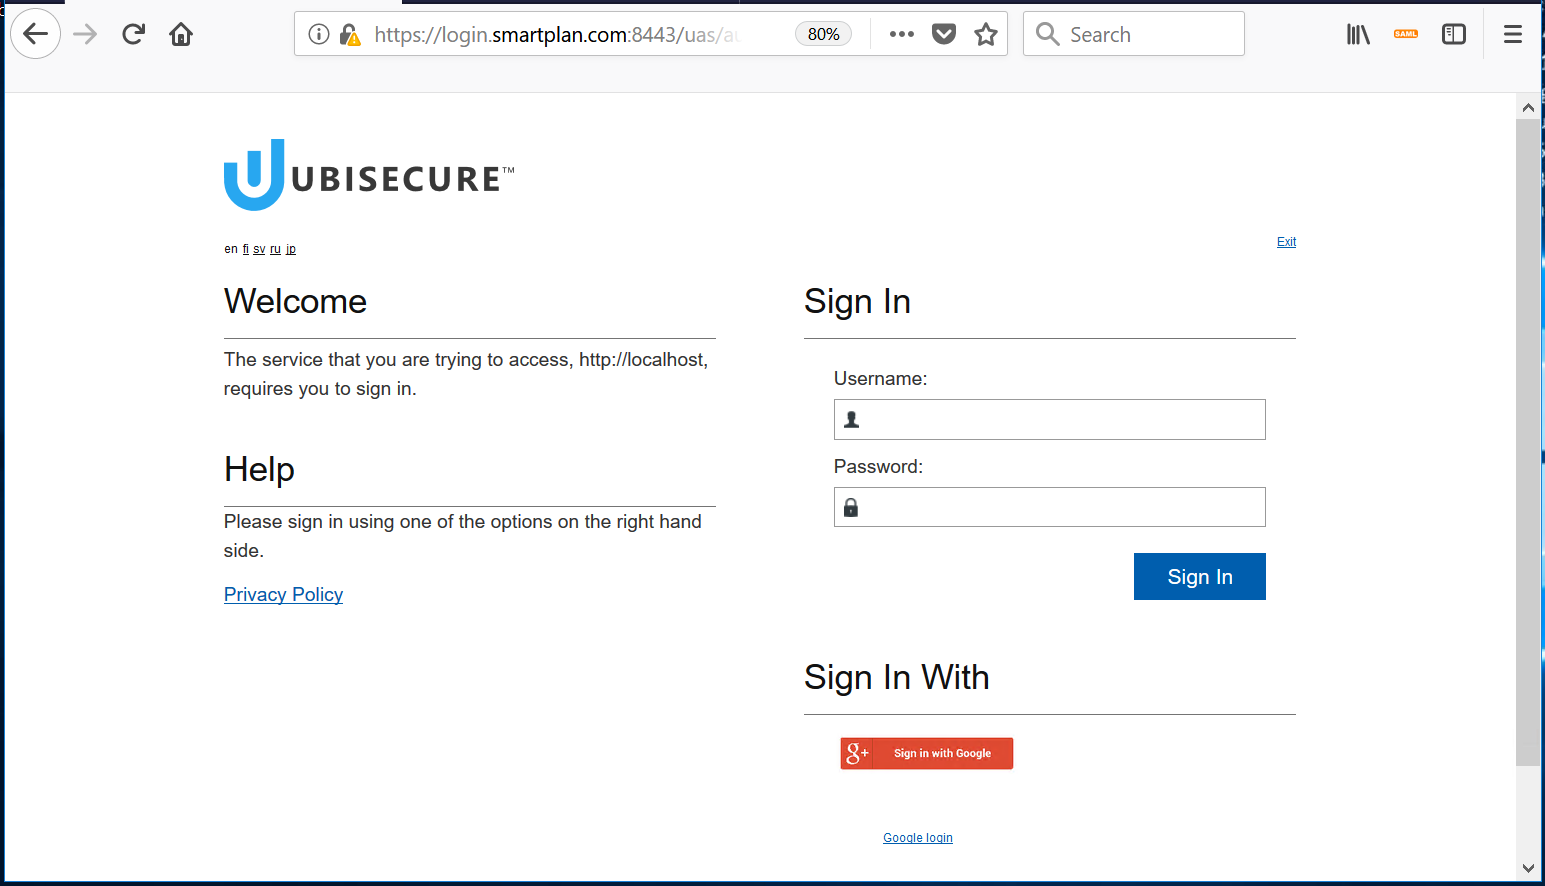
Observe that if you hover the additional button under "Sign in With," this corresponds to Google OAuth 2.0 authentication. - Click on the button and you will be redirected to Google login page:
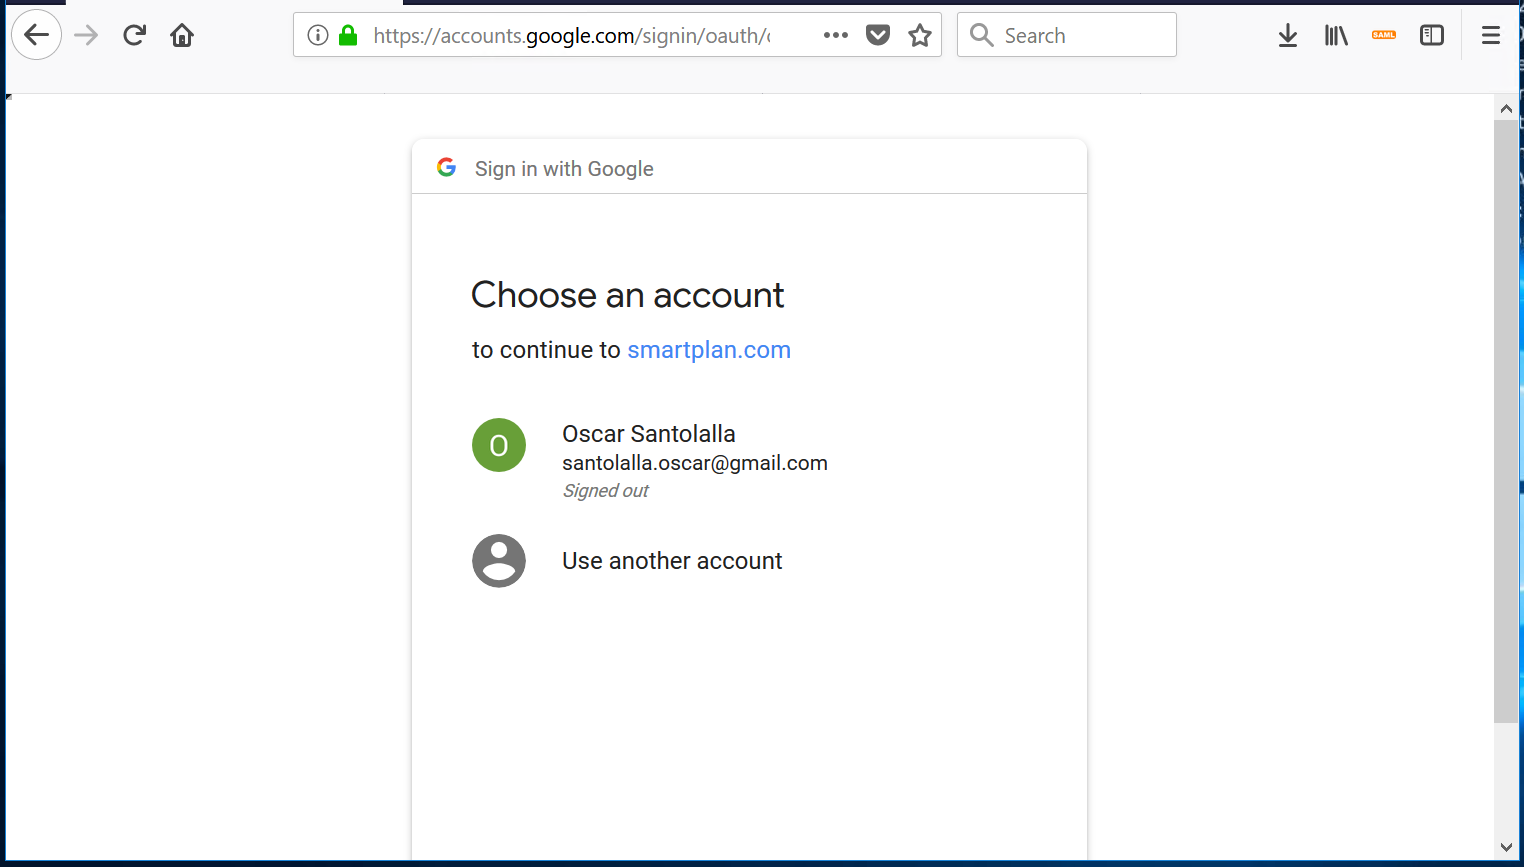
- Log in with your Google credentials and you will see a screen like this:
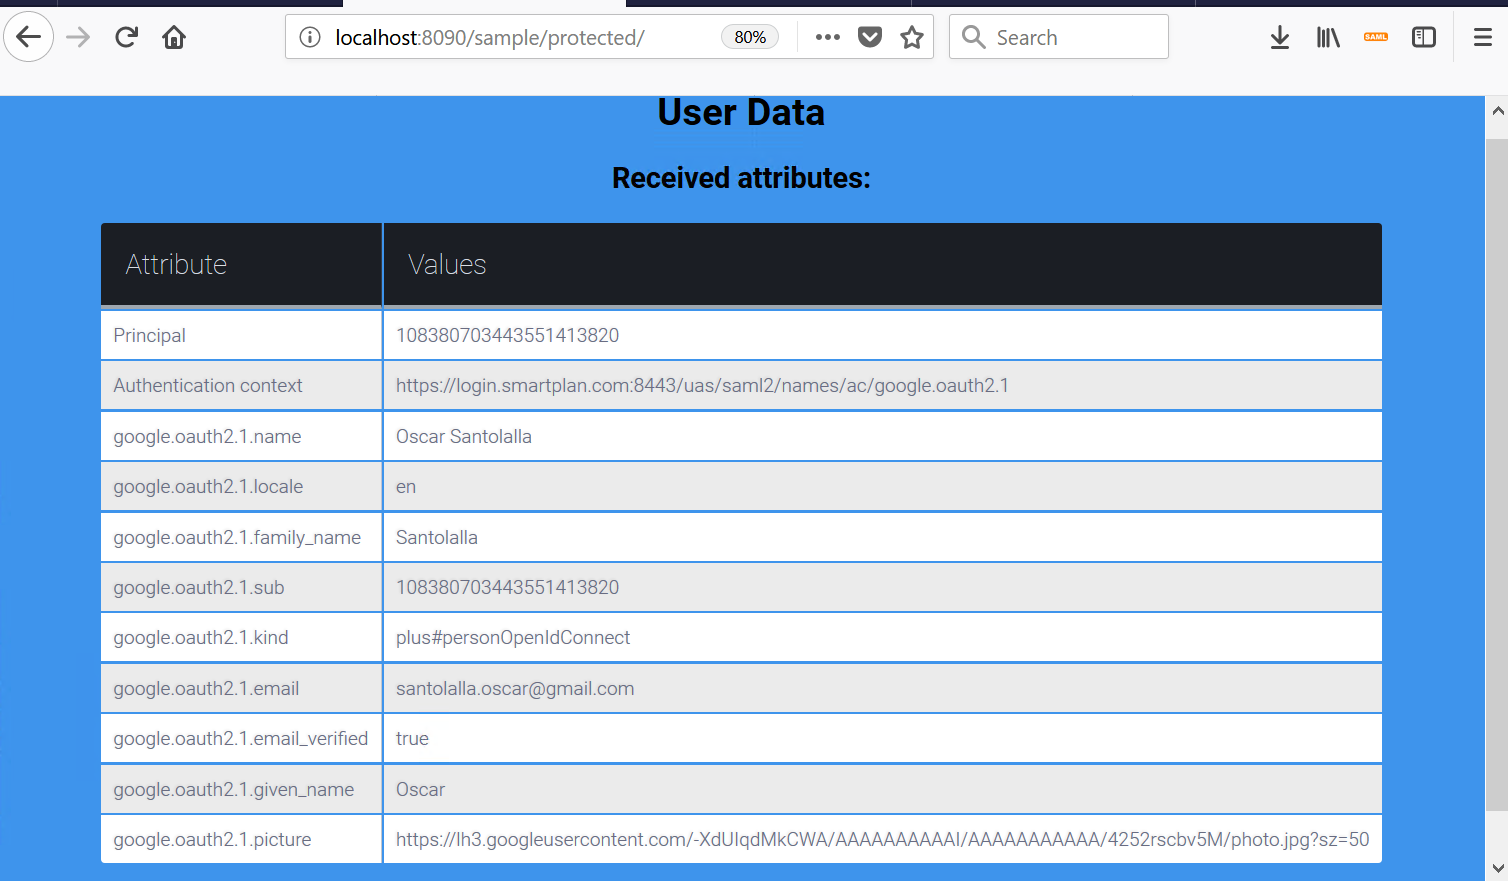
- Use an authorization policy to map the attributes names sent by Google to the attribute names expected by your application. Filter any unused attributes.
- (Optional) Directory user mapping can be used to look up an existing database user with matching attributes (see Directory User Mapping)
- (Optional) User Driven Federation can be used to allow a user to link their google account to an existing database user when there are no matching attributes (see User Driven Federation)
- To customize the logo used, see method-image.index settings.
To customize the text shown when hovering on the button, edit the "Title" field in the authentication method:
Related articles
General parameters for selected OAuth 2.0 Identity Providers - SSO
, multiple selections available,
Related content
Lab 1.3: Authentication Methods
Lab 1.3: Authentication Methods
Read with this
Configure OpenID Connect Google login
Configure OpenID Connect Google login
More like this
General parameters for selected OAuth 2.0 Identity Providers - SSO
General parameters for selected OAuth 2.0 Identity Providers - SSO
Read with this
Apple Login Setup
Apple Login Setup
More like this
Lab 3.3: User Driven Federation
Lab 3.3: User Driven Federation
Read with this
Github Login Setup
Github Login Setup
More like this